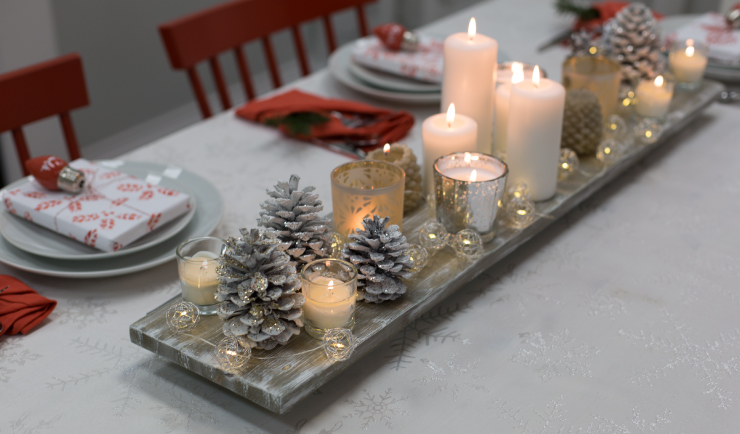
Antiquing brings a beautifully aged look to surfaces. This distressed wooden runner is the perfect foundation for adding a layered centerpiece to your dining table.
Materials:
Wooden board (or various pieces of scrap wood)
Paint
Paintbrush
Brads, nails or wood screws
Painters tape
Tools:
Tape measure
Pencil
Miter saw, or hand saw
Brad gun, power drill or hammer
Power sander or sanding block
Heavy chain
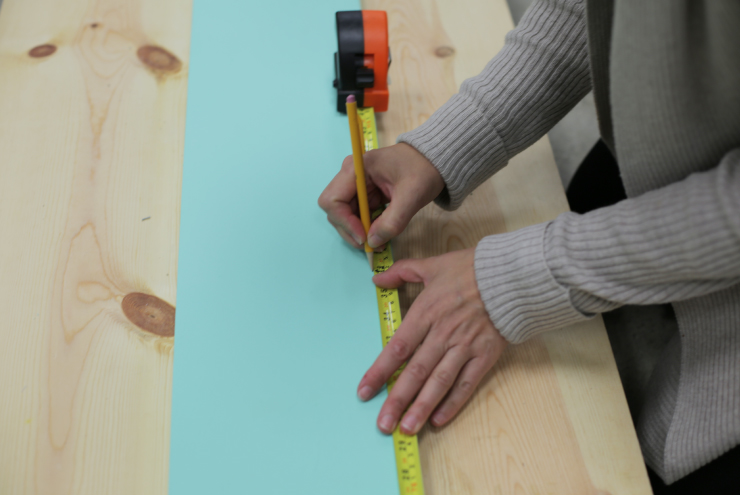
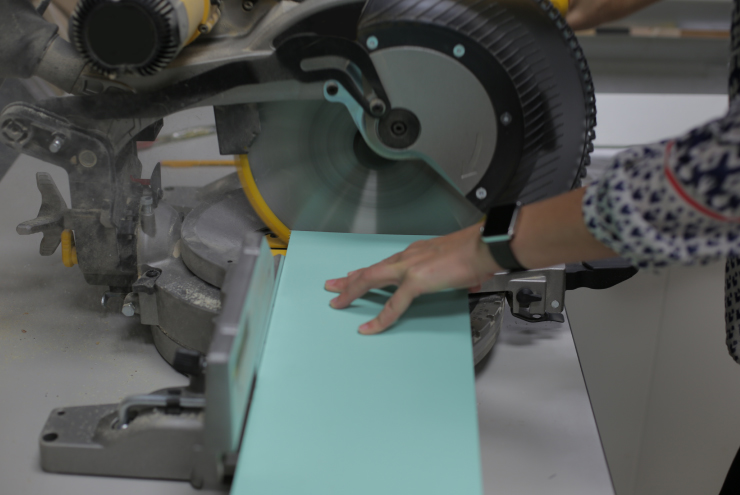
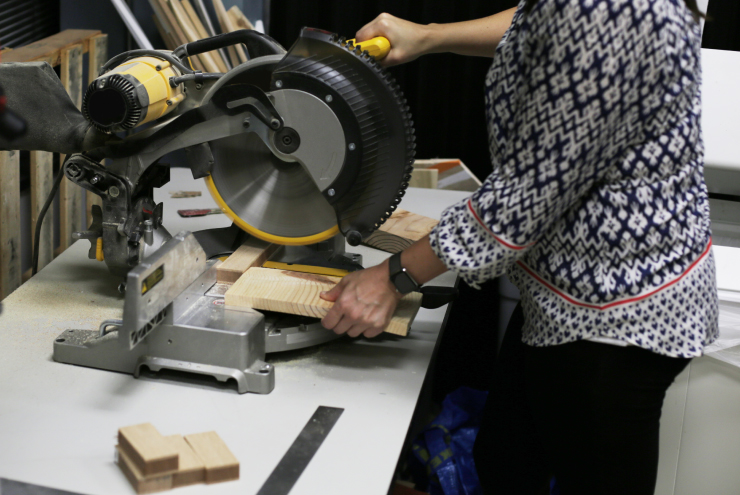
Step 1: Measure and cut board to size
Select a board to create the runner. This is a great scrap wood project, as the runner can be any size you like. Measure your desired length (or width) and cut to size.
Step 2: Sand off old color (optional)
We used a piece of scrap wood that had been previously painted. Since it was drastically different from the look that we wanted we sanded the color off.

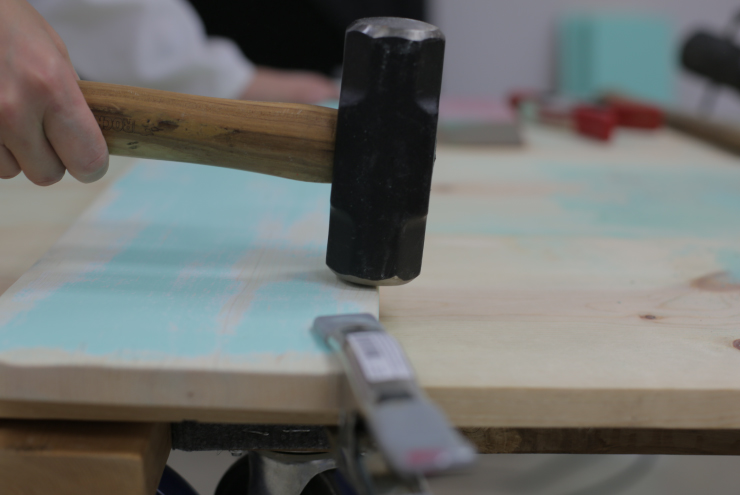
Step 3: Distress board
To distress your board, give a few good whacks with a heavy chain or hammer. This will help create that “time-worn”, “imperfect” look.
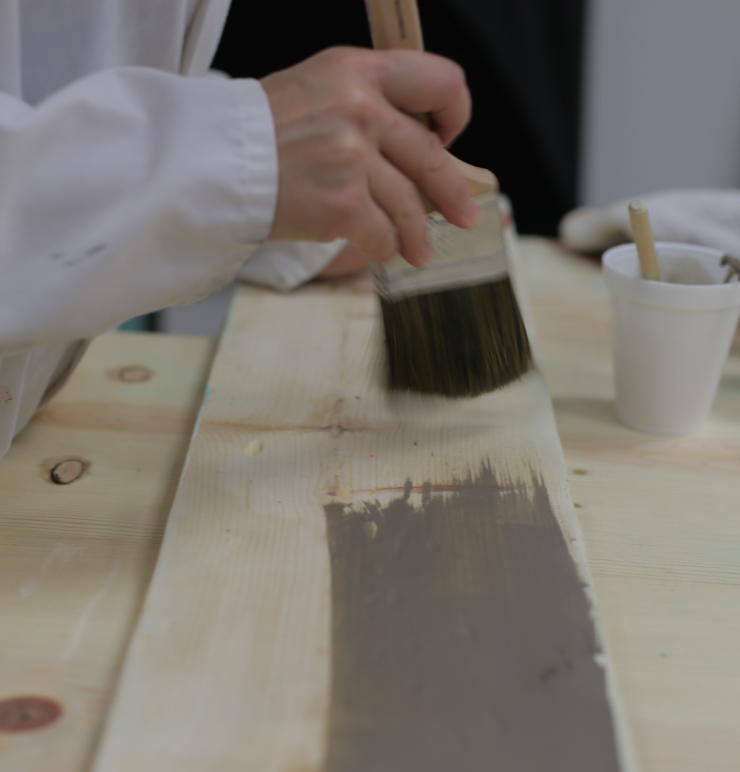
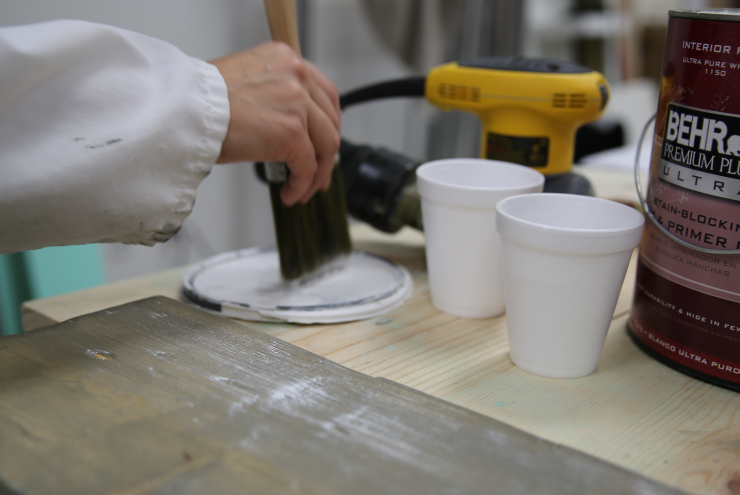
Step 4: Paint board
You can either paint your board with straight paint, or you can create a wash by mixing a small amount of paint and water together. We chose to create a wash with the color Kindling N200-6.
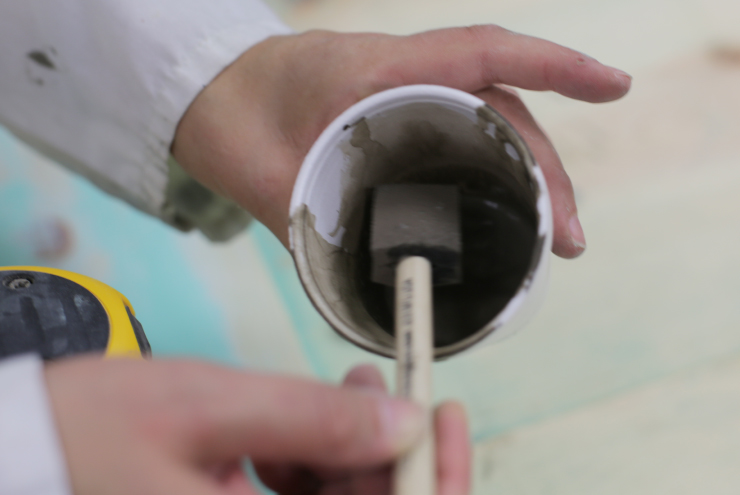
Paint your board with your color. Allow to dry and apply a second coat if needed/desired.

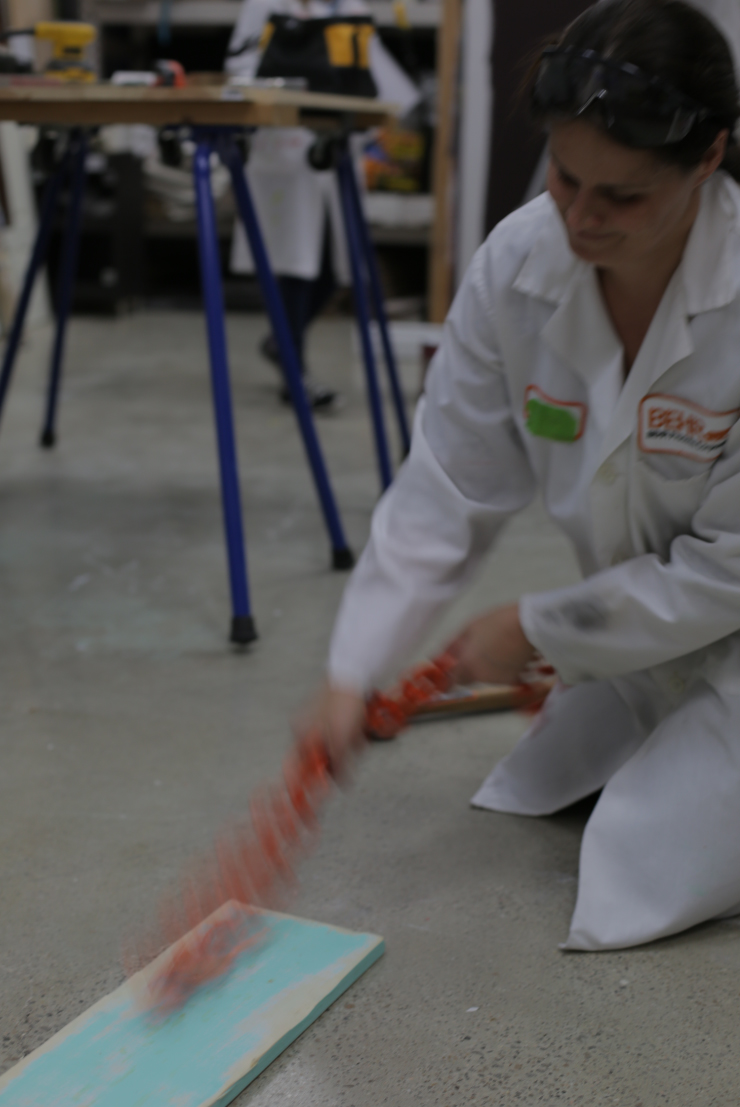
Step 5: Dry brush color texture
Gently tap a dry brush into the texture color of your choice (we used Ultra Pure White). Lightly brush the length of the board with your color. Continue brushing on color, applying more paint in some areas over others. Stop when you are happy with the look.
Step 6: Apply feet (optional)
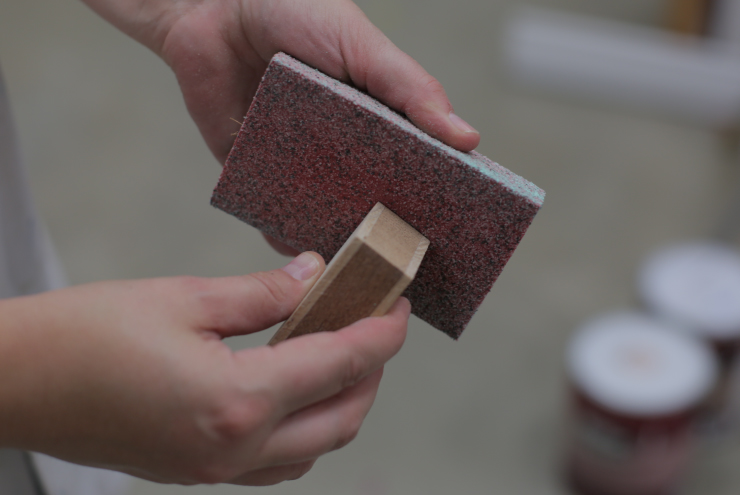
If you would like your runner to sit up off the table you will need to create and attach two feet. Measure and cut two lengths of scrap wood or a square dowel to fit your runner.
Sand down any rough edges.
Position in place and attach to the bottom of the runner with tape.
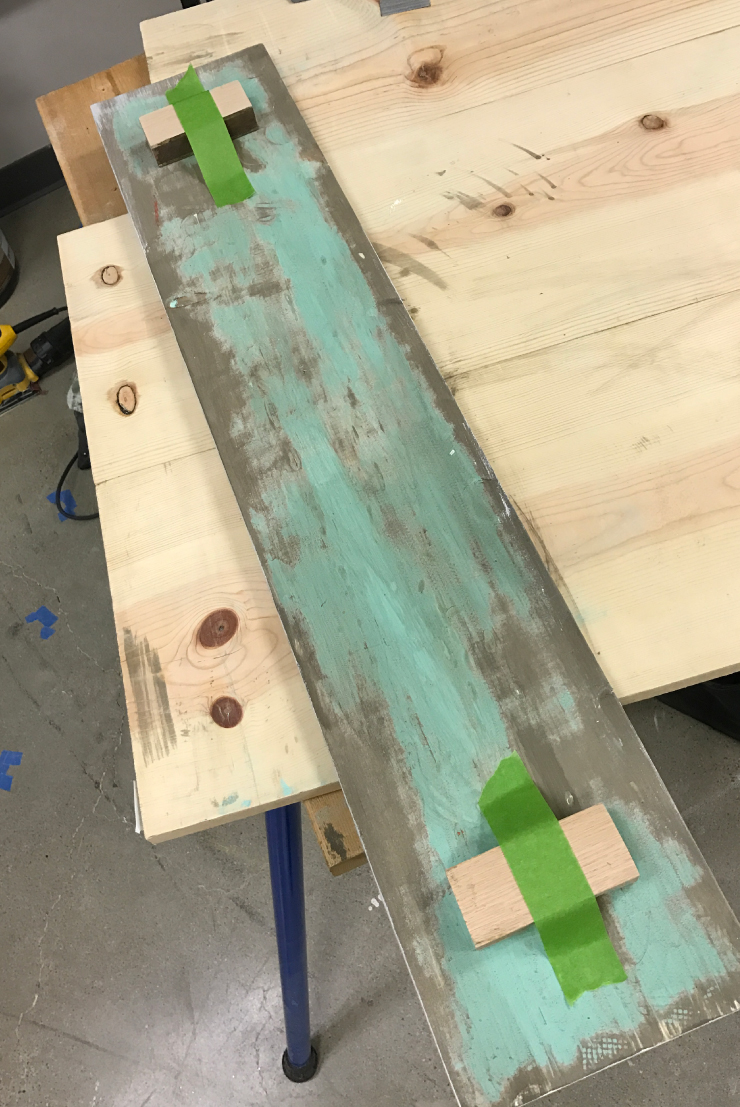
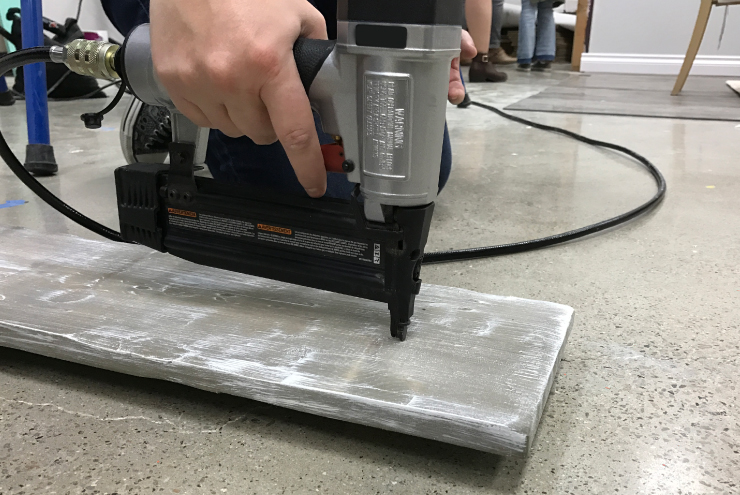
Flip the board over and secure in place with brads, nails or screws.
Step 7. Dress for holiday occasion
Place on your table and decorate for your holiday gathering.
Colorfully yours,
-Quinn
DIY Projects
Distressed Dining Décor
TIME
BUDGET
COMPLEXITY