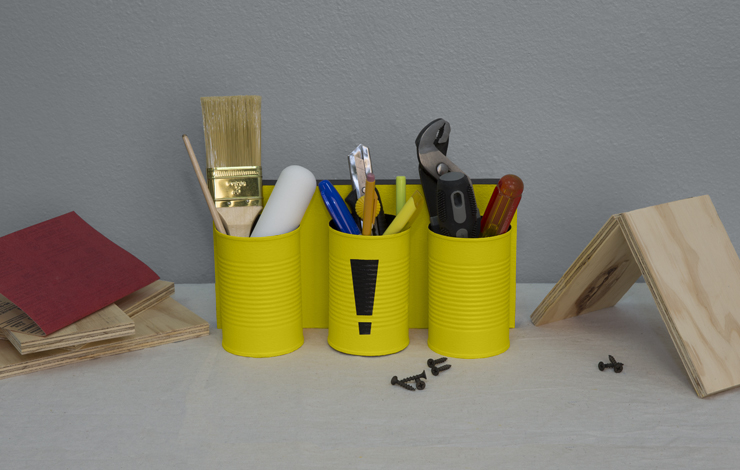
Storage does not have to look functional and lifeless, with a little creativity, color and charm you can turn your organizers into fun pieces of art. Let’s get ready to create a unique DIY tool organizer by upcycling everyday items.
To complete this project you will need the following materials:
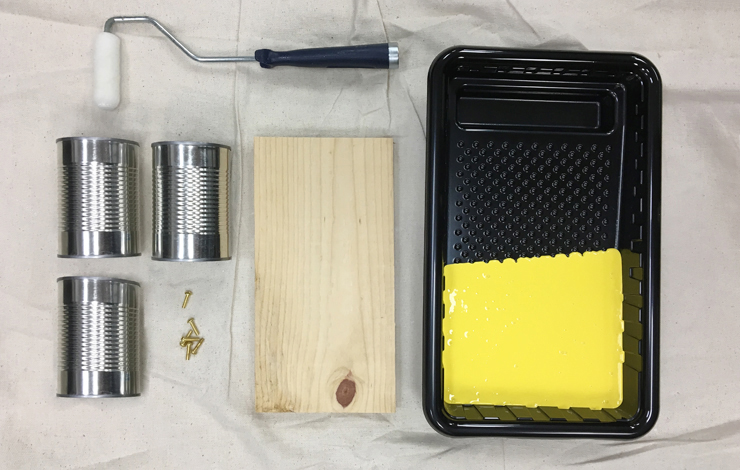
3 Empty vegetable cans
Piece of wood board (6″x 15″)
Paint ( I used Buzz-In P300-6 and Carbon N520-7)
Paint tray
Paint roller
1″ screws
Screw driver
Power drill
Small brush
Step 1: Paint cans
Use a small paint roller to paint your wood board and the outside and inside (if desired) of the cans.
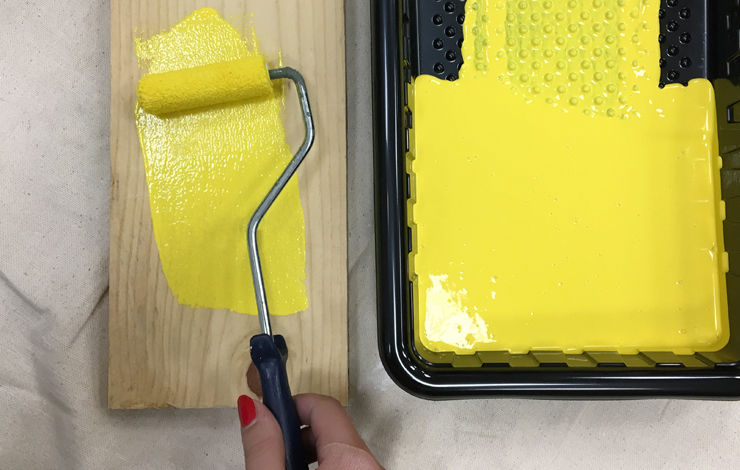
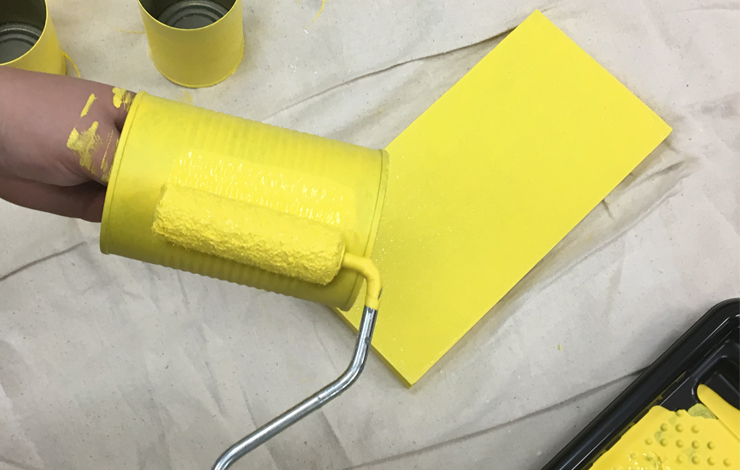
Can exterior: Buzz-In P300-6, Can interior: Carbon N520-7
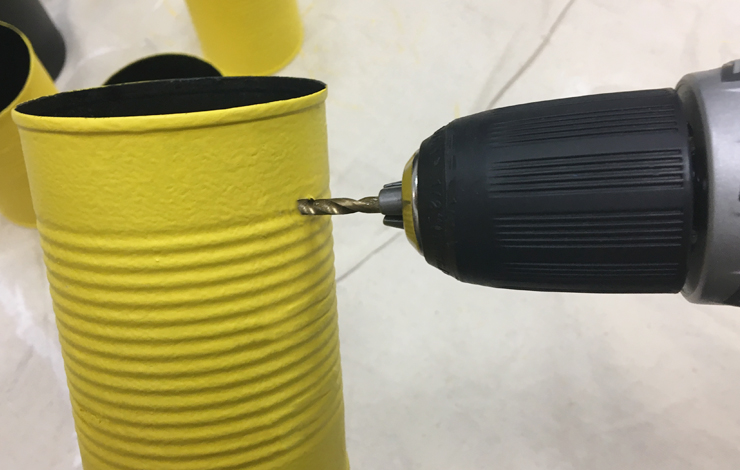
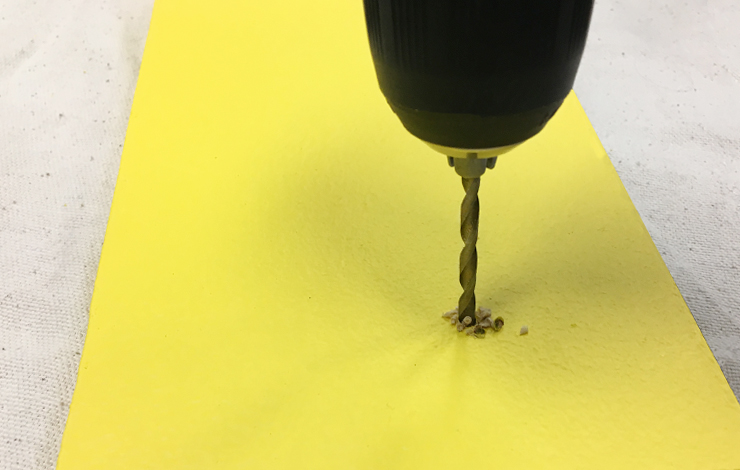
Step 2: Drill holes
With a power drill, make a hole on the top part of the cans.
Step 3: Mark and Drill Wood Board
Measure and mark the spots where you’d like to attach the cans to the wood board, Drill a guide hole in each spot.
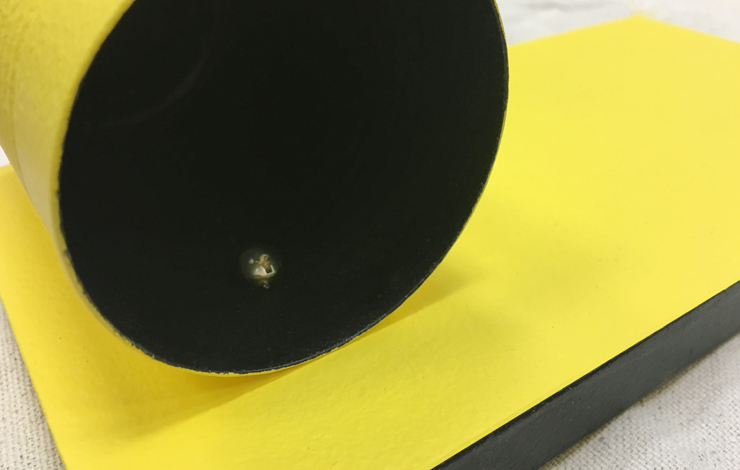
Step 4: Attach cans to wood board
Align the two holes and attach cans to the wood board with your 1″ screws.
Step 5: Paint details
Paint and retouch any final details with a small brush.

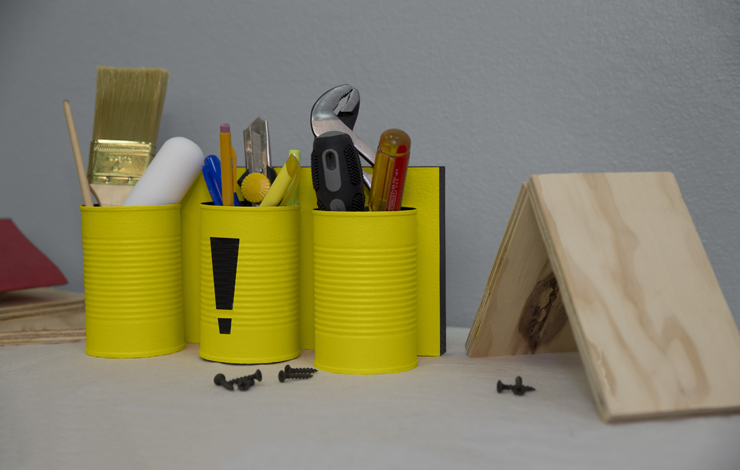
Step 6: Organize your tools
Give the tools you love to create pretty projects some love. Organize everything together and they’ll be ready for your next DIY project.
For more color and design inspiration visit our Color Studio on behr.com.
Colorfully yours,
Sha Khezri
DIY Projects
DIY Upcycled Tool Organizer
TIME
BUDGET
COMPLEXITY