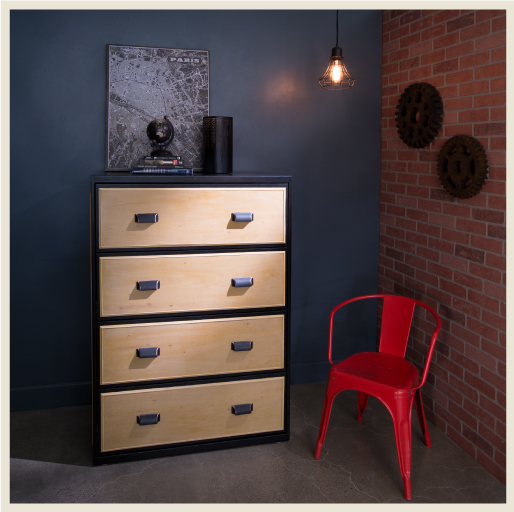
Refurbishing furniture is a hot ticket item these days. Worn and weathered home items: chairs, tables, bed frames, you name it- all experiencing a revitalization and new life with a fresh coat of paint or stain. Our department recently acquired a number of filing cabinets from a neighboring business who had abandoned their office equipment. One of theses cabinets was a horrible buff color and did not fit anywhere in our studio. As the ugly, file cabinet, duckling I thought it would be an excellent election for old, office equipment up-cycling.
I decided on an industrial look, combining wood stains with a new addition to our specialty paint line- the Interior/Exterior Direct-to-Metal paint. It took a little bit of time, well a considerable amount of time to be honest, but the effort was well worth it. The following steps will guide you through this retro to retro file cabinet transformation.
For this project you will need:
1/4″ Wood paneling (the number of panels needed will depend on the size of your cabinet. Our cabinet required 4 panels).
Molding strips (the number of strips needed will depend on the size of your cabinet. Our cabinet required 16, 4’strips).
Sandpaper 80 grit
Interior/Exterior Direct-to-Metal paint (color of your choice- we used semi-gloss Black).
Semi- transparent wood stain (we used: Semi-Transparent Waterproofing Wood Stain)
Metal primer (we used Kilz Complete)
Spray Shellac
Painters tape
Wood and/or industrial strength glue
Rubber gloves
Ruler and/or yard stick
Miter saw
Table or circular saw
Power drill
Step 1: Dismantle your file cabinet
I couldn’t get the drawers out, so I simply unscrewed them from the cabinet body.

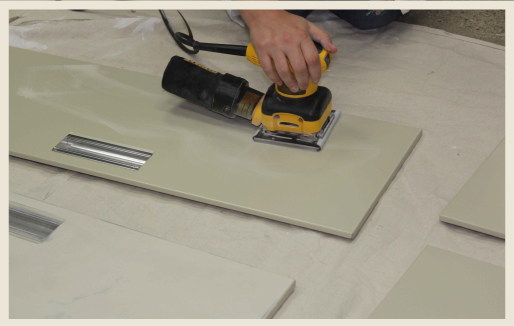
Step 2: Sand the cabinet down
To create a surface to which the paint will adhere, you’ll need to sand everything you plan to apply paint or glue to. For your safety and health you might want to wear a mask when doing so.
Step 3: Wipes the cabinet clean of dust
Dust will keep the paint from adhering properly, so a good wipe down with a wet cloth is necessary.

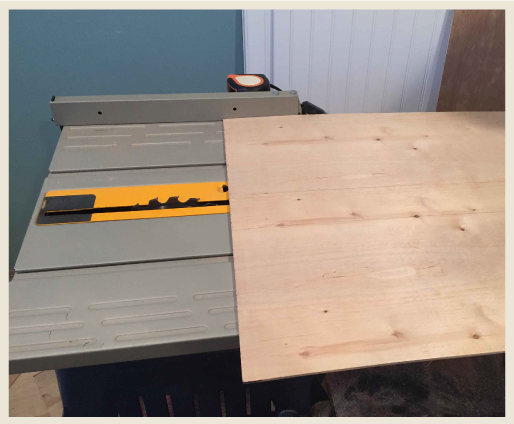
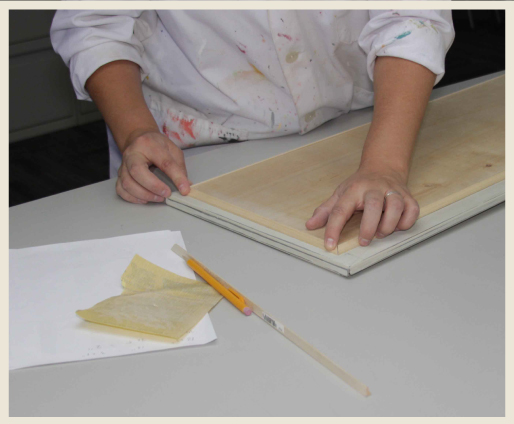
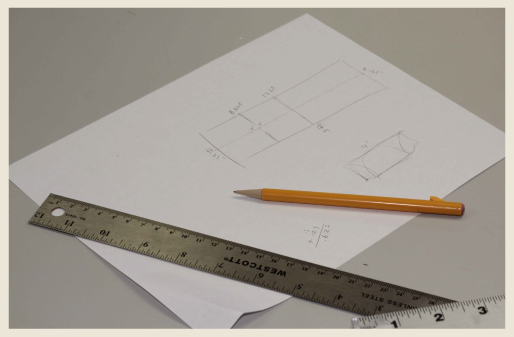
Step 4: Measure and cut your wood panels to size
The size you cut your panels to will depend on the size of your cabinet. I measured mine to have an inch border of cabinet surrounding the panel and molding. A table saw or circular saw can help you make these cuts easy.
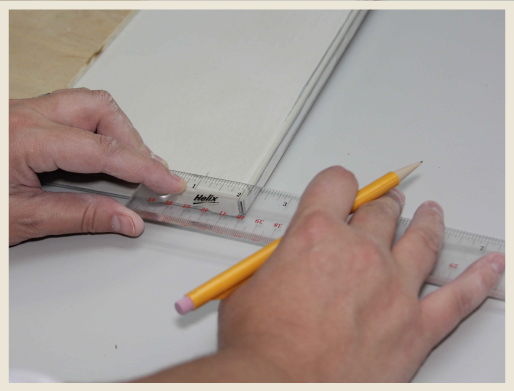
Step 5: Measure and mark your cabinets to center your wood panels
You will want to make sure your panels are centered when you glue them down. Have a friend help you lay the cabinet body on its side to complete this step for the body side panels.
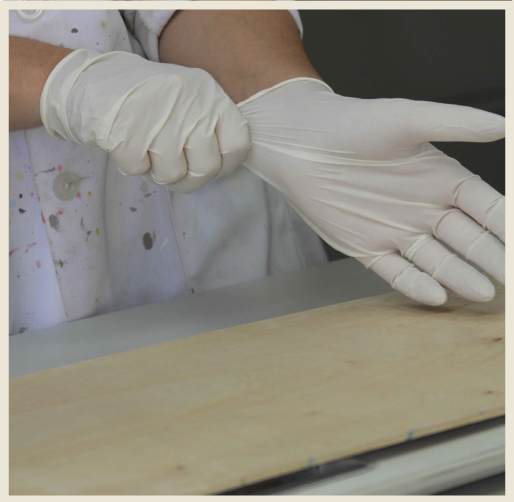
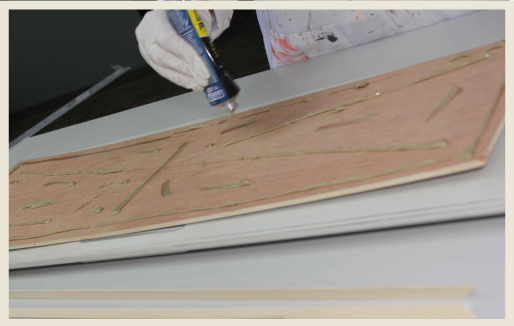
Step 6: Apply glue to the back of your panels
Now would be a good time to put on some rubber gloves. Stronger glues can be difficult to remove without solvents. Apply glue evenly so the corners, sides and middle of the wood panel will stick to the cabinet surface.
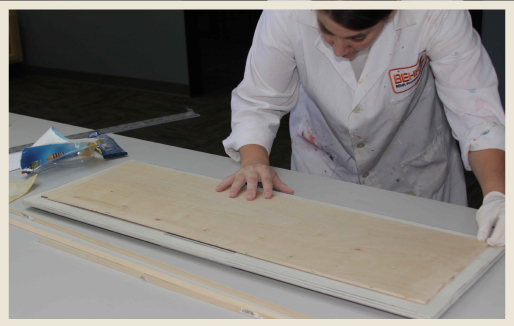
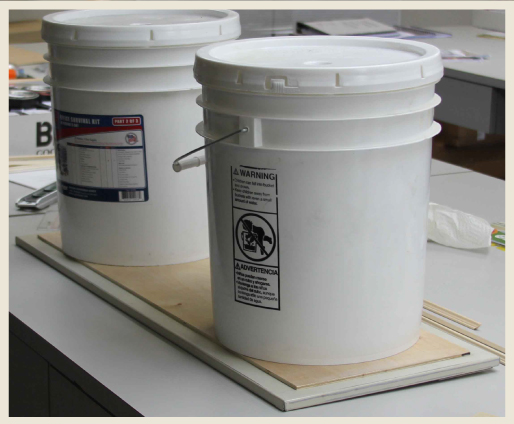
Step 7: Center your panels on the cabinet fronts and body
The wood I purchased had a bit of a bow to it, so I used some heavy 5 gal buckets to weigh the panels down while the glue dried. I recommend following the noted glue adhesion drying time to make sure everything fuses properly. Remove too early and you may risk the wood tension popping your panels off.
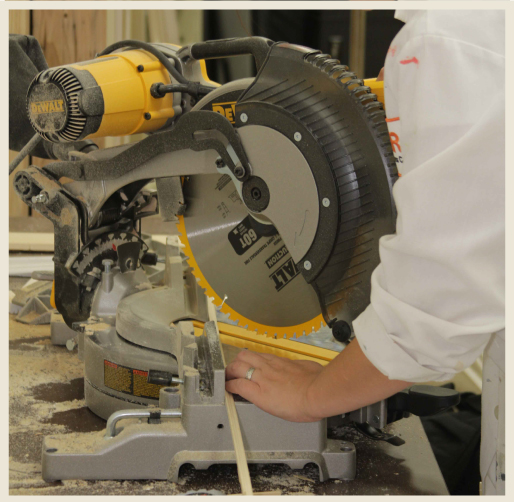
Step 8: Measure and cut your molding pieces to fit
When your panels are glued down you can start measuring and cutting your molding border pieces to fit. Each piece will have a 90 and 270 degree cut.
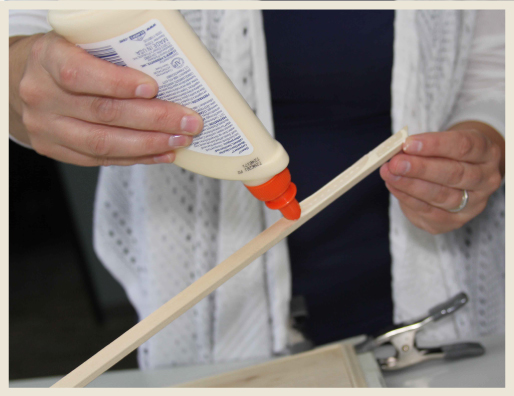
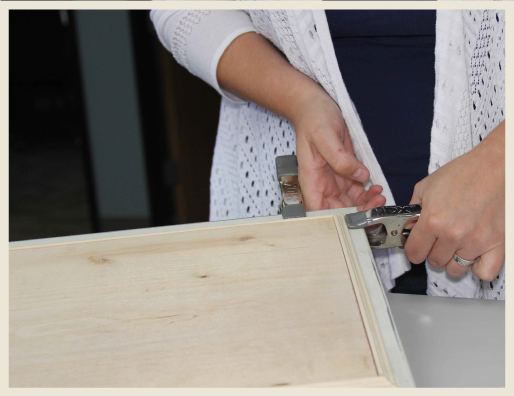
Step 9: Glue your molding pieces down
When your pieces create a tight border you can begin gluing them down. Use clamps to hold them in place while the glue dries.
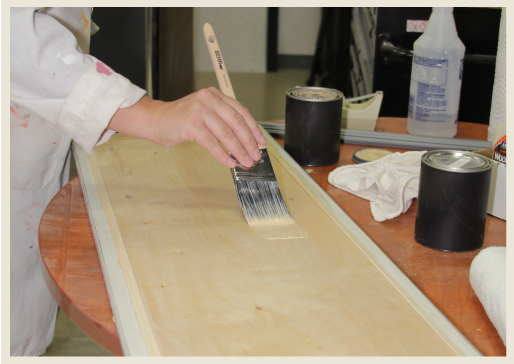
Step 10: Apply stain
The stain products we produce at Behr are all exterior products. Though we don’t officially recommend using exterior stains for interior projects, for the small scope of this application we felt comfortable using it. I recommend practicing your stain application technique on a piece of scrap wood first. Different applicators will deposit different amounts of stain. It may be necessary to alter your application technique/tool to achieve the look you want. I applied the color with a brush and then wiped the excess color with a shop rag. The color used was Beach Beige ST-127.
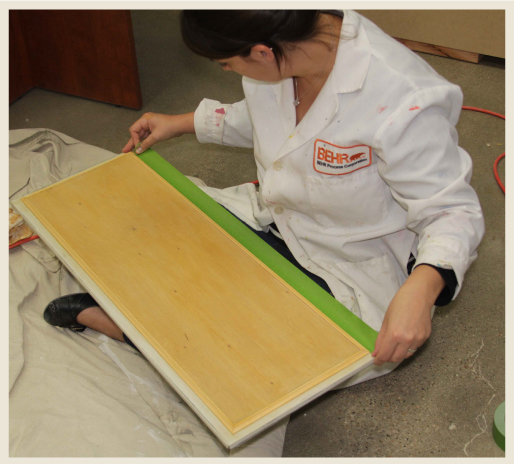
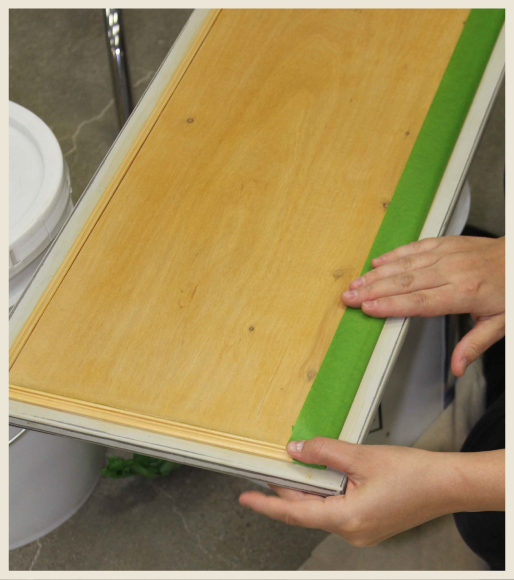
Step 11: Tape cabinet
Tapping the edges will save you from having to sand the shellac off.
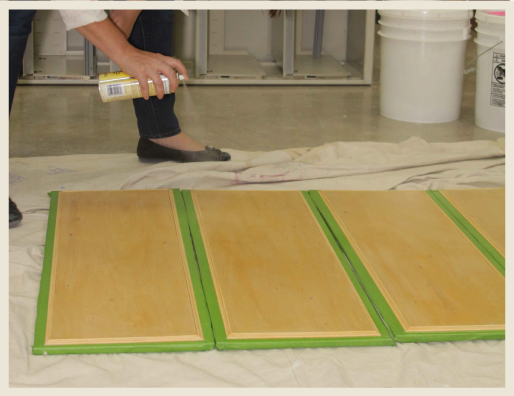
Step 12: Apply Shellac
I selected the spray version because it was easy to apply and quick to dry. You could also invest in a clear varnish that brushes on. You can forego the clear coat, but un-sealed stained surfaces are less resilient. I wanted something that would withstand dirt and clean easily. When spraying an aerosol it’s good practice to wear a mask.
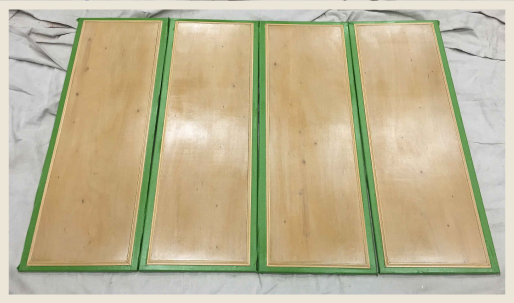
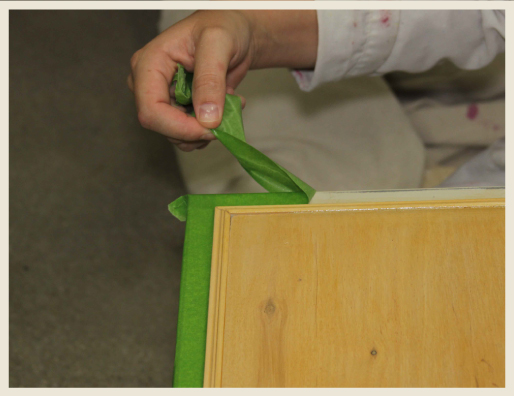
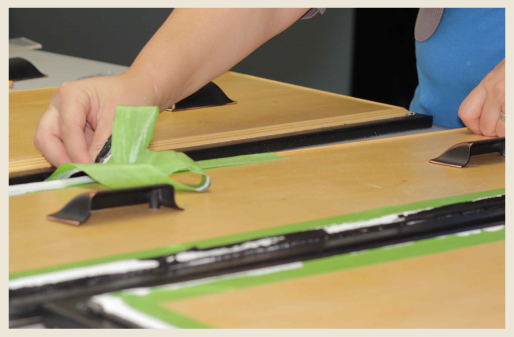
Step 13: Remove tape and reapply to shellac-ed surface
Apply tape to protect the freshly stained and shellac-ed surface from the primer and paint application.
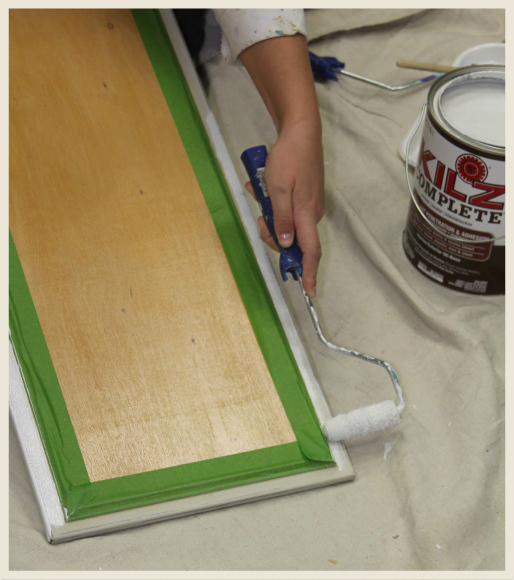
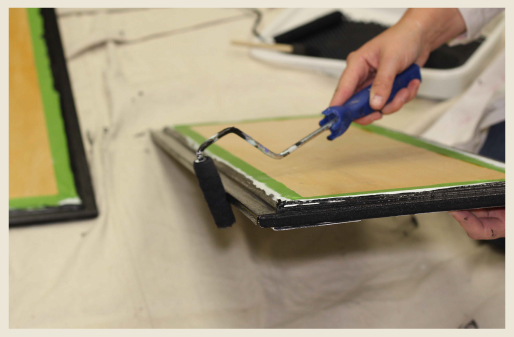
Step 14: Apply primer
Applying a metal primer will help the Direct-to-Metal paint bond and adhere strongly to the application surface. I used Kilz Complete, an oil based primer formulated for use on metal surfaces. Oil based primer have high VOCs! Be sure to apply them in well ventilated areas.
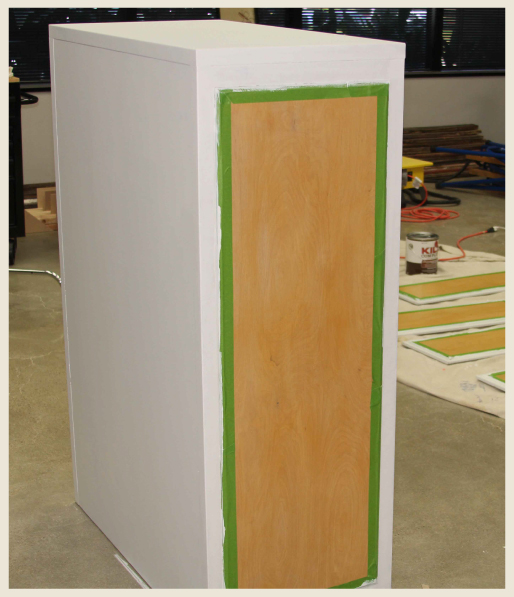
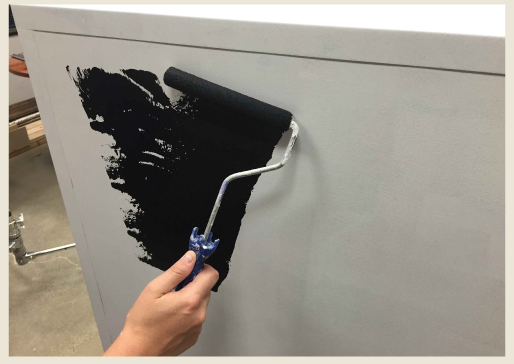
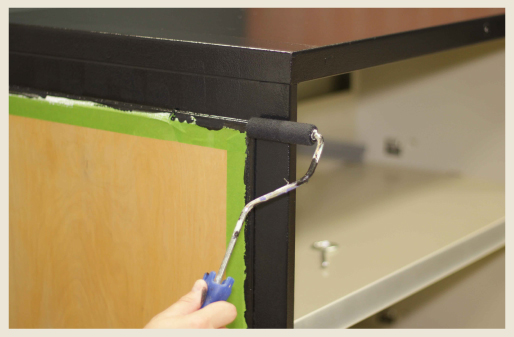
Step 15: Apply Direct-to-Metal paint
Apply your paint color to the cabinet surfaces. Allow time to dry. Add a second coat if necessary/desired- allow time to dry.
Step 16: Measure and mark placement of handles
Decide where on your cabinet fronts you would like the handles positioned. You’ll want to make sure all the handles line up, so careful measurement is required.

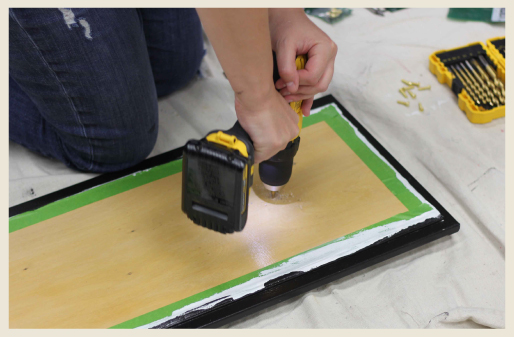
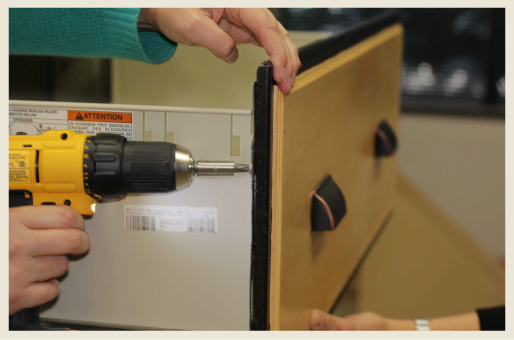
Step 17: Drill holes for screws
With a power drill and a drill bit that can penetrate metal, drill screw holes through your designated spots.
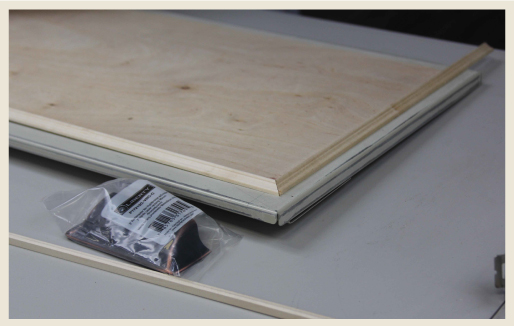
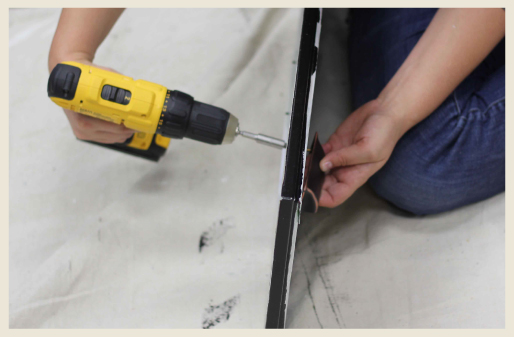
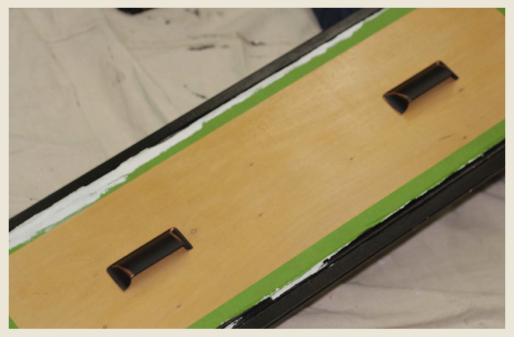
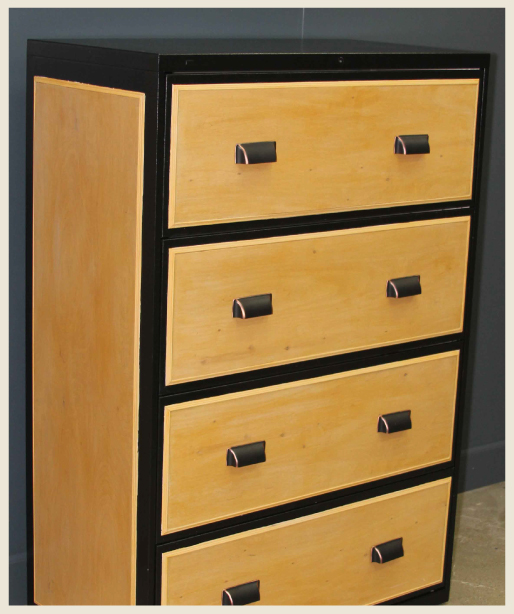
Step 18: Attach handles
Once your holes are in place you can attach your handles. We selected Liberty Hardware, 3″ Rectangular Bin Pulls in copper. If the screws that come with the drawer pulls are too long, you may have to purchase shorter ones.
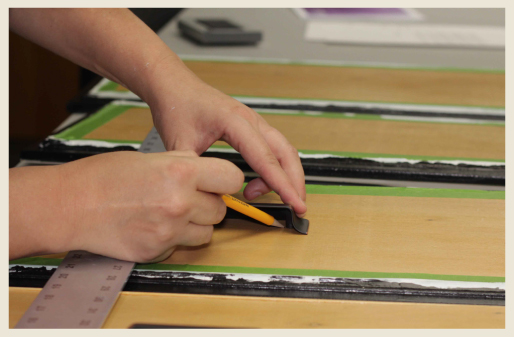
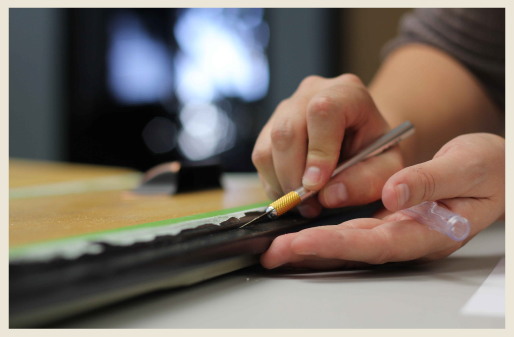
Step 19: Score and remove tape
I left my paint to dry overnight, so I used a blade to score the tape before removing. This eliminates the risk of the tape tearing the paint film. If necessary use a small detail brush to touch up any missed paint spots.
Step 20: Reattach cabinet fronts to body
With the help of a friend screw the cabinet fronts back on the cabinet body.
Step 21: Step back and enjoy your beautiful new industrial cabinet
Colorfully yours,
-Quinn
DIY Projects
Industrial File Cabinet Makeover
TIME
BUDGET
COMPLEXITY