REFINISHED DRESSER
Here’s the scenario: You're at a garage sale and you spy a dresser. It is marked $20 and just happens to be the perfect dresser to fit in your bedroom. A few drawbacks are the top surface has some markings, and the drawer fronts have a few nicks and dings. You know it has potential, but you're not sure if you are able to get the job done DIY style. What do you do? After you check and make sure all things are functional (and not stinky)...BUY IT.
Why? Because I'm going to show you how easy it can be to paint furniture in 3 simple steps.
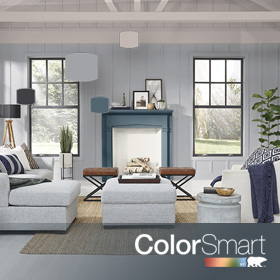
When choosing a color, look up the exact color online or use the in-store kiosk to see the color on a large wall or surface. You'll get a better idea of the undertones and what the color will look like on a large piece.
I have had the privilege of partnering with Behr to showcase their wonderful paint line that I have used on many occasions in my home and furniture makeovers. My subject for today is this funky Mid-Century Modern dresser that needs some lovin'. These things are like a rock...structurally sound and have great bones.
STEP 1: PREPARE
 When you are starting your project piece, it is super important to prepare it for paint. Look for any defects like scratches, knicks, or damage that needs to be filled in. The best fix for all of those defects is wood filler. Use a putty knife to fill in the spots and leave a bit raised as it will shrink when it dries. In most cases, the wear is minimal and it may be that you don't need any.
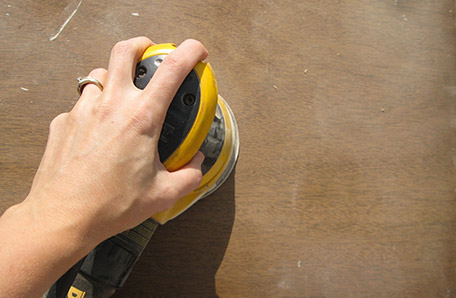
Once the filler dries, it's time to sand. You can use a piece of sandpaper or an orbital sander to smooth it down. This also works if you need to add "tooth" for glossy surfaces.
STEP 2: PRIME
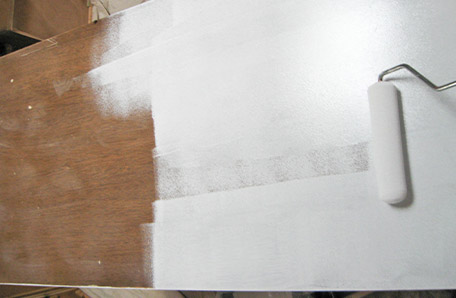 Now, this step is completely optional when choosing to paint furniture. If you find that there are chemical stains or a red-toned wood stain (like cherry or mahogany) was used on the original piece, you will need this step. Especially if you are doing a light paint color. My dresser had burns and a red stain was used on it, so I used my favorite stain blocking primer, Kilz®. You can either roll it on or brush it, and most often only one coat is needed. For stubborn stains you may need to apply a second coat to that particular spot.
STEP 3: PAINT
 Onto the fun part! Seriously, this is where you get to see all your hard work coming to life. For my project, I headed to the home improvement store to pick my color.
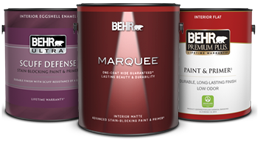
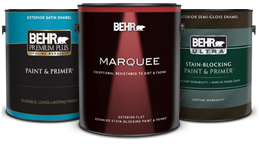
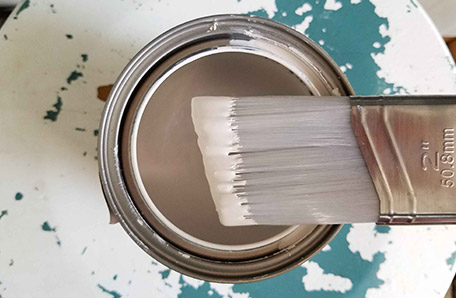
I am ever entranced by all the selections there are, but the one that spoke to me the most was Bleached Linen by BEHR. Their PREMIUM PLUS® line is perfect for jobs that require stain block priming (and those that don't) because it has a primer built in.
You may wonder what made me choose my color...well, I wanted a soft neutral and linen is one of my favorite textiles. Isn't this color gorgeous?
My typical tools include a paint brush and paint, but for these Mid-Century pieces I also like to use a micro-foam roller and pan. It makes the job faster and gives a super-smooth finish.
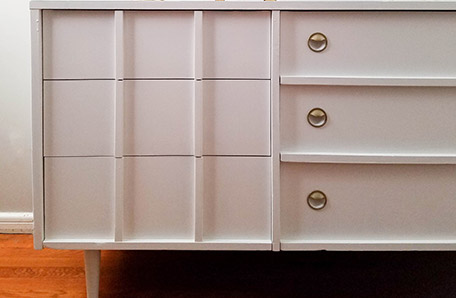
You will want to use your brush in nooks and crannies mostly, but feel free to brush the whole thing as I normally do too. When rolling, however, start on one end and work in the same direction. Get the paint on in as many batches as needed, then go back and lightly roll over to blend seams. If using two coats, just make sure to let each coat cure before applying the second coat (approx. 2 hours). I did not use a topcoat since I used an eggshell finish.
Last, but not least, consider the hardware. Replace it or take the existing and give it a new look. Since mine were custom for this piece and were not solid brass, I chose to refresh them with a shiny gold spray paint. Easy-peasy.
And you're done!
Their PREMIUM PLUS line is perfect for jobs that require stain block priming (and those that don't) because it has a primer built in
TIPS
When choosing a sheen, the higher the sheen the better the durability. If you want durability with less sheen, use a topcoat of wax or poly. Though do know that I have yet to find a poly that won't yellow over time. It's best used on darker colors.
Use a magnet to tell if your hardware is worth saving. If non-magnetic, then it is brass (score!) and you could give it a good polish or enjoy the time-worn patina.
Save money by using a plastic grocery bag to line your pan.
Just make sure to turn it inside out because if you use it on the inked side, it will bleed into your paint. This will save you time and money.
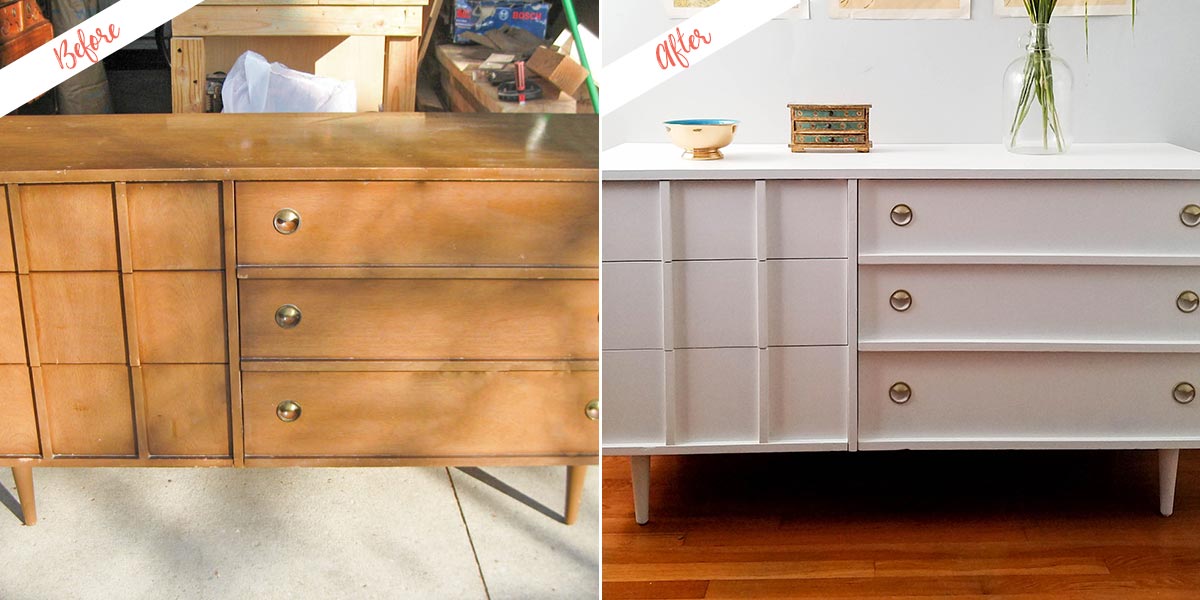
THE BIG REVEAL
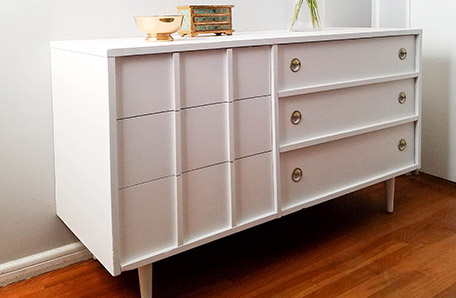
Now we have a fresh new look that has not only updated our piece, but given it new life.
High five for that garage sale score and awesome makeover! My hope is that you feel confident enough to paint furniture from start to finish all by yourself. Who knows, you just may get addicted.
READY TO DIY?
Find your color, pick your paint, and be inspired.
When you're ready, buy your paint online.
- Explore colors on your own or browse through our curated collections.
- Click on "Buy" then customize your options.
- Checkout at homedepot.com