Back to Interior Painting How-To's

How to Paint Brick
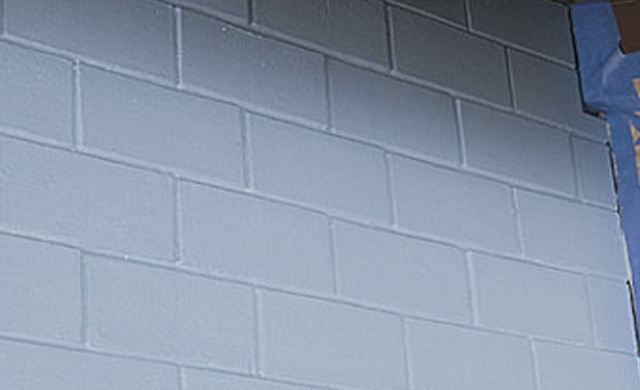
You'll be pleasantly surprised by the effect a beautifully painted brick wall can have on your home.
For Best Results:
Refer to our how-to for step-by-step instructions.
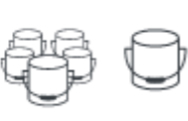
Suggested Tools & Supplies
- Brush (2"-2½")
- Bucket
- Bucket Grid
- Extension Pole
- Vinyl Gloves
- Ladder
- Paint Can Opener
- Paint Tray
- Paint Tray Liner
- Rags
- Roller Cover and Frame
- Sandpaper (150-220 Grit)
- Stir Stick
-
Step 1
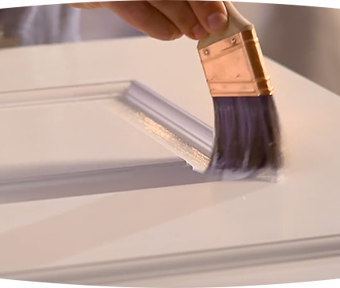
Begin your painting project by pouring thoroughly mixed paint into a bucket and dipping a quality 2"-2½" wide nylon/polyester brush into the paint.
TIP: When using more than one gallon of paint, combine the containers for better uniformity of color. This intermixing is called "boxing."
-
Step 2
With your brush, paint (cut in) around the perimeter of the brick surface. Start at the top corner and continue along the ceiling and around the baseboards.
TIP: As you cut in, be sure to remove the excess paint that collects between the bricks with your brush.
-
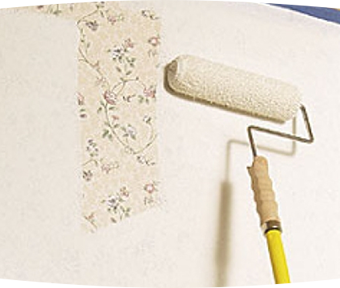
Step 3
Pour paint into a paint tray and work the roller into the tray until it is fully loaded with paint. For best results, use a ½"-1" roller cover.
TIP: For larger areas, consider using a 5-gallon bucket and a bucket grid.
-
Step 4
Starting in a 3' x 3' section at a top corner of your project area, roll the paint onto the brick in a "W" formation.
TIP: For an even application, begin 3"-4" from the cut in section.
-
Step 5
Work the roller back and forth across the section until the "W" is completely filled in. Be sure to roll over the cut in area as well.
TIP: Reload the roller when necessary and maintain a wet edge.
-
Step 6
Forming a column from ceiling to floor, paint the next 3' x 3' section directly below the previous one.
TIP: To blend the 3' x 3' sections and ensure a uniform finish, lightly pass the roller over the newly painted area.
-
Step 7
If necessary, apply more paint into the mortar where the roller has missed.
-
Step 8
Repeat the process of forming columns and blending sections until the project is complete.
TIP: For optimum results in quality of color and finish, apply a second coat.
More How-Tos

ADDITIONAL RESOURCES
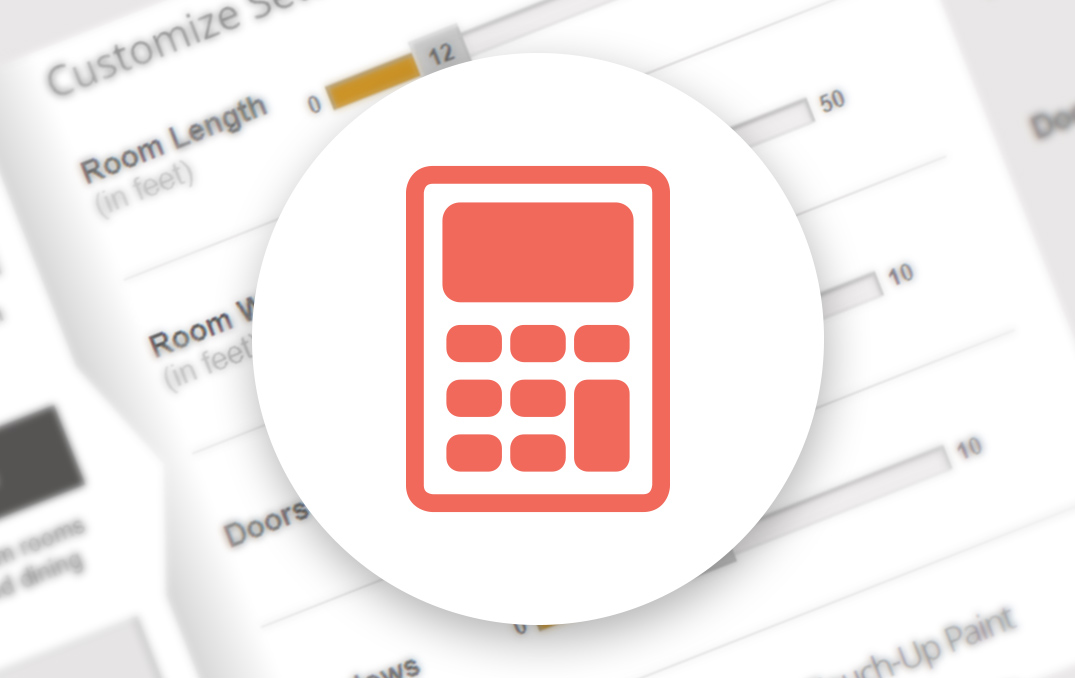
PAINT AND STAIN CALCULATOR
Inside or outside; paint or stain: Let’s figure out how much you’ll need to make amazing happen.
Calculate
ASK AN EXPERT
Every project is unique: Keep small wrinkles from becoming big problems by letting the Behr Technical Experts lend a hand.
Get Expert Help
CONNECT WITH PRO REFERRAL - POWERED BY THE HOME DEPOT
Let Pro Referral do the leg work and match you with quality local painters.
Find a Painter