How to repair a drywall hole
For a beautiful, clean look, patch any holes in your walls before you apply a fresh coat of paint.
For Best Results:
Refer to the how-to for guidance on repairing holes in your walls.
Tools & supplies
- Vinyl Gloves
- Ladder
- Patching Material
- Protective Apparel
- Putty Knife
- Rags
- Sandpaper (100, 220 Grit)
- Self-Adhesive Wall Patch
Step-by-step process
Step 1
Using 100-grit sandpaper, lightly sand the damaged area. Sand 4"-6" beyond the perimeter of the hole as well. Remove any dust or debris with a lightly water-dampened rag.
Step 2
Cover the hole with an appropriately sized self-adhesive wall patch and press firmly.
Step 3
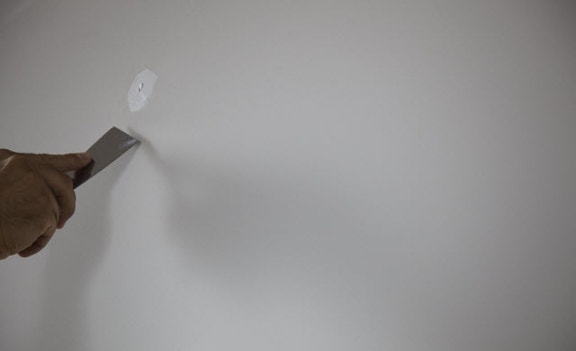
Using a putty knife, apply 4 inches of patching material around the perimeter of the wall patch. Allow it to dry.
Tip:
To create an even surface, always smooth out (feather) the patching material 1"-2" beyond the patched area.
Step 4
Again using a putty knife, apply patching material over the repaired area and feather it 6"-8" beyond the edges. Allow it to dry.
Step 5
Use 220-grit sandpaper to smooth the patched area and make it even with the surface.
Tip:
Take care not to sand completely through the patching material as damage to the patch can occur.
Step 6
Remove any final dust or debris from the finished repair.
Tip:
If retexturing of the surface is necessary, choose a finish that will match the existing surface. Textured ceiling/wall patch kits are available in aerosol and powder forms. Follow the manufacturer's recommendations for application.