UNDERSINK STORAGE

In small spaces, nothing is more essential than good organized storage. Often, the areas under sinks and in lower cabinets are difficult to organize since you need to work in tight spaces, and often around plumbing or other impediments.
By creating vertical storage and using removable baskets, you can maximize the space and make it so much easier to keep everything organized.
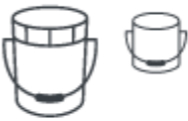
For this project, I only needed a single half sheet of plywood and a few plastic baskets (or bins would work too) with a rim or lip at the top. Using a router, I was able to add notches to the board in which the rim of the baskets could slide in and out freely. I also added a few shelves to store taller items like bottles.
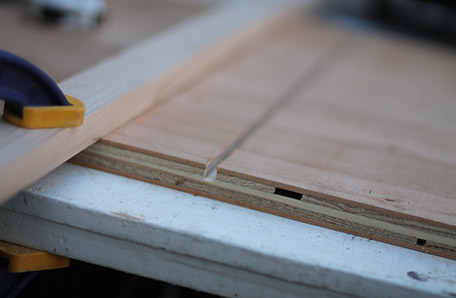
The first step is to measure the height of the baskets and add an inch or so. Mark a sheet of plywood with parallel lines that far apart. Then using a straight router bit, create a square notch on each of the lines. (To get the lines straight, I clamped a piece of 1x2 as a guide for my router.)
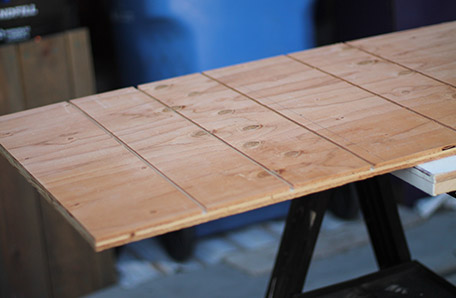
Once you have a series of notches on the board, use a circular saw to cut the board in half perpendicular to the notches. This gives you two identical boards which mean the notches will line up perfectly with each other when they face each other.
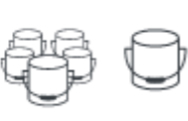
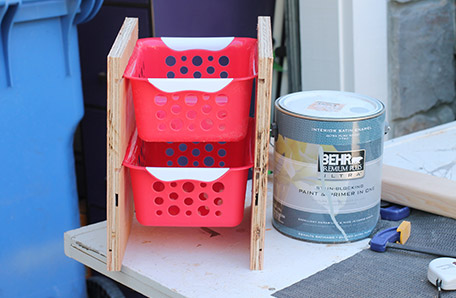
Using the baskets as guides, make sure the sides of your organizer are just slightly farther apart than you baskets (not too far so they fall out and not too close together so the baskets can’t slide).
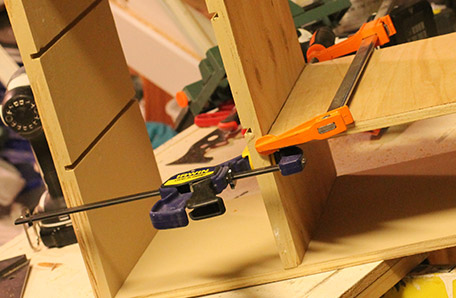
Now you can add a board on the top and the bottom of the organizer. If you want to go around the pipes under your sink you will want to measure exactly how high the shelves can go before hitting anything. You also will want to build your organizer in multiple pieces so you can easily slide it into the cabinet. I found that using bar clamps to keep everything level and square worked best.
In my situation I created a row of three baskets on one side and two on the other. This left me with areas to store taller and larger items that wouldn’t fit in a basket.
I used a paint brush for the notches and a roller for the flat areas. This gave a nice stroke-free finish.
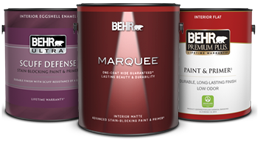
NEXT IT WAS TIME TO PAINT
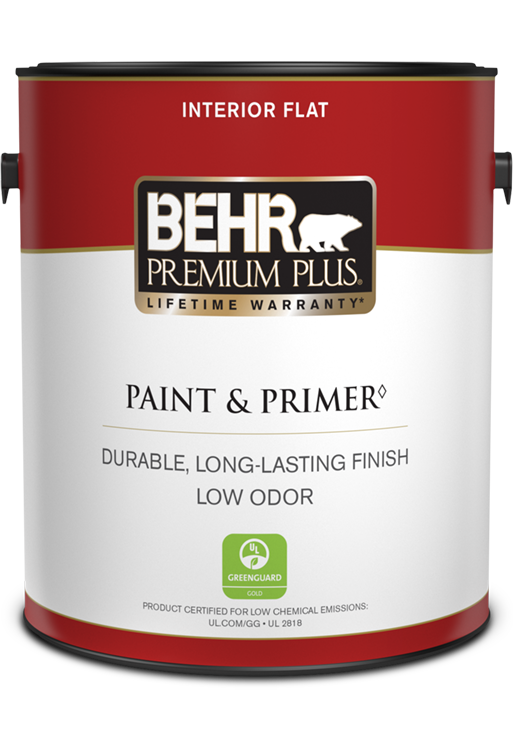
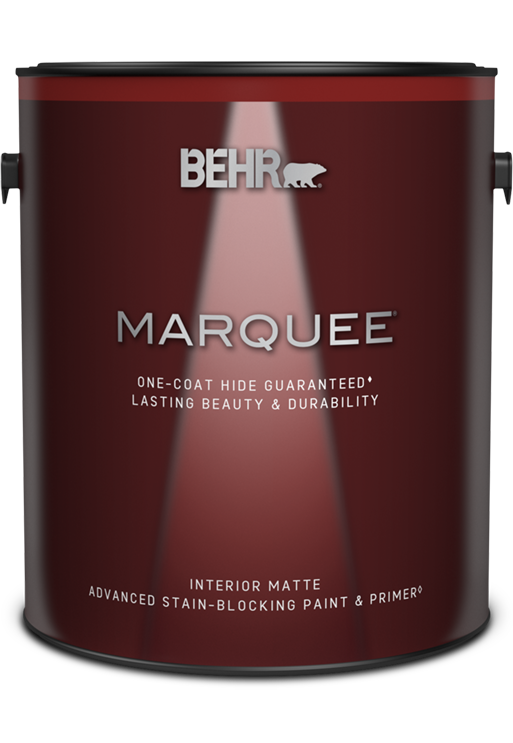
I used BEHR PREMIUM PLUS ULTRA® Interior Flat Enamel and skipped the primer. I used a paint brush for the notches and a roller for the flat areas. This gave a nice stroke-free finish.
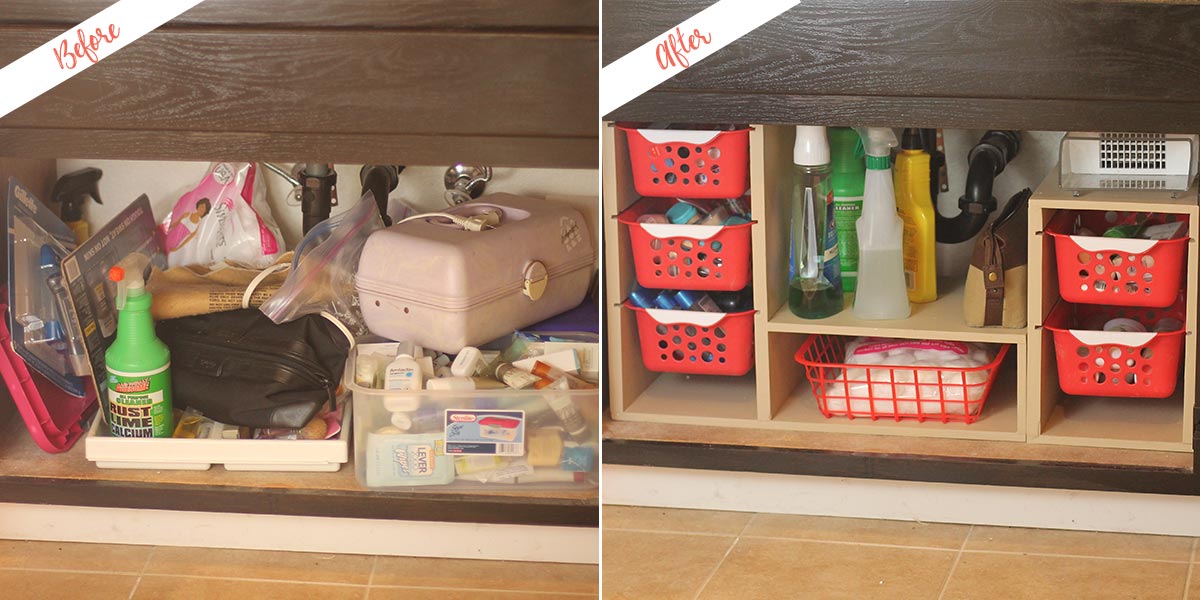
After two coats of paint, I let it dry well, then installed it into my bathroom cabinet. I had plenty of space and everything is much easier to find. By grouping like-items together, I am also much more organized than ever before
THE BIG REVEAL

All in all, it was a great project and I am planning on doing more cabinets this same way.
READY TO DIY?
Find your color, pick your paint, and be inspired.
When you're ready, buy your paint online.
- Explore colors on your own or browse through our curated collections.
- Click on "Buy" then customize your options.
- Checkout at homedepot.com