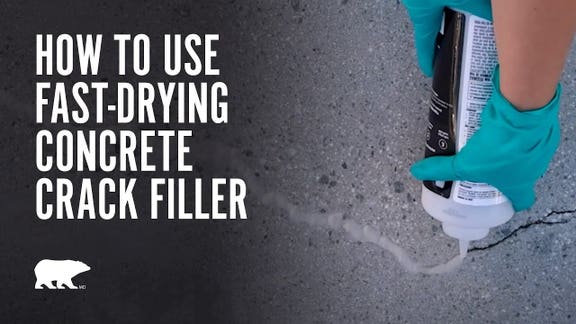
How to use Behr Premium® Concrete Crack Filler
For use in horizontal cracks found on cementitious surfaces such as patios, driveways, garages, pool decks, and walkways to improve the appearance of the cracked surface. Ideal for hairline cracks and cracks up to 2" wide.
Tools & supplies
- Protective goggles
- Gloves
- Putty knife (or another flat-edged tool)
- Spray bottle, or a hose on a mist setting
- Scissors
- Drop cloth
Step-by-step process
Step 1: Prepare your surface.
All cracks must be clean, sound, dry, and free of any dirt or debris. Rinse cracks with a garden hose or a power washer and allow to fully dry.
TIP:
If planning to topcoat, follow surface preparation outlined on the manufacturer's label instructions. For best topcoat results, use NO. 880 BEHR PREMIUM® Concrete Bonding Primer after BEHR PREMIUM Crack Filler has fully cured.
Step 2: Shake and Cut Spout
Shake bottle well, remove red cap, and cut a small opening on the spout.
Step 3: Pour
Pour into crack fully filling all voids. Do not overfill as it may be hard to remove any residual filler that cures around the surface. For deep cracks, an alternative filler may be used as a base layer, then top off with BEHR PREMIUM Concrete Crack Filler.
Step 4: Level
Carefully level off and remove any excess material leaving a flush surface. Example tools to use are small brushes, putty knifes, etc.
Step 5: Save
If surface is clean, then the excess dry material can be saved and reused for later.
Step 6: Mist
Use a spray bottle to lightly mist with clean water and fully saturate. Avoid puddling. Large and deep cracks may be prone to slight shifting upon misting. A second fill and mist may be necessary to get a flush uniform finish. Repeat steps 3-6 as needed to achieve a level surface.
Step 7: Dry
Allow 1-hour dry time for hairline cracks up to 1/8" wide. Longer dry time may be required in cooler temperatures and higher humidity, and for larger cracks.
TIP:
Allow the BEHR PREMIUM Concrete Crack Filler to fully dry before applying an optional topcoat or subjecting to any traffic.
Step 8: Store
Attach red cap back to bottle and store in a dry area.
TIP:
Shake well before reuse.