BATHROOM UPDATE
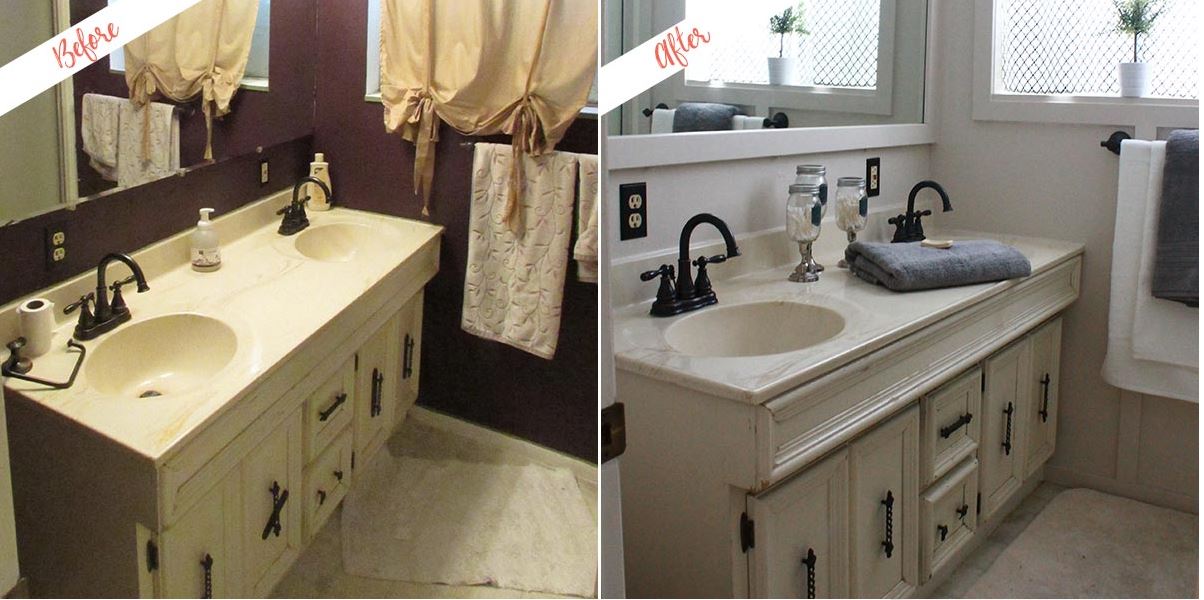
I had quite the taste when I was younger. I liked dark purple. A lot. So much so that when I was in college, I painted my bathroom in my mom’s house the darkest purple I could find. I’m sure she loved me for it.
Since I moved out years ago, the bathroom sadly has stayed the same. Even though it is dark purple, I like to think of it as a step up from the pastel pink that was there before when my mom first bought the house. But I know she really wanted to update it and use it as a guest bathroom.
 Since I moved out years ago, the bathroom sadly has stayed the same. Even though it is dark purple, I like to think of it as a step up from the pastel pink that was there before when my mom first bought the house. But I know she really wanted to update it and use it as a guest bathroom.
So, I decided to undo what I did to it and give it an update with a fresh coat of paint and some board and batten. Taking it from the inside of an eggplant to a modern cottage feel. This updated bathroom now matches the rest of her house; I just bet she wished it had happened sooner!
To begin, I had to prep the wall. First step was to scrub away all the mildew. Once the wall was dried, using painter’s tape, I taped along all the surfaces that weren’t going to be painted, like the vanity. I also removed the outlet plates, switch covers and towel holders.
Next step, decide on the height of the board and batten. I decided it should be at least 66 inches from the floor. Just for aesthetic purposes, I like the horizontal line to be either above or below the middle of the wall. I then placed a line of painter’s tape at that height along all the walls in the bathroom.
This took about two coats to totally cover the dark purple. Not bad!
USE THE ANGLED BRUSH
To start painting, I used my angled brush and cut in about 4 inches into the wall along the perimeter. As I did this, I brushed the paint down into the wall to keep it from having a hard line and to help blend with the rest of the paint that was to come.
I then painted the rest of the bottom portion using a roller and likewise for the top. This picture shows just one coat of the Chocolate Froth over the purple. Amazing!
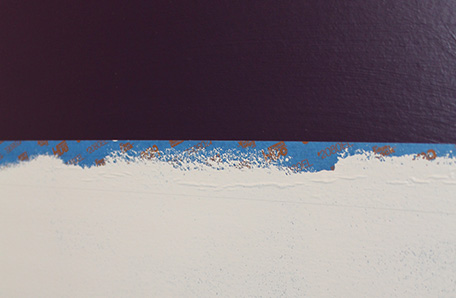
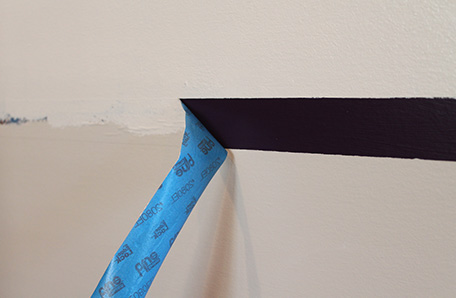
Once the paint was dried, I then removed the painter's tape revealing a dark purple line. Not to worry though, this is going to be covered by the molding.
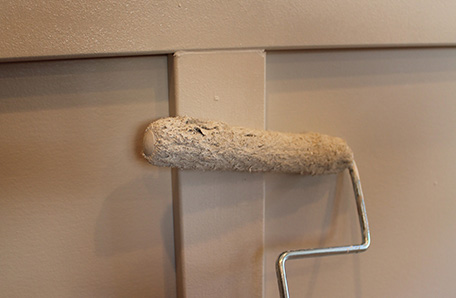
As the paint dries in the previous step, it’s a great time to give the molding a coat of paint. Since it is going on the bottom portion of the wall, I gave it one coat of the Chocolate Froth.
Once all the paint is dried, it’s time to put up the molding. Putting up the horizontal molding first makes it the easiest. Starting from one corner to the next, or to the next stop (i.e. a door frame or mirror), take the measurement and then cut it. Using a nail gun, secure it onto the wall covering the horizontal line. Now measure your next portion from corner to corner. Keep in mind that one corner may have the adjacent molding on it, so it’s best to not measure beforehand but as you go along. Measure one section, put it up. Measure the next section, etc.
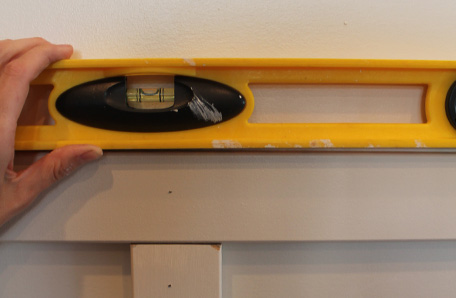
Next is to decide where you want the vertical slats. Measure from the top of the base molding up to the bottom of the horizontal molding. Make your cut and then secure with either liquid nails or a nail gun if it’s in a stud. Use the level to make sure it is level.
 Now for the finishing work. I’ve used many products in
the past to fill in the edges and holes, but my favorite
has been spackling compound. I used the spackling
compound along all the joints and where the vertical
molding met the horizontal molding and in the
corners. I also used it in any nail hole. Once I applied
it to an area, I then quickly went over it with a wet
cloth removing the excess compound. No need for
sanding!
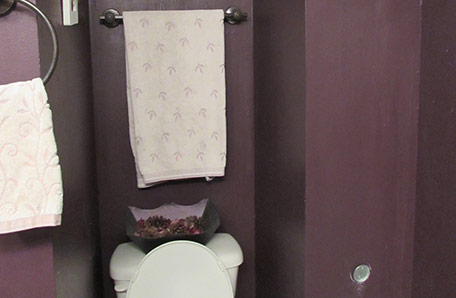
Since this is a bathroom and concern for moisture is a
problem, I applied caulk with silicone to all the seams where the molding touched the wall.
Next, I put one last coat of paint on the molding. Finished!
THE BIG REVEAL
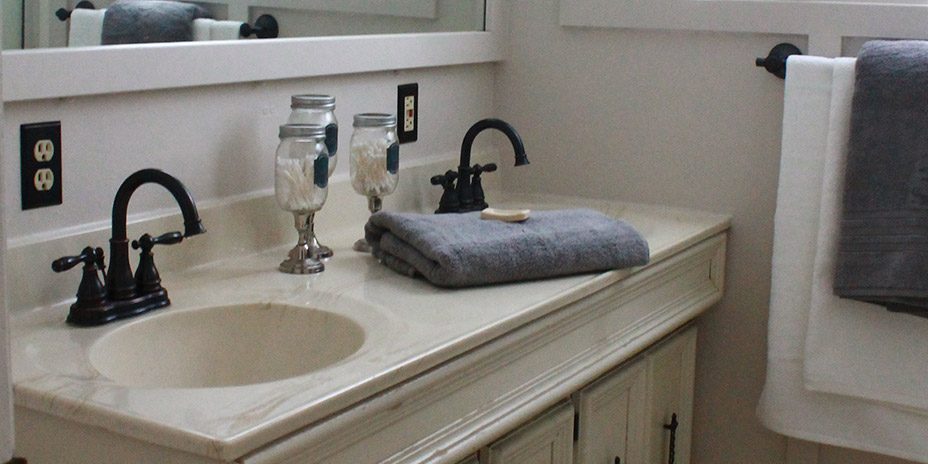
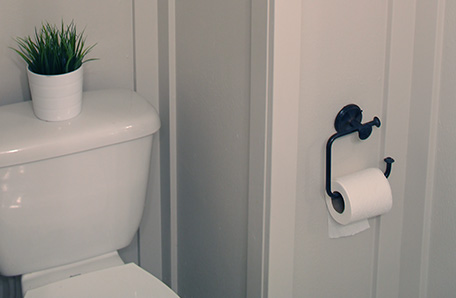
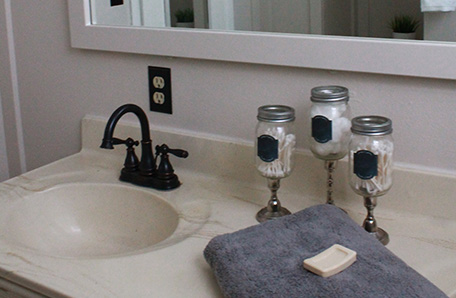
This is definitely a weekend project, but the time spent is worth it! You can see that I also decided to frame out the mirror with the same color molding as the board and batten. I love how it finished off the look perfectly. This corner of the bathroom had a lot of corners in it, which made the board and batten striking once it was complete.
READY TO DIY?
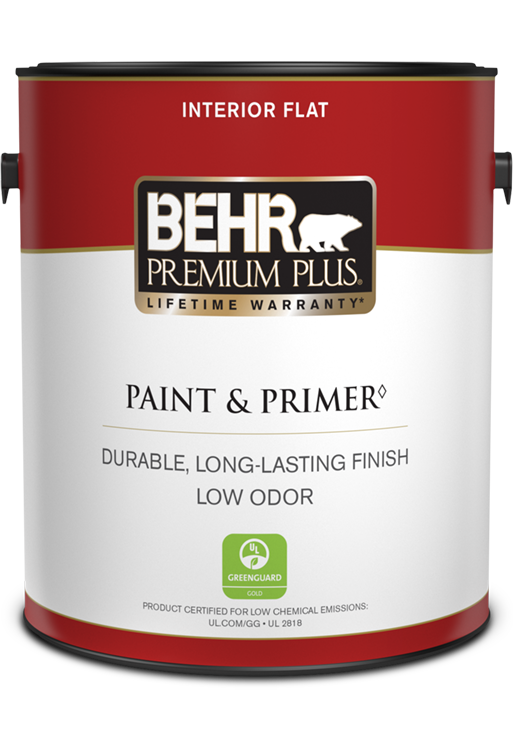
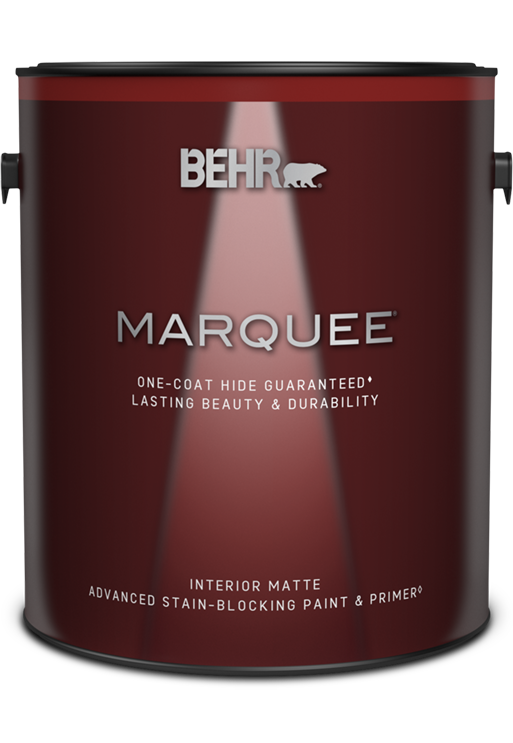
Find your color, pick your paint, and be inspired.
When you're ready, buy your paint online.
- Explore colors on your own or browse through our curated collections.
- Click on "Buy" then customize your options.
- Checkout at homedepot.com