How to Repair a Crack on a Stucco Surface
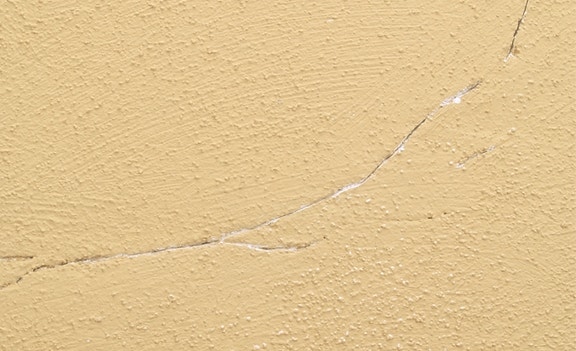
Take the time to patch any cracks on your stucco surfaces. It will make a positive difference in the appearance of your home.
For best results:
Follow these how-to steps for successful repair of cracks in your stucco.
Tools & supplies
- 5-in-1 Tool
- Bucket
- Ladder
- Protective Apparel
- Rags
- Rubber Float
- Scraper
- Stir Stick
- Stucco Patch
Step-by-step process
Step 1
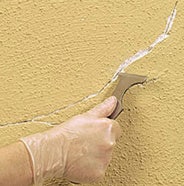
Using a scraper, remove any loose debris from the cracked area.
TIP:
Use a 5-in-1 painter's tool to widen cracks that are less that ¼" wide. This will remove old stucco, paint, and other debris from the cracks and will allow the patching material to bond tightly to the damaged area.
Step 2
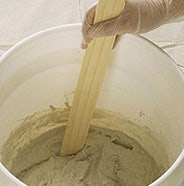
Following the manufacturer's directions on the label, mix the appropriate ratio of stucco patch and water in an empty plastic 5-gallon container.
TIP:
This product dries quickly. Mix only enough stucco patch material for a 15-20 minute application.
Step 3
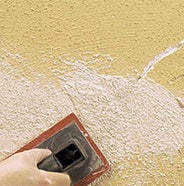
Using a rubber float, press the patching material into the damaged area. Spread no more than a ¼" thick layer into the crack. Allow it to set. Continue to apply stucco patch material in ¼" layers until it is flush with the existing surface.
TIP:
For small cracks, fill the damaged area with paintable high quality caulking material before continuing with the stucco patch.
Step 4
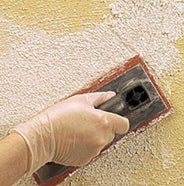
Before the last coat of patching material dries, remove any excess material using a clean rubber float in a circular sweeping motion. Blend the repaired area into the existing texture. Allow the area to dry.
TIP:
Clean your tools after use.
Step 5
Remove any final dust or debris from the finished repair.