How to use BEHR® simple pour lid & spout
The future of painting is simple
The BEHR® simple pour lid & spout were designed with your painting convenience in mind.
Easy to use pour spout
- Notched end (1) fits onto cap for easier twist off. Spout wings (2) help align and screw spout to cap opening.
Multiple ways to open
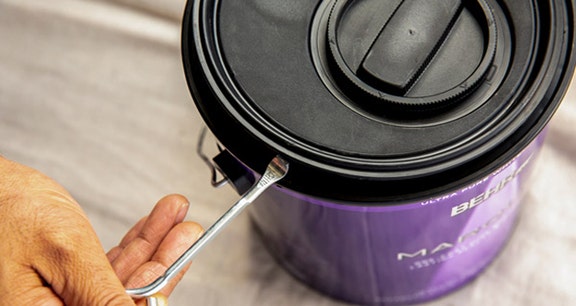
- Simply twist to remove the cap (3). You can also use a traditional paint key (5) to open the full lid.
Rust proof lid
- The eco-friendly can and lid (4) are made out of 100% recycled plastic material.
Fresher paint longer
- Once your painting project is complete, clean the spout, wipe excess paint from the cap opening and reseal the paint can by replacing the twist cap or lid, helping the paint remain fresher longer.
Tools & supplies
- BEHR Paint featuring Simple Pour Lid & Spout
Step-by-step process
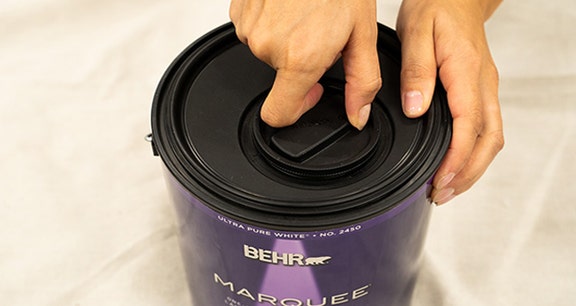
Step 1: Remove the cap
Make a quarter-turn counter-clockwise to remove the cap.
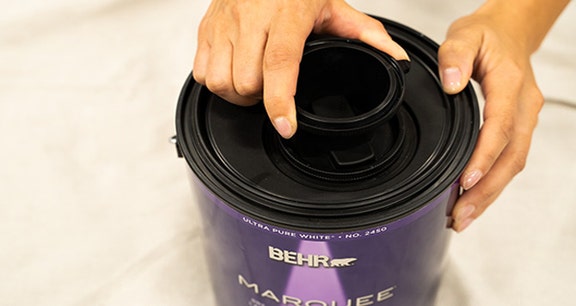
Step 2: Alternate cap removal
Or - use the notched end of the spout as a tool to remove cap, turning counter-clockwise.
Step 3: Attach the simple pour spout
The simple pour spout threads onto the cap with a clockwise turn. Use 2 plastic wings on side of spout to properly tighten.
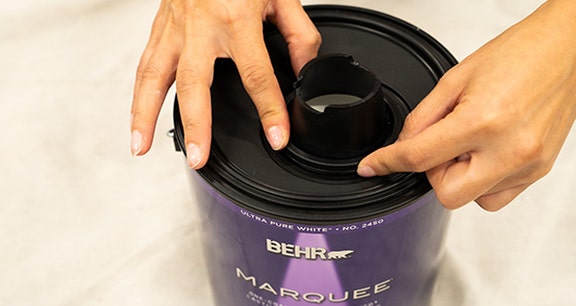
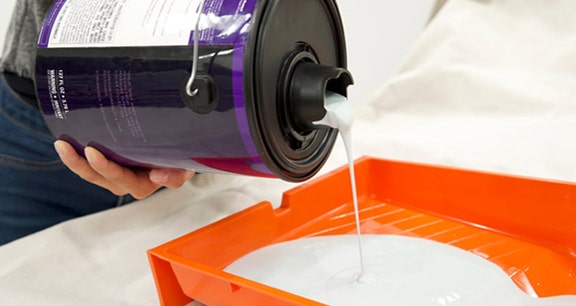
Step 4: Pour the paint into the tray
Pour paint using any side of the spout and slowly bring paint can back up to its upright position to avoid any drips.
Step 5: Remove the spout
After pouring the paint, use a paper towel or cloth to turn the spout counter-clockwise and remove the spout. Clean spout and save for next use.
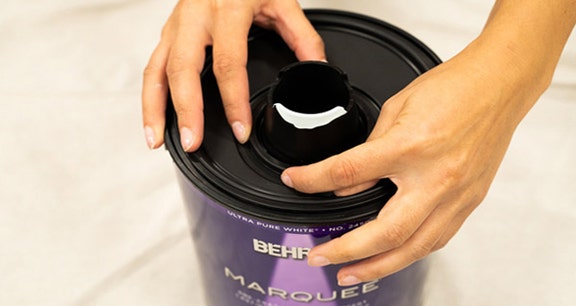
Step 6: Secure cap
Wipe off any excess paint from the rim of the cap opening and reseal the cap by turning it clockwise.
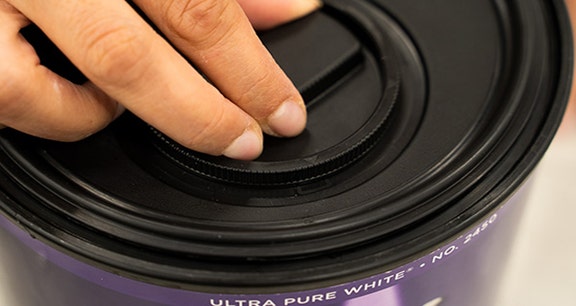
Step 7: Lid removal
If needed, entire lid can be removed with a paint key or screwdriver. Remember to always wipe excess paint from the rim of the can before tapping the lid back in place with a rubber mallet or hammer.