FIVE SIMPLE PAINTING TIPS FOR BEGINNERS
 For smaller rooms like baby nurseries or kids bedrooms, painting can be done over a weekend and still leave you time to assemble the crib! I recently decorated a nursery for our little girl who is expected to arrive any day.
I’ll share more pictures of the finished room at the end of this post, but first I wanted to tell you a few simple tips that I learned along the way to help you get started with your DIY room makeover today.
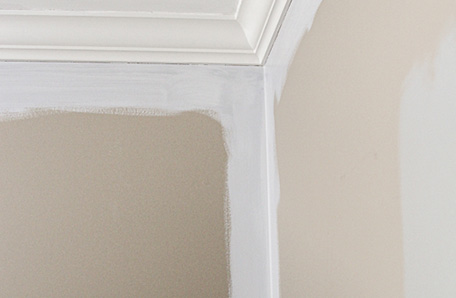
Cutting in around existing trim can be the hardest part of a DIY paint job.
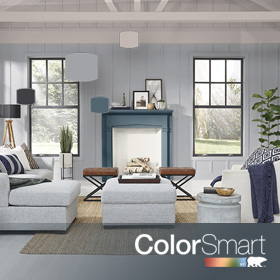
1. DO YOUR COLOR RESEARCH FIRST
Behr paint comes in so many beautiful colors that it will be hard to choose just one (trust me on this!). Before investing in large cans of paint, I wanted to see exactly which colors would work best with my furniture and crib. I purchased small sample sizes of my top five paint colors from the Behr paint fan deck, then painted them on the wall. Paint can be tricky, because every room has different light. You’ll want to see the paint covering a large area of your actual wall before deciding which one to go with. I painted these swatches and visited the room at all hours of the day and night to get a feel for which ones I liked best with my décor.
The color samples I chose for this room were: Classic Silver, Gentle Rain, Light French Grey, Manhattan Mist, and Planetary Silver.
2. PREPARE THE ROOM
Before beginning, all of the furniture got pushed into the middle of the room and covered with drop-cloths to prevent any dust or paint from touching them. Also, be sure to remove all of the light switch and electrical plate covers and put them in a safe spot where you can easily find them. This is a very simple but necessary step!
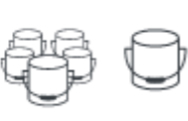
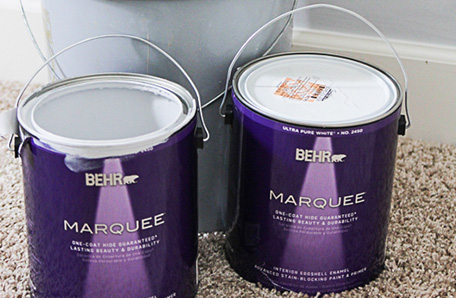
3. WHEN USING MORE THAN TWO GALLONS, MIX THEM TOGETHER FOR EVEN COVERAGE
To be  on the safe side, I like to mix my paint gallons together if I’m using more than one gallon. This will prevent any differences in colors in case one paint can is mixed slightly different than the other. This step is especially important if you happen to purchase the paint at two different times or at different stores to ensure an even match of color.
4. CUT IN ALL THE EDGES FIRST
I’m not going to lie, this tip is a tricky one. I have learned over the years that it is best to tackle cutting in around existing trim with a confident, steady hand and a good stiff brush. Dip your brush in the paint, wipe off the excess, then pretend that you are holding a calligraphy pen. Always remember to pull the brush along the trim instead of pushing it to get a straighter line. You want to pull the brush along in steady, smooth strokes and allow the paint to flow off the end of the brush almost like ink off of a calligraphy pen. Keep your hand steady and reapply paint often as needed to keep the “ink” flowing. You don’t want your brush to get too dry, but also don’t let the excess drip.
If you feel like this process is too hard for you to tackle as a beginner, you can always tape off the trimmed areas of the room with painter's tape, but that adds a lot of valuable time. Give this method a few practice runs first to see if you can handle it. You might be surprised how easy it is! If you do make a mistake, simply wipe off the wet paint with a damp sponge or paper towel before it dries.
Don’t forget to cut in all of the corners of the room with a brush as well. This helps you easily cover all the areas where the roller cannot reach.
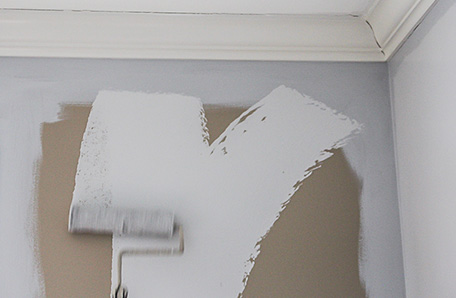
5. PAINT YOUR WALLS IN A W PATTERN
Once you are ready to begin painting with the roller, pretend that you are writing extra large “W’s” all over the wall. Start at the top of the wall, then bring your roller down and back up to form an overlapping “W” shape. This ensures that you get smooth, even coverage around your room.
Reapply paint to your roller often, never letting one area dry without covering it first. Two thin coats of paint are better than one thick coat, so I recommend painting the entire room with a thin coat first. Wait a few hours (or overnight) to allow that first coat to dry completely, then come back and repaint with a second thin coat using the same process as the first.
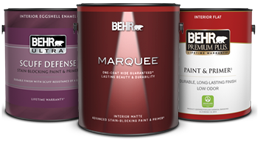
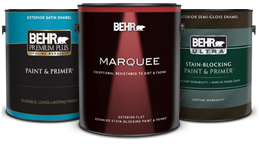
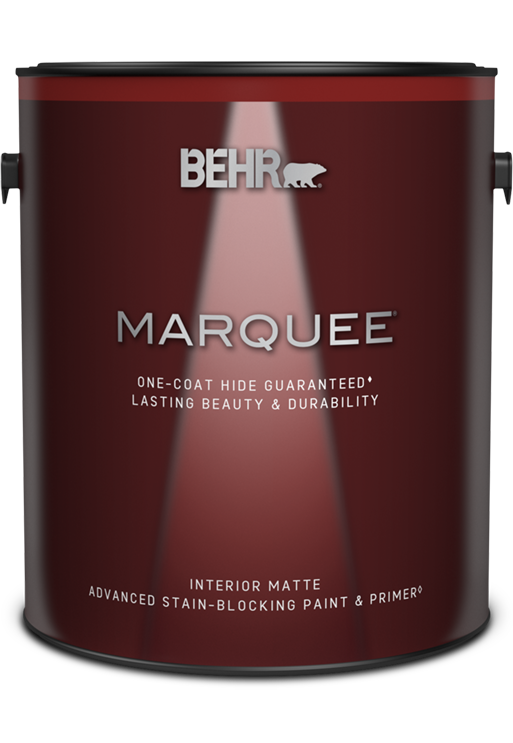
Using a good quality paint like Behr Marquee makes the job so much faster because the coverage is excellent! I highly recommend spending a few extra dollars and using this paint to save yourself time in the long run.
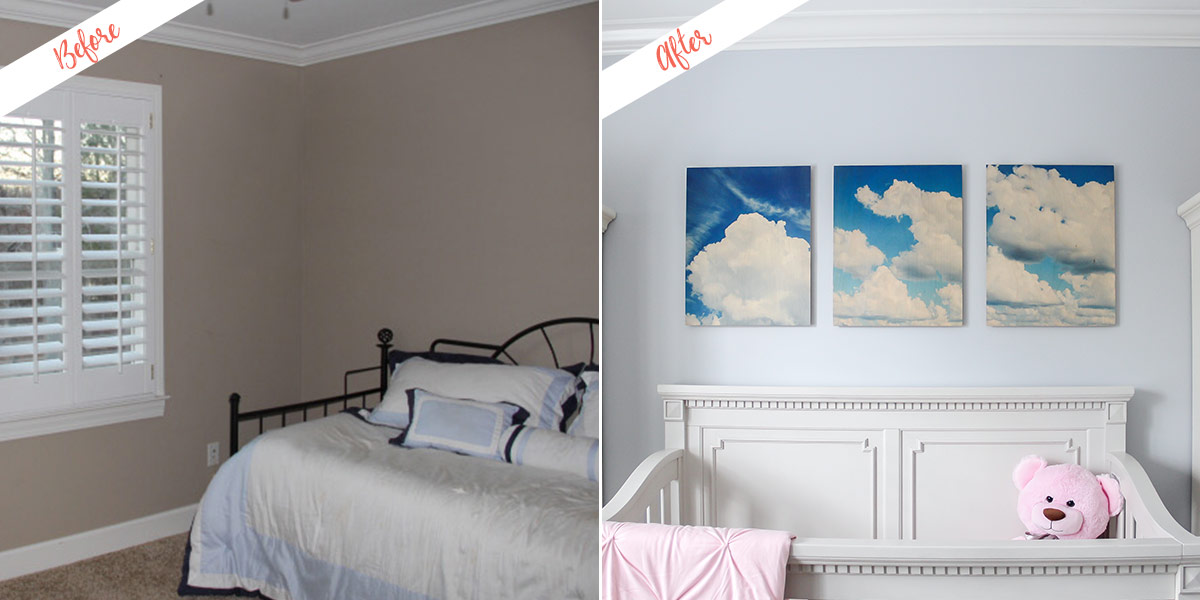
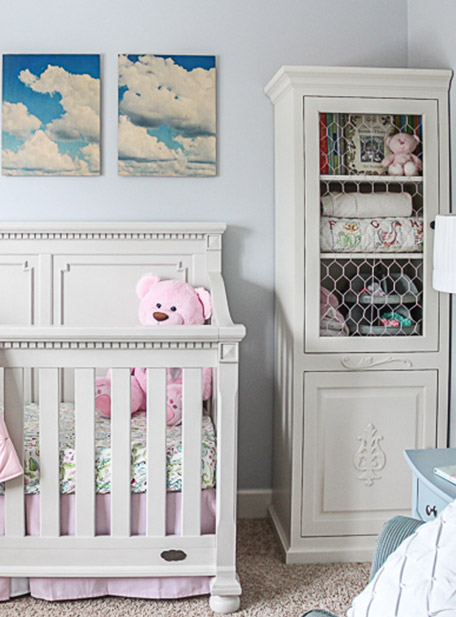
Ok, now that you’ve heard all my best tips for making a DIY paint job go as smoothly as possible, who wants to see the full nursery reveal? I had such a great time bringing my vision for this room to life for my sweet new baby girl. Since most of the room is gender neutral, this room could easily become a boy's nursery with a few simple changes in color scheme.
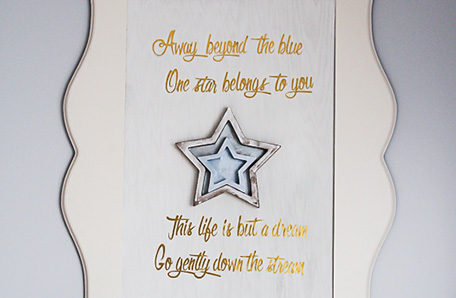
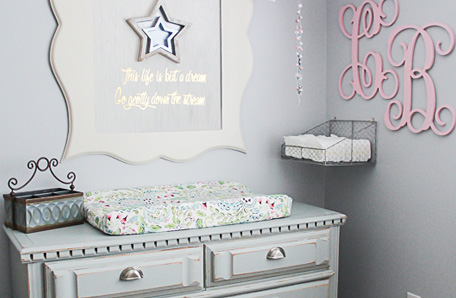
I took the cloud photos myself and had them enlarged to hang above her crib. The giant wooden star was built by my husband out of pieces of reclaimed wood. Because of the risk of lead-based paint in reclaimed wood, we sealed it really well and hung it high out of reach from little hands. This was a simple but stunning piece of unique artwork.
One of my favorite projects in the nursery is this DIY mobile that I created with ribbon and lace. It is so feminine and beautiful, which is the perfect addition to this calm little girl’s nursery. I love how it turned out.
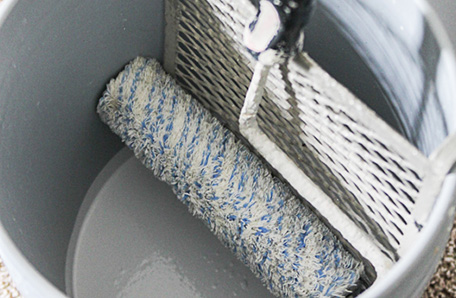
A five gallon bucket with a paint screen also makes your painting time go much faster since you won’t be stopping to pour more paint into your tray every few minutes.
Trays can sometimes result in uneven coverage with your roller, but the screen inside the bucket technique ensures that you get even paint coverage on a good nap roller.
THE BIG REVEAL
The Manhattan Mist Behr paint was the perfect color choice for this little girl’s nursery. This paint choice served as a perfect backdrop to tie everything together.
You can also find the perfect Behr paint choice for your next DIY paint project as well. Be sure to share your photos with us once you’ve transformed the rooms in your house using these five simple painting tips. We’d love to see what your baby nursery looks like!