STYLISH DIY MEDIA CONSOLE
In our den, we didn’t have much space for a media console. All the ones we found were too wide or didn’t provide enough storage for all our components. If they did fit our criteria, they were too expensive. Instead of giving up on finding one that would work for us, we made our own media console that worked perfectly for our space. Here’s how we did it.
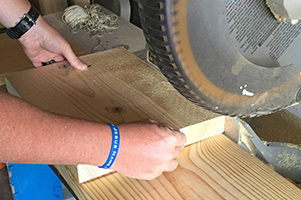
To begin with, cut three pieces of 2 x 12 lumber down to 84” long. You can do this with a miter or circular saw or have the lumber cut at your local hardware store when you purchase it. Cut two more additional pieces of 2 x 12 lumber down to 15” long.
PREPARE FOR ASSEMBLY
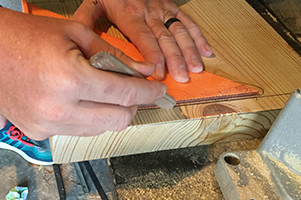
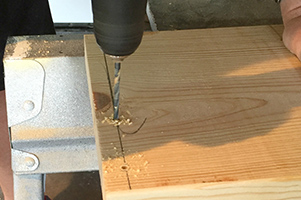
Take one of the short pieces you just cut and using a carpenter’s square, come in one inch from each side and draw a line. Drill four pilot holes along the line. Come back with a drill bit that is slightly larger than the size of your screw head and drill larger holes with this bit just down a little ways into the pilot holes you just drilled. This will allow the screw heads to sink into the wood and be hidden. Repeat this on the two ends opposite each other on each of the short pieces.

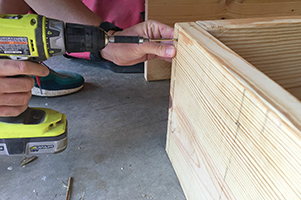
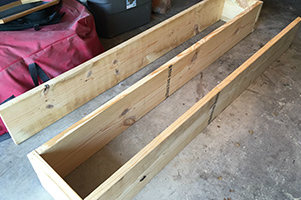
Lay your pieces on the ground -- they should resemble a “Z.” Be sure your short end pieces are lined up with the edges of the long pieces. Attach the pieces together with screws drilled through the pilot holes. Make sure to attach the short piece to the other end of the console, using the same method.
Cut a piece of 2 x 12 down to a length of 28 ½”. Center this piece on the back of your console. Drill pilot holes along the top, middle and bottom of the back piece where it meets the shelves of the console. Attach the back piece with screws through the pilot holes.


ADD REINFORCEMENTS!
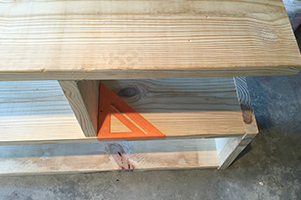
Cut two pieces of 2 x 12 down to a length of 12”. These will fit between the shelves for added support. Place these pieces 18” in from the open side on each shelf. Use a carpenter’s square to make sure they are straight and attach at the top and bottom.
Use spackling or wood putty to fill the holes where the screws have been countersunk. After the spackling dries, sand it smooth. Multiple coats may be needed if the holes are deep. Use a tack cloth to remove any dust or dirt.
NOW YOU'RE READY TO PAINT!
Use a paintbrush to paint in the corners first. Then, roll your paint on with a paint roller. Give your media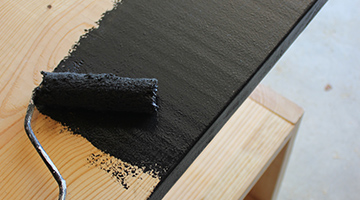 console at least two coats of paint and let it fully dry before putting it into use.
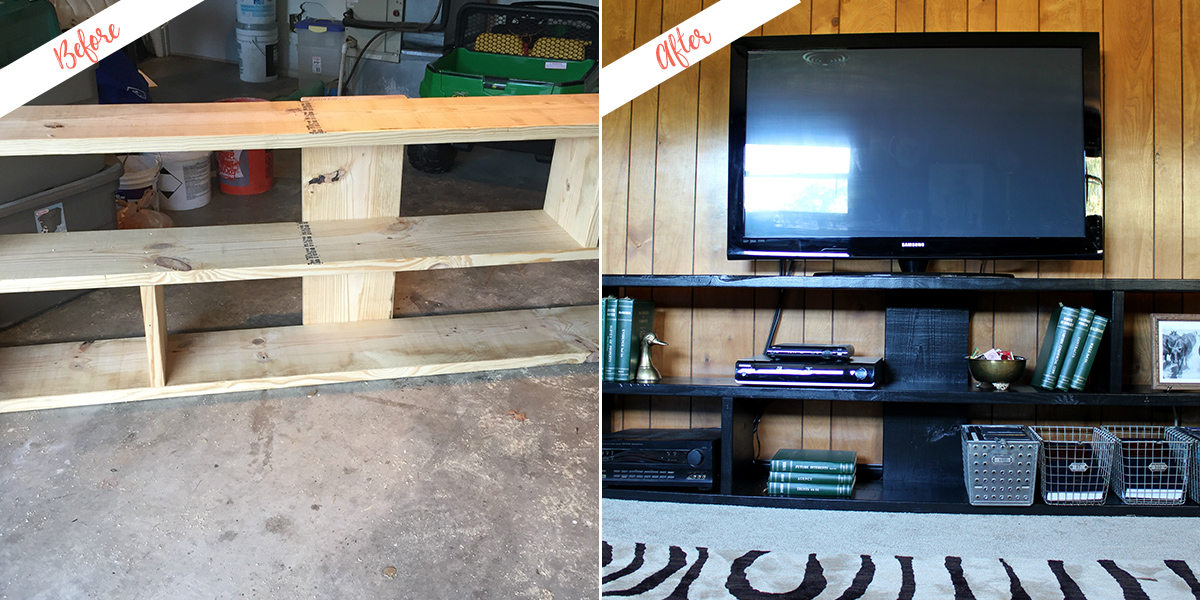
THE BIG REVEAL
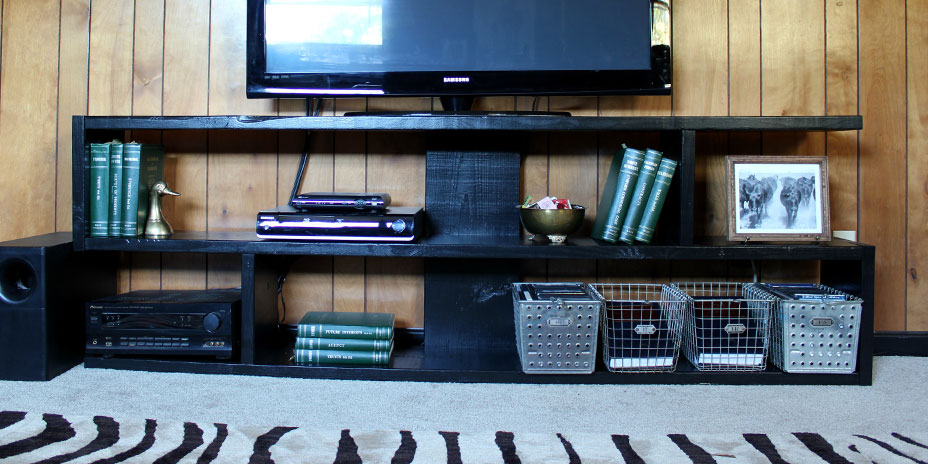
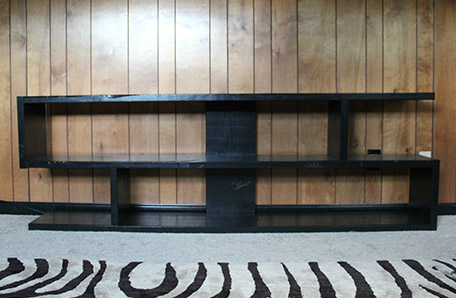
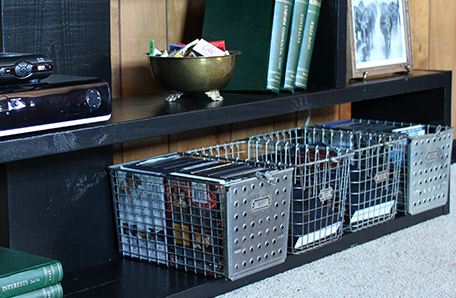
We love how our new media console fits our space perfectly while also adding some much-needed storage. All of this from a couple pieces of wood, a few hours work, and some paint!
READY TO DIY?
Find your color, pick your paint, and be inspired.
When you're ready, buy your paint online.
- Explore colors on your own or browse through our curated collections.
- Click on "Buy" then customize your options.
- Checkout at homedepot.com