Back to Interior Painting How-To's
How to Paint Kitchen Cabinets
DIY Cabinet Painting vs. Professional Services: When Should You Hire a Pro?
Painting kitchen cabinets can be a rewarding DIY project, but it’s not always the right fit for every space or timeline. If you’re weighing DIY cabinet painting vs. professional services, consider factors like cabinet condition, finish expectations, and time commitment before deciding when to hire a pro.
For Best Results:
If you are painting a kitchen cabinet that was previously painted with a glossy paint, thoroughly scuff-sand or degloss the surface for proper adhesion.
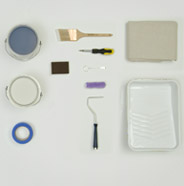
Suggested Tools & Supplies
-
Brush (2"-2½")
-
Paint Key
-
Paint Tray
-
Paint Tray Liner
-
Drop Cloth
-
Roller Cover and Frame
-
Sandpaper (150-220 Grit)
-
Painter's Tape
-
Screwdriver
-
Cloth Rags
-
 Step 1
Grab your tools.
-
 Step 2
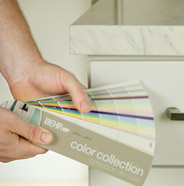
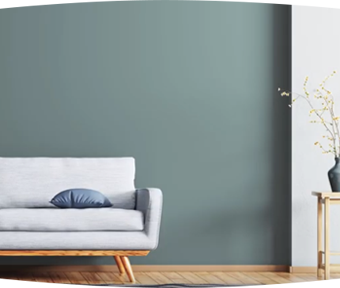
Find your perfect color.
TIP:
Browse our gallery of kitchen images for color and style inspiration.
-
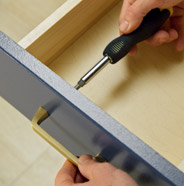
 Step 3
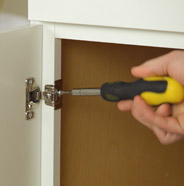
With a screwdriver remove hardware, doors and drawers.
-
 Step 4
Clean the surface of the kitchen cabinets.
-
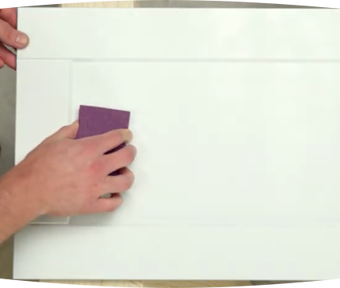
 Step 5
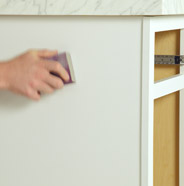
Gently sand the surface to help remove any gloss from the previous coating.
-
 Step 6
Wipe off the excess dust.
TIP: When painting over new kitchen cabinets, you will want to use a coat of primer.
-
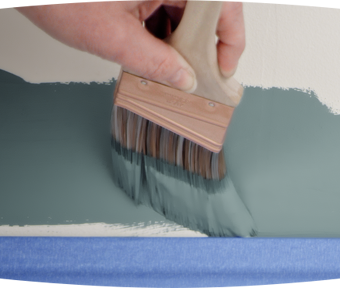
 Step 7
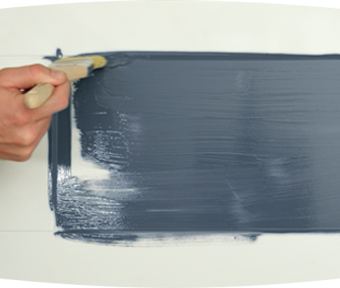
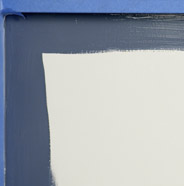
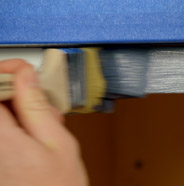
Tape off the counter and cut in using a paint brush.
-
 Step 8
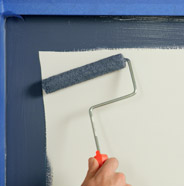
Using a roller, paint the panels and hard to reach areas starting from the inside out.
-
 Step 9
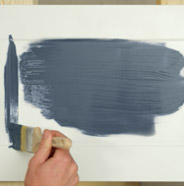
With the paint brush, apply paint on the top of the frame. Once the top of the frame is complete, move on to paint the side of the frame.
TIP: Apply paint in the same direction of the wood grain.
-
 Step 10
Now grab the cabinet doors and drawers and lay them flat on a saddle.
-
 Step 11
Start painting on the inside and move out toward the edges.
TIP: To ensure that color is as rich as possible, consider adding a second coat.
-
 Step 12
Allow paint to completely dry. Replace doors and drawers before reinstalling the hardware.
TIP: To clean painted cabinets without damaging the finish, use a soft cloth or sponge with mild soap and water. Avoid abrasive cleaners or scouring pads, and gently wipe surfaces dry to help maintain the smooth, long-lasting look of your cabinets.
Frequently Asked Questions
Can you paint laminate or melamine cabinets?
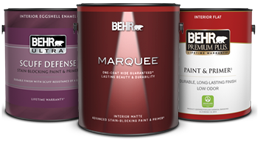
Yes — laminate and melamine cabinets can be painted if the surface is cleaned, scuff sanded, and primed first. Because these surfaces are smooth and non-porous, proper prep is essential for adhesion and long-term durability. Our BEHR PREMIUM® Cabinet, Door & Trim Enamel is a great choice for properly prepared and primed cabinet surfaces.
For the topcoat, we recommend BEHR PREMIUM® Cabinet, Door & Trim Enamel in Satin or Semi-Gloss, depending on the look you want. It’s available in a full range of colors, including timeless cabinet shades like Ultra Pure White® and Swiss Coffee 12.
What are the best Low-VOC and Zero-VOC cabinet paints?
For cabinets, we recommend BEHR PREMIUM® Cabinet, Door & Trim Enamel because it is specifically designed for cabinets, trim, and doors, with excellent flow and leveling, a hard durable finish, and strong block resistance for everyday use.
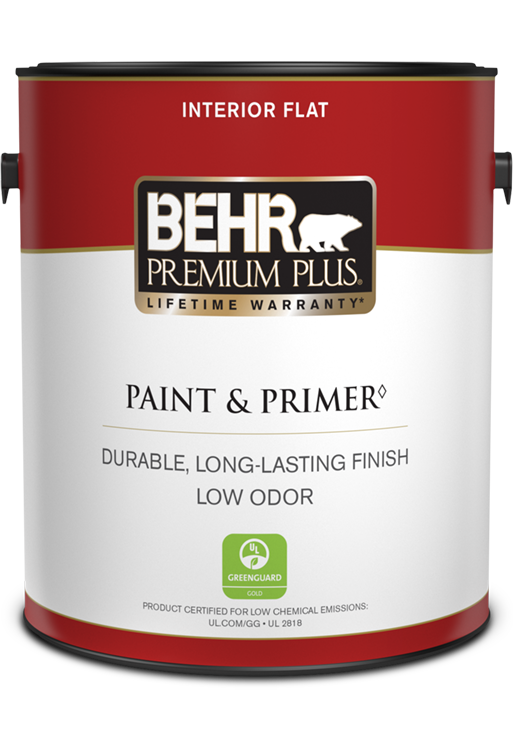
If you want a Zero VOC option, BEHR PREMIUM PLUS® Interior Semi-Gloss Enamel is a strong alternative. It offers a sleek, durable finish and is suitable for cabinets, trim, and indoor furniture, making it a good choice when lower emissions are your top priority.
Why is my cabinet paint peeling or bubbling?
Cabinet paint usually peels or bubbles when the surface was not properly prepared before painting. Dirt, grease, dust, moisture, or glossy residue can all interfere with adhesion, which is why we recommend starting with a clean, dry surface, removing loose paint, and scuff sanding glossy areas before priming and painting.
Application conditions also matter. Our BEHR PREMIUM® Cabinet, Door & Trim Enamel requires 2 coats for optimal durability, and cooler temperatures, higher humidity, or darker colors can increase dry time and affect the final finish if the coating is rushed.
ADDITIONAL RESOURCES
PAINT AND STAIN CALCULATOR
Inside or outside; paint or stain: Let’s figure out how much you’ll need to make amazing happen.
Calculate
ASK AN EXPERT
Every project is unique: Keep small wrinkles from becoming big problems by letting the Behr Technical Experts lend a hand.
Get Expert Help
CONNECT WITH PRO REFERRAL - POWERED BY THE HOME DEPOT
Let Pro Referral do the leg work and match you with quality local painters.
Find a Painter