CEDAR CLOSET
I’m tackling my 1940s Cape Cod style home one room and project at a time. That’s a lie. I have 15 different projects going on, all in various states of disarray. What? You don’t do the same thing? But sometimes you just need to finish something.
For me, I know I’ll finish a project if it’s relatively easy and if the end result will not only look great but will add function as well. I work from home, so I’ve been transforming a first floor bedroom into an office/mudroom combination. The room has a cedar closet, but I wanted to give it less of a “bedroomy” feel and more of an office/mudroom feel.
I wanted that rustic, slightly worn look
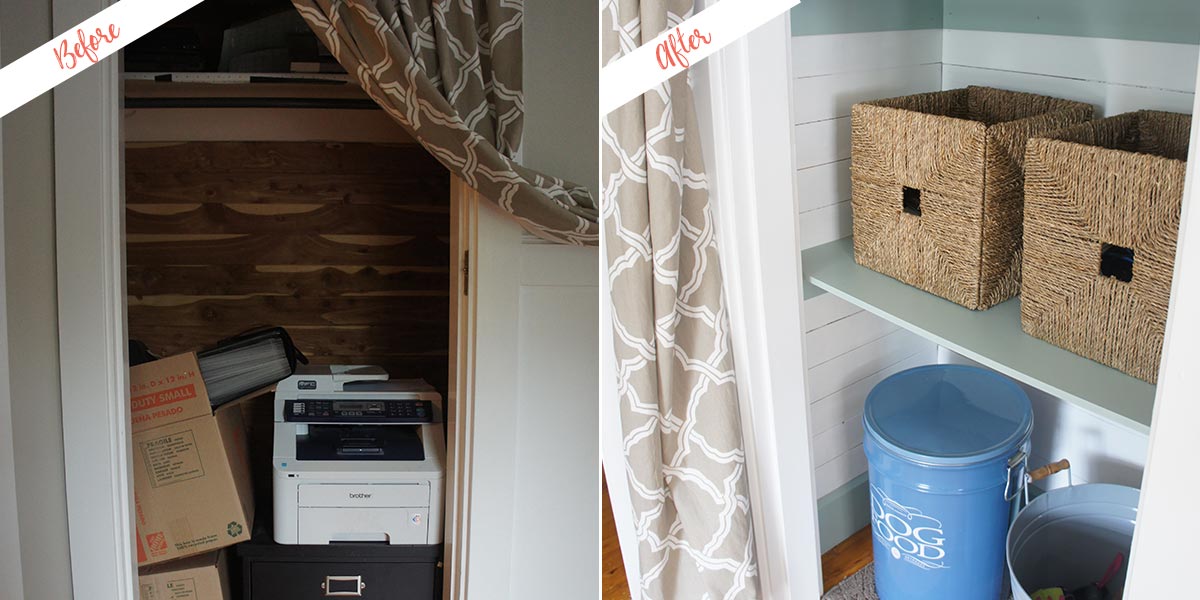
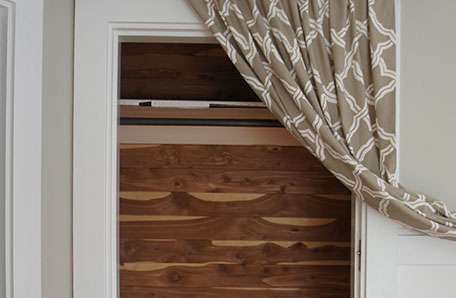
I knew that open shelving would do the trick; the only problem is that I don’t like the look of the cedar. It’s just too dark and dated for the space. I knew that I could really freshen things up with some paint. It’s amazing what a can of paint can do to transform a space!
Snap photos of the cluttered mess that will become your beautiful open shelving. Kidding. Only do that if you want a REALLY good before and after. Once everything’s out, take this opportunity to vacuum up any dust bunnies and give the walls a quick wipe down.
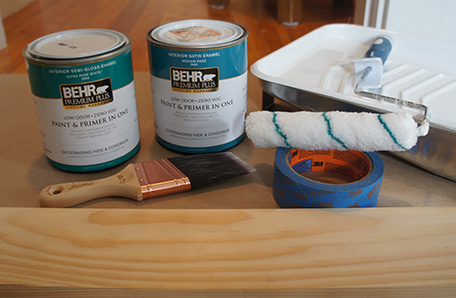
For this project, I used 2 quarts of BEHR paint, two 1”x4”x12’ common pine boards, and 3 sheets of ½”x2’x4’ Medium Density Fiberboard.
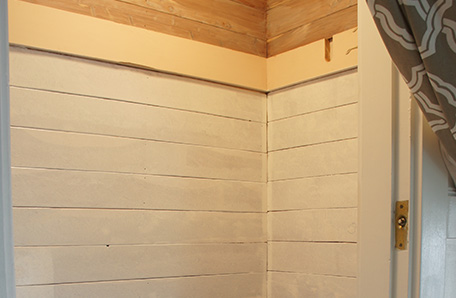
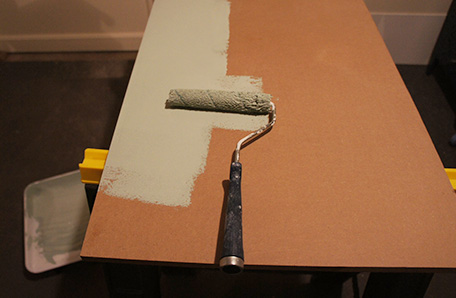
It can be difficult to cover the grain in cedar wood. If you don’t want any of the grain to peak through, apply a primer like KILZ 2® Latex Primer before you put on your first coat of paint. I was okay with a little of the wood grain showing through because I wanted that rustic, slightly worn look. I just used BEHR PREMIUM PLUS® Paint and Primer In One and no base primer. Apply the paint to the cedar like you would apply paint to a wall. I used a small roller and a 2” angled paint brush.
I wanted the closet to match the other trim and moldings in the room, so I used BEHR ULTRA PURE WHITE paint in semi-gloss finish. If you want less shine, I would recommend a satin finish instead. Allow 2 hours to dry, then recoat. I applied 3 light coats. Again, cedar wood can be difficult to cover, so recoat to your taste.
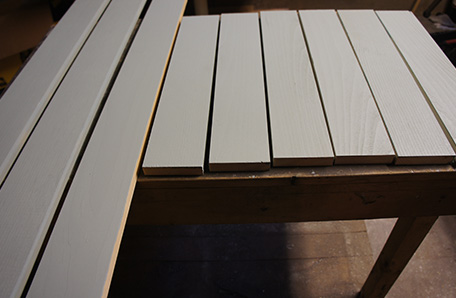
While I was waiting for the closet walls to dry between coats, my husband and I measured and cut the shelving. We used two 1”x4”x12’ common pine boards for the shelf supports and 3 sheets of ½”x2’x4’ Medium Density Fiberboard (cut down to size for our closet) for the shelves. We have a circular saw and a miter saw at home, but if you don’t have those tools, Home Depot will make the cuts for you. You just need to have your measurements ready before you head to the store!
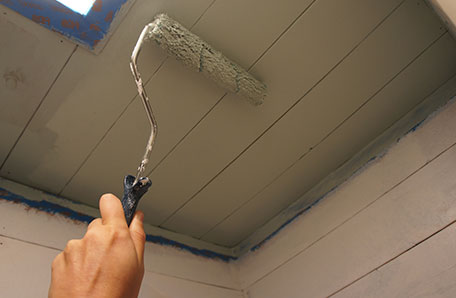
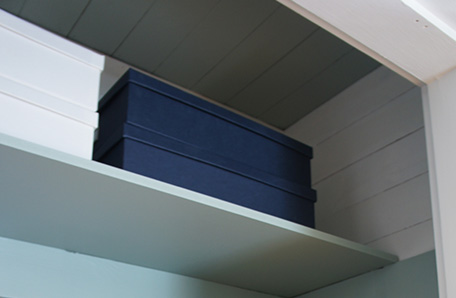
I wanted to add a fun pop of color to the space so I decided to paint the shelves and the ceiling Behr’s Zen. It’s a beautiful blue/green color.
FINISH THE TRIM AND MOLDINGS
I wanted the closet to match the other trim and moldings in the room, so I used BEHR ULTRA PURE WHITE® paint in semi-gloss finish. If you want less shine, I would recommend a satin finish instead. Allow 2 hours to dry, then recoat.
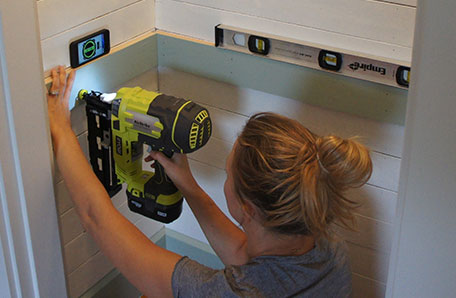
Once all the paint is dry (allow at least 1 hour, but I recommend giving it a day), you can hang the shelves. If you’re not good at holding a shelf support, level, and nail gun at the same time, I recommend grabbing a partner for this step. I managed one shelf by myself, but it was definitely easier with help from the hubby.
I took the opportunity to paint the shelves and supports before they were installed. So much faster than taping them off and painting them once they are installed.
Two coats of BEHR PREMIUM PLUS Paint & Primer In One, Satin finish in "Zen" did the trick.
THE BIG REVEAL
Once all the paint is dry (allow at least 1 hour, but I recommend giving it a day), you can hang the shelves. If you’re not good at holding a shelf support, level, and nail gun at the same time, I recommend grabbing a partner for this step. I managed one shelf by myself, but it was definitely easier with help from the hubby.
Space out where you want your shelves and nail the supports to the wall. We used three supports for each shelf (one 1”x4” board on each wall) and nailed them in place with a nail gun.
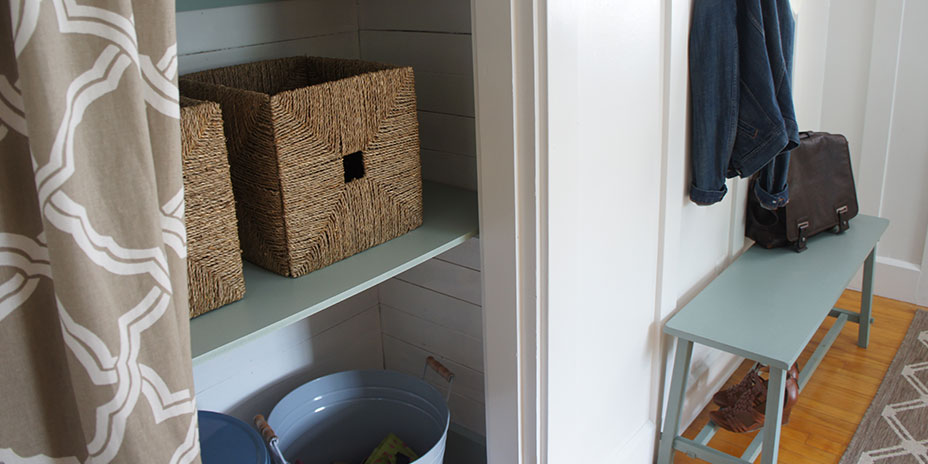
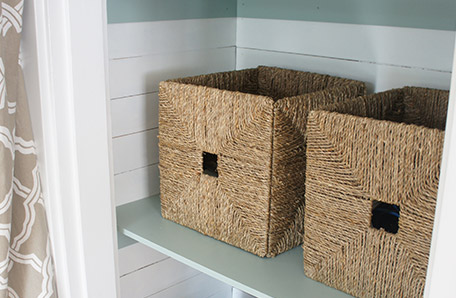
Once all the supports are installed, lay your first shelf on the supports then work your way up to the next shelf. After all the shelves are up, start enjoying your new, functional, and beautiful storage!
READY TO DIY?
Find your color, pick your paint, and be inspired.
When you're ready, buy your paint online.
- Explore colors on your own or browse through our curated collections.
- Click on "Buy" then customize your options.
- Checkout at homedepot.com