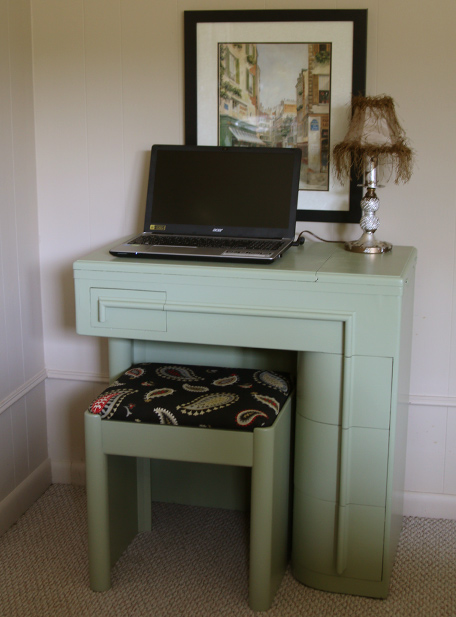
FLEA MARKET DESK
I usually sit on our sofa with laptop in hand and college books beside me. That isn’t very functional or comfortable. As a 60 year old college student, I don’t need all the bells and whistles but I do need a small work area that will fit my laptop, cellphone, and school supplies...with function and comfort in mind.
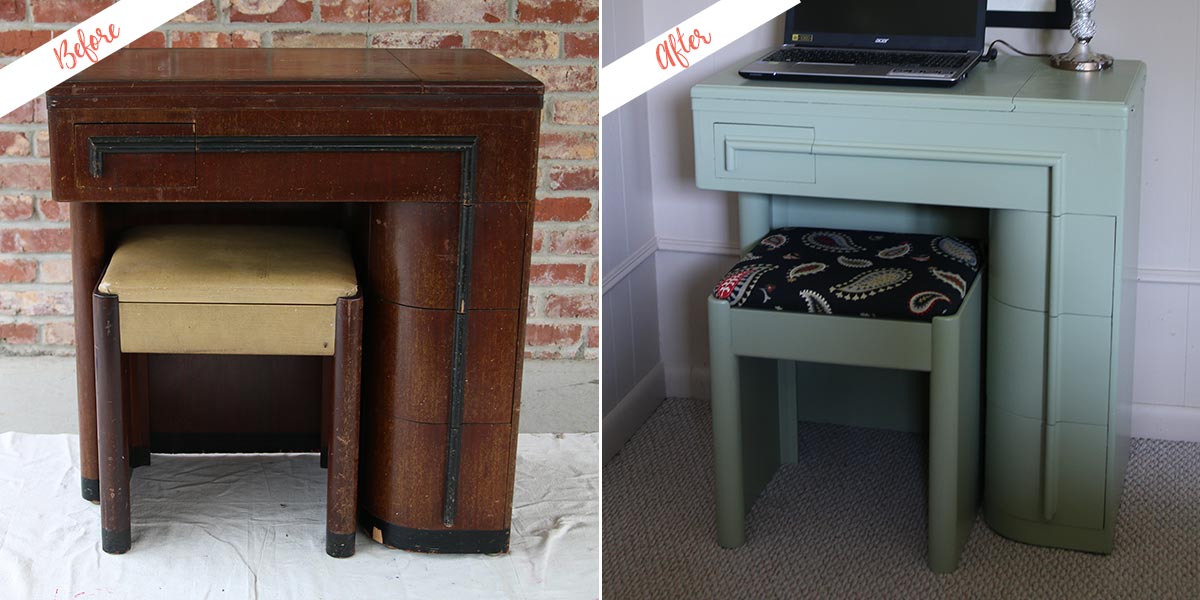
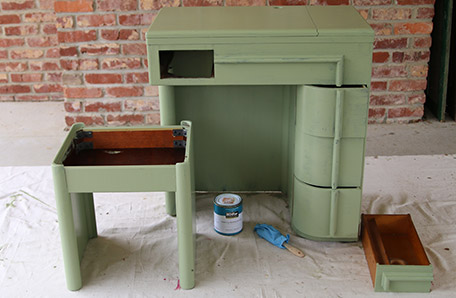
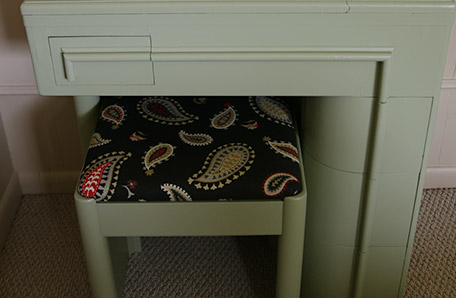
I found a vintage sewing machine cabinet at the Nashville Flea Market. It was $40, sold! I love a good budget find. The sewing machine had been removed which was a plus for me. The cabinet had 4 drawers, great for holding school supplies, and the top was big enough for my books and laptop. A small cushioned stool made the flea market find perfect for my needs.
The cabinet and stool did need a little sprucing up. The original finish was scarred and scratched and there were pieces of veneer missing in several areas. The easiest and least expensive way to beautify furniture is with paint.
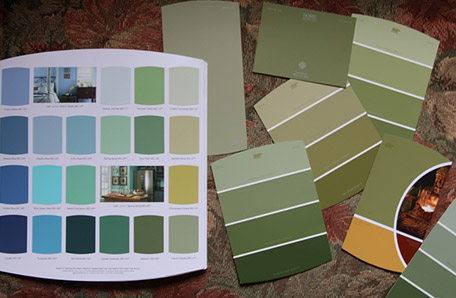
I went to Home Depot and browsed the BEHR paint chips. I also looked at several pamphlets for color ideas.
The walls in our den are taupe which is neutral enough to go with anything. The room is decorated in earth tones. I laid the chips on one of our chairs that is covered in tapestry fabric with varying shades of greens, oranges, and browns.
With the paint chips laid out next to each other, it’s easy to see the difference in tone and shades.
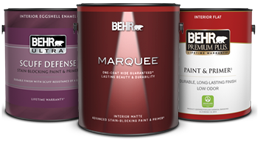
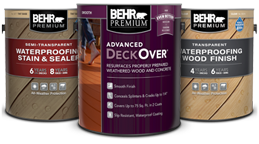
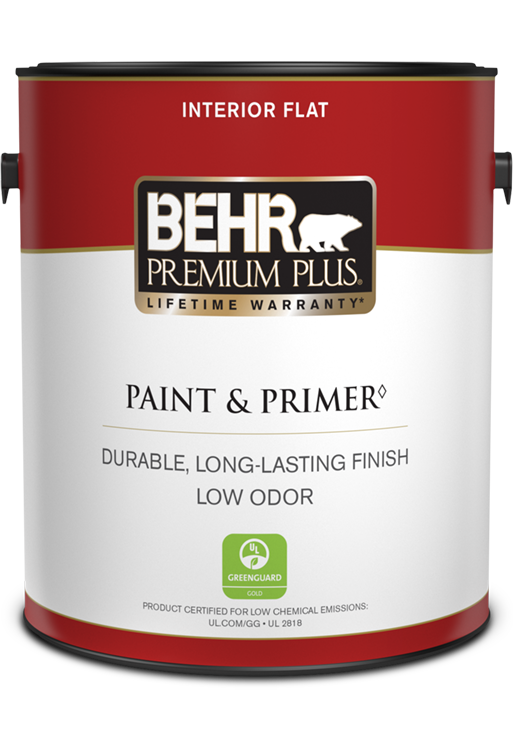
I returned to Home Depot and the paint technician mixed the color for me. I selected BEHR PREMIUM PLUS® Interior Satin Enamel Paint & Primer In One for the makeover. The satin finish has a pearl-like finish and is easy to clean. I purchased one quart and only used about a fourth of the can for the makeover. I wonder if the sample size would be big enough for a small furniture project?
I asked my hubby to help me move the desk to our carport where I placed a tarp to protect the concrete.
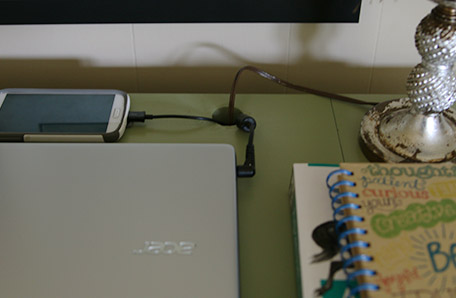
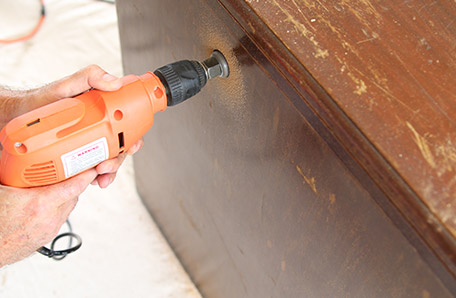 After the piece was prepped, I decided to have my husband drill holes for all of the cords. This is a great way to manage the computer cord, lamp cord, phone charging cord, and any other cords. We used a drill and key hole bit to drill one hole in the top of the back side and also one hole on the cabinet top for the cords. That way we could thread all the cords through the back and up to the top of the desk. Cool!
I cleaned all the sawdust off and gathered my supplies.
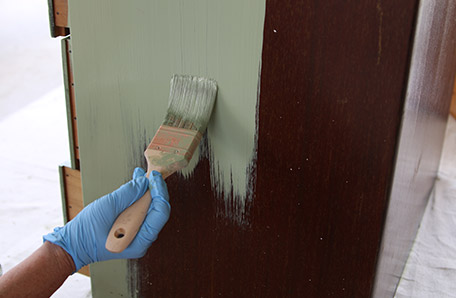
Time to paint! The paint brushed on like butter and the color was perfect. I painted the stool first then the one drawer I could remove from the desk. Next I painted the underside of the desk, the front, the sides, the back, and the top in that order. I painted with the grain of the wood. I finished applying the first coat of paint in about an hour. I let the first coat of paint dry for two hours and brushed on a second coat. While the second coat of paint was drying, I re-covered the stool cushion.
PREPPING THE CABINET WAS EASY
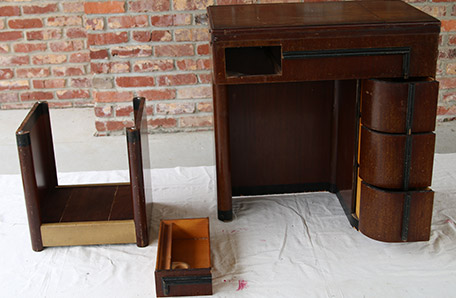
I cleaned it with soap and water. I couldn’t remove the side drawers. I pulled and pulled and finally gave up. I didn’t want to damage the piece so I painted the drawers as you see them. I pulled each drawer out, staggering them so I could paint the top edges of the drawers. The cabinet had lots of dings and scrapes but that just adds to the character of the piece. I didn’t do any sanding.
I selected French Parsley which is a light neutral green. The color is dark enough to stand out against the taupe walls and light enough to blend with the other colors in the room.
RE-UPHOLSTERING THE SEAT
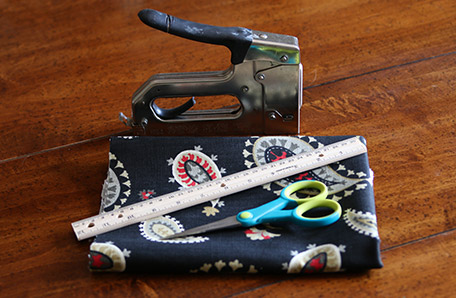
I measured the cushion adding enough length to fold over the bottom and staple to the bottom side.
I cut the fabric and stapled one side of the fabric to the cushion bottom. Next I pulled the opposing side till it was taut and started stapling from the middle to the outside. Once the opposing sides were stapled down I did the last two sides. I made sure the fabric was pulled tight before stapling each side. The corners were last.
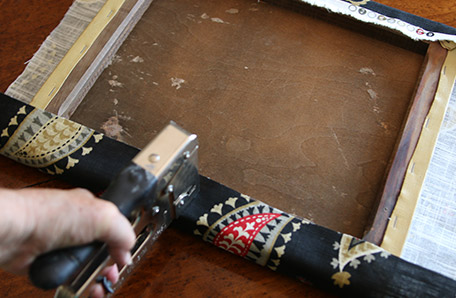
I worked with the corners trying to get as few wrinkles and folds as possible. It’s impossible to have no folds. Trust me on this.
I put the cushion on the stool and moved the desk inside the house. The hubby helped me. I waited one day to put the desk in place and add my goodies to it.
I measured the cushion adding enough length to fold over the bottom and staple to the bottom side
I cut the fabric and stapled one side of the fabric to the cushion bottom. Next I pulled the opposing side till it was taut and started stapling from the middle to the outside.
THE BIG REVEAL
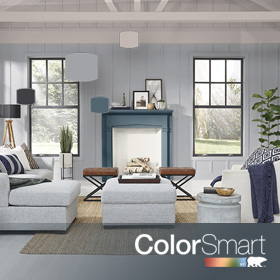
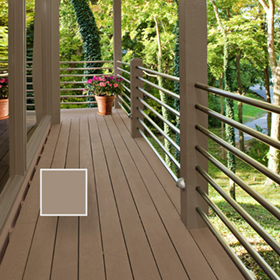
READY TO DIY?
Find your color, pick your paint, and be inspired.
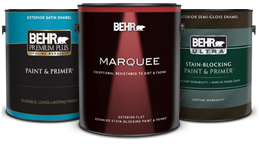
When you're ready, buy your paint online.
- Explore colors on your own or browse through our curated collections.
- Click on "Buy" then customize your options.
- Checkout at homedepot.com