KITCHEN BANQUETTE
Before I continue, I want to note a few things. The measurements used in this story are for a banquette for my space. You may need to change the measurements used in this story to create a banquette to fit your space.
It’s also important to note that wood is not always perfectly square, and neither are walls. During this process, you’ll want to always double check your measurements, levelness, straightness, etc.
YOU WILL NEED TO START
2 X 4 boards cut to the following lengths:
- Four boards - 55 inch
- Eight boards - 14-3/4 inch
- Four boards - 14 inch
- Four boards - 20 3/8 inch
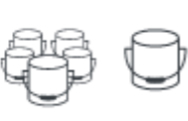
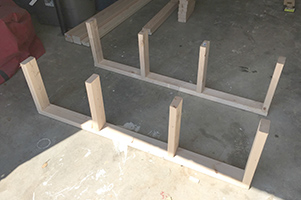
INITIAL FRAME CONSTRUCTION
 Lay out one 55 inch board. Place four of the 14 ¾” pieces along that board. Space them evenly along the long board and attach them with 3 inch construction screws. Repeat this process with the other 55 inch board. You'll now have two sections that frame up your banquette. Stand up both of those pieces on the ground and lay out the 14 inch boards between them. This is to connect both sides of the frame and add stability. Drill pilot holes through the 55 inch boards where they connect with the 14 inch pieces. Connect the pieces with 4 ¾” construction screws.
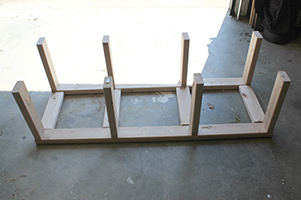
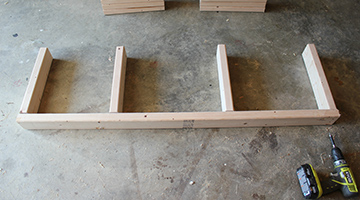
CONNECT THE SIDES
Next, attach the 20-3/8 inch boards across the top of the 14 ¾” boards. You'll want to attach these boards so that they also connect the two framework sections. Always drill pilot holes first, then attach the pieces with 3” construction screws. Attach the remaining two 55” boards to the top of the frame, using 3” construction screws.
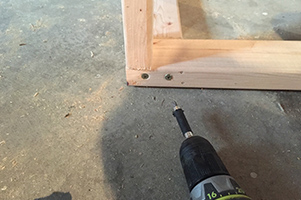
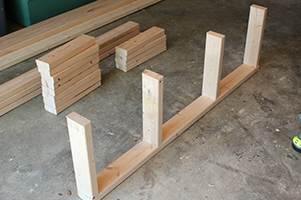
FINISH THE FRAME
Attach 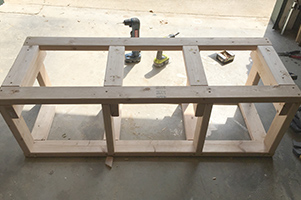 the remaining two 55” boards to the top of the frame, using 3” construction screws.
Measure between the long 55” pieces you just attached to the top of the frame. Cut four pieces of 2x4 down to this length (should be around 13”). Drill pilot holes, then attach with 3” construction screws.
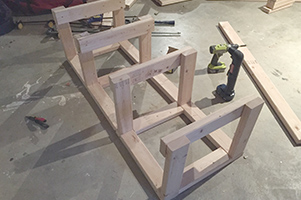
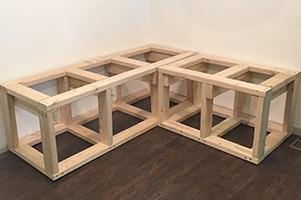
BUILD THE OTHER BOX
Repeat the three processes above for the second section of the banquette. The only difference will be that your 55” pieces should be 30” instead. Make and assemble the second side of the banquette just as you did the first.
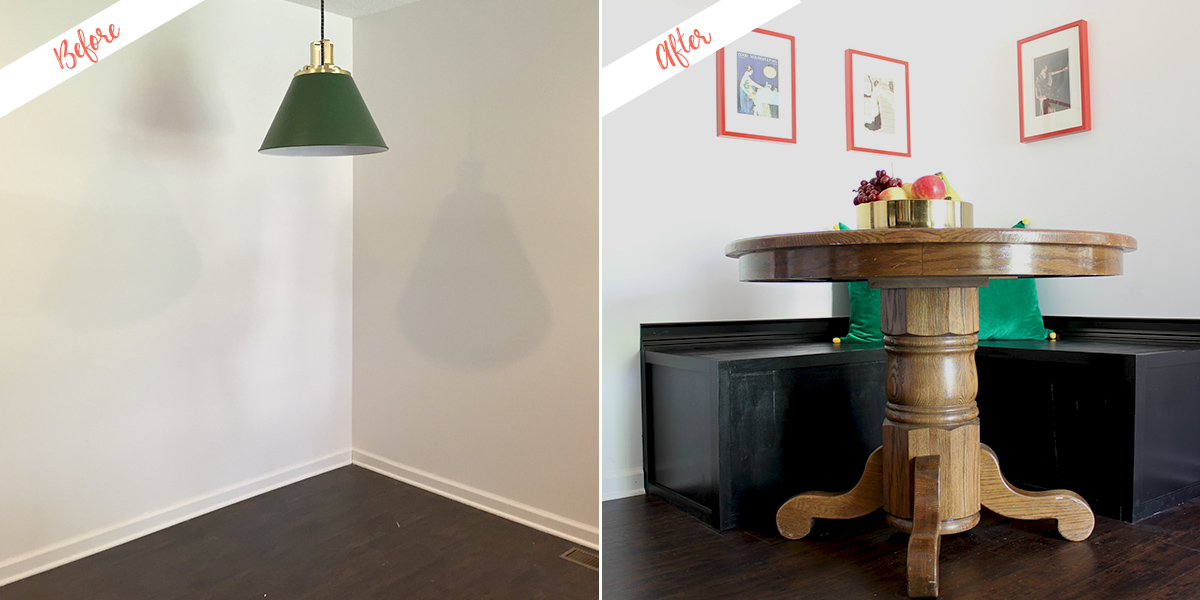
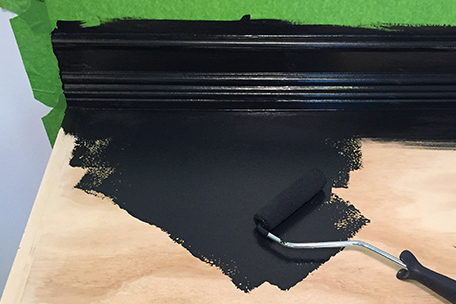
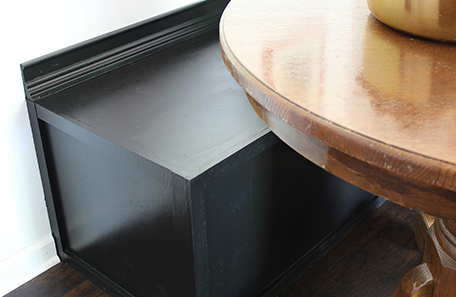
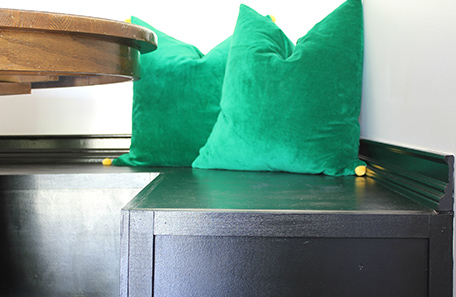
Banquettes can see a lot of action – including little ones kicking their feet against it and lots of spills.
Painting the banquette black helps to hide those little shoe marks and prevents stains from spills.
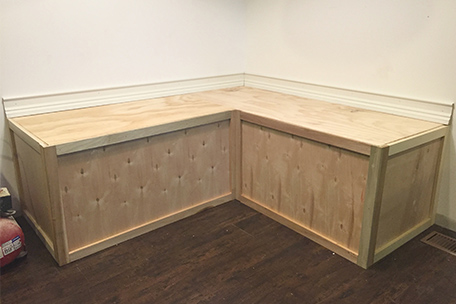
INSTALL THE BANQUETTE
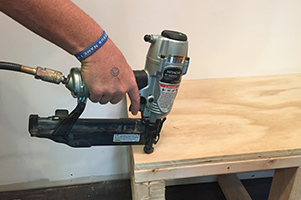
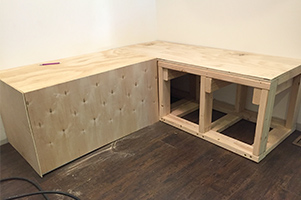
Take both sections of the banquette frame and place them where they will go in your home. Measure one side of the banquette frame from the corner of the wall to the end of the frame. Cut a piece of smooth ¾” plywood down to this measurement. Attach the plywood to the frame with a nail gun or a hammer and finish nails. Repeat this process with the other side of the banquette.
Measure the front, open sides of the banquette and cut pieces of luan down to those sizes. Attach the luan panels using a nail gun or a hammer and finish nails.
TRIM THE EDGES
Cut your 1x2 trim molding down to size to cover the seams of the luan. First, measure, cut and attach the vertical trim pieces, then do the same for the horizontal trim pieces. Use a nail gun or hammer and finishing nails. If you have a gap between your wall and the banquette, you may need to add trim to the top. Attach the piece using a nail gun or a hammer and finish nails.
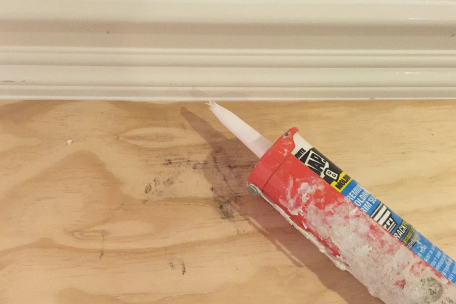
Use wood filler to fill the gaps and seams on top of the banquette. Use spackling or wood filler to fill the nail holes. Sand smooth as needed. Additional layers may be needed. Caulk any gaps as needed along the top molding or anywhere else as needed. Use a tack cloth to pick up any dust and dirt before painting.
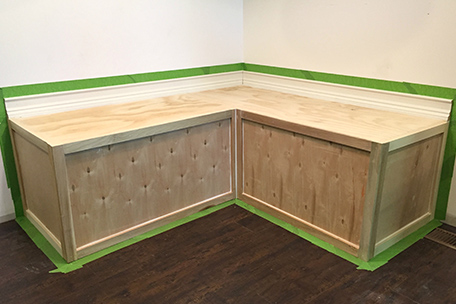
NOW, YOU’RE READY TO PAINT
Before painting, tape off around the banquette to prevent the paint getting on your walls. Use a paintbrush to edge around the banquette first and get in corners. Go over the larger sections with your paint roller. Give your banquette at least two coats of paint.
THE BIG REVEAL
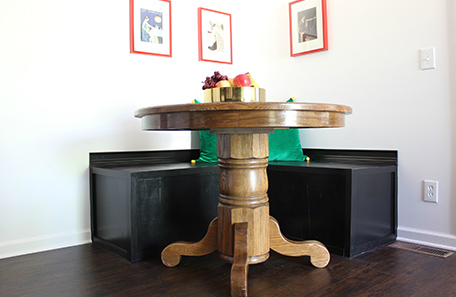
There’s a good chance you may have made a few marks on your walls while installing the banquette. Touch those up with a fresh coat of paint. Finally, enjoy your new banquette! Do you have any plans for adding a kitchen banquette?
READY TO DIY?
Find your color, pick your paint, and be inspired.
When you're ready, buy your paint online.
- Explore colors on your own or browse through our curated collections.
- Click on "Buy" then customize your options.
- Checkout at homedepot.com