TIPS FOR A SHIPLAP ACCENT WALL
QUICK RUNDOWN
True shiplap has a certain way that the wood planks interlock but I haven’t been able to find it anywhere convenient, which wouldn’t really be helpful for a tutorial anyway, right? I’ve also done a couple of different tutorials on shiplap so this time around I’m going to quickly go over the process highlighting some really helpful tips.
A quick rundown of the build process can be found below.
TIP #1: PREPARATION IS EVERYTHING
When you get your supplies, you'll want to look for ¼" plywood underlayment. This was in a different aisle than the other plywood, so ask someone to show you where it is. It cost me about $12 for a 4x8" panel.
Then ask them to rip it down for you. If they are willing, ask for it to be ripped to 5-7/8ths inch width. But they have been cracking down lately on cutting for customers and often won’t cut smaller than 12”. This is where it is so helpful to have your own table saw, but you can also rip with a circular saw.
If you do rip your boards yourself, make sure they are all the exact same size. I ended up having one board be about 1/4" wider than the others and I didn't notice I had nailed it on until awhile later when I realized the spot wrapping around the corner wasn't matching up the lines (I fixed it.)
Then sand, sand, sand. Each board will have lots of slivers sticking out and by sanding them off you'll have a cleaner edge and a more professional look. Taking the time to prepare properly will help you achieve the best possible outcome.
Paint can give new life to things you already own.
STEP-BY-STEP
- Sand down the edges of your plywood planks.
- Remove all outlet and light switch covers, putting them in a plastic bag.
- Mark out all the studs in the wall.
- Put the first board in and make sure it’s level.
- Space out the next board with nickels or popsicle sticks.
- Shoot nails into the spots where studs are.
- Use a jigsaw to cut out spots around an outlet or other obstructions.
- Make sure your lines match up if you are wrapping around a corner.
- You’ll probably have to rip the last board down to accommodate the space left.
- Fill nail holes, caulk the gaps, and paint
TIP #2: ADDRESS YOUR BASEBOARD SITUATION
My baseboards are super modern and simple, just a ½" x 5" square-edge baseboard. This was so helpful because I could lie the plywood planks right on top of it. However if you have a baseboard that is different, here are a few ideas:
- Rip it out completely. Plank starting from the bottom of the floor and then install a new baseboard over the top of the finish product. This is probably the best option.
- You can also do the cheater method of making a chunky baseboard by first installing a ½" x 1" piece of MDF or something similar. Install the wall planks starting from the bottom of the floor and then install a new baseboard over the top of the finished product, that way it has a nice flat top. Once you paint it all white, it will just look like a higher end baseboard. This can work but it can also be a little risky in that it might turn out bad.
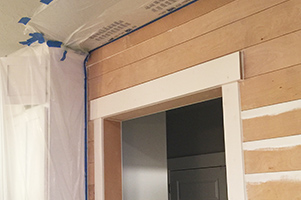
TIP #3: WHEN YOU HAVE A CORNER TO WRAP AROUND...TRIM IT OUT!
If you are doing something other than one wall, you might need to go around a corner. If it's an inner corner, you can be very precise with your cuts and just caulk the line or you can cover up mistakes with a piece of quarter-round trim.
However, I had to deal with an outer corner. This was a bit baffling at first because of the rounded corner on the baseboard. When you are doing shiplap around a corner, you will have a right angle, not a 30-degree angle like rounded corner baseboards have. I thought about mitering a bunch of tiny shiplap pieces to make a rounded corner for about 5 seconds. Ain’t nobody got time for that! What I decided to do was to cut the corner baseboard off completely and line both edges of the corner with MDF, making a vertical right angle from top to bottom. I also outlined the top of the wall as well. This means the entire shiplap wall was framed out, so to speak, creating a very clean look.
TIP #4: CHOOSE A HIGH-QUALITY PAINT AND USE A SPRAYER IF YOU CAN
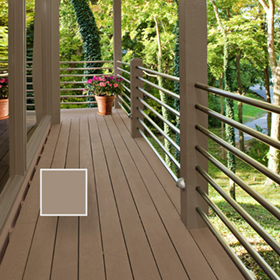
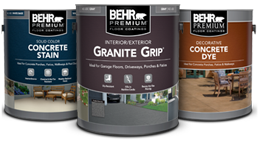
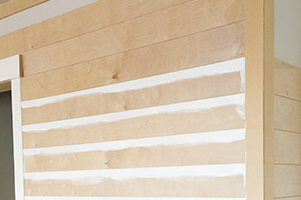
Painting is something that will make or break your shiplap accent wall! Since you will be painting straight onto raw wood, you will need a good paint that has a built-in primer. For this project, I purchased BEHR PREMIUM PLUS ULTRA®in Ultra Pure White Satin Enamel finish. It's my go-to paint and I've used it for nearly every wall treatment in my house.
Before I painted, I filled the nail holes and caulked the seams. When caulking, don’t get crazy with the caulk because it doesn’t just sand off easily. Caulk a seam and follow up with swiping your finger through it. Make sure to rub off any excess before it dries. Make sure to sand off the excess of nail filler.
Once that’s all dried, it’s time for the first coat. Meaning that it's time for you to cover everything that is not going to be painted. I did this because I wanted to use my paint sprayer to get in between all the cracks. When I was nailing in the first layers of shiplap, I tried using a brush to paint in between the lines. This worked pretty well but made the process of laying the shiplap much slower, so I stopped after a while.
When I used the paint sprayer, I thinned the paint with about a 1/2 cup of water and mixed it really well. Then I slowly sprayed about 6-10 inches from the surface, with a steady hand and going back and forth slowly and evenly. It was pretty exhausting, I'm not gonna lie. This sprayer is great but not really for large surfaces so after I sprayed all the cracks, I got the foam roller and went over each plank with it.
TIP #5: CAULK AGAIN AT THE END TO MAKE IT LOOK SEAMLESS AND PROFESSIONAL
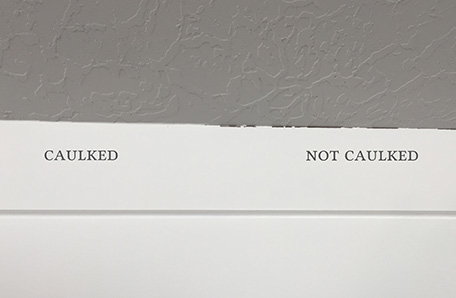 The difference between caulked and uncaulked seams is huge. If you miss a spot, don't fret, you can always go back and caulk it after you paint. To do this, I took painter's tape and pressed it close to the seam. Then I caulked it and took the tape off immediately before it dried. After that, it was all finished.
Making your home lighter and brighter can be as simple as a new coat of paint.
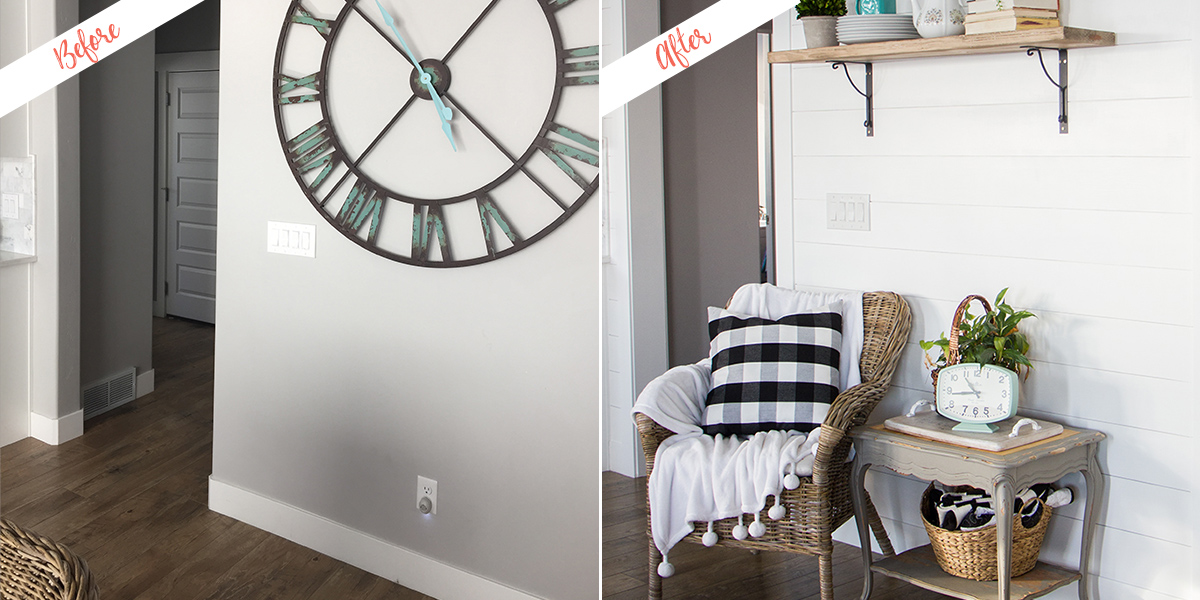
THE BIG REVEAL

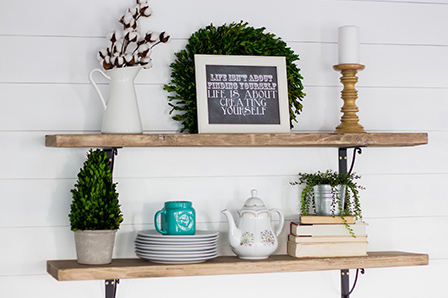
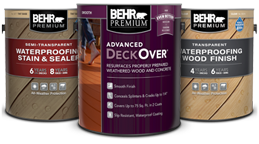
To finish off this wall, I wanted some farmhouse style open shelving. I hung some wrought iron brackets and stained some 2x10 boards using this weathered wood finish technique. I love the finished result! It was so worth all the hard work.
READY TO DIY?
Find your color, pick your paint, and be inspired.
When you're ready, buy your paint online.
- Explore colors on your own or browse through our curated collections.
- Click on "Buy" then customize your options.
- Checkout at homedepot.com