We’ve all seen a beautiful paint job destroyed by tannin bleed, flashing, bubbling, or peeling. Paint failures occur for several reasons, including wrong product, wrong prep, and environmental factors. But it’s not just that; some difficult substrates naturally make the job harder.
To explain the science behind these notorious troublemakers, as well as the right prep and products to ensure success when you encounter them, we talked to Veronica Jimenez, Director of Primers and Specialty Coatings at Behr Paint Company. She was prepped and ready to answer some tough questions about tough substrates.
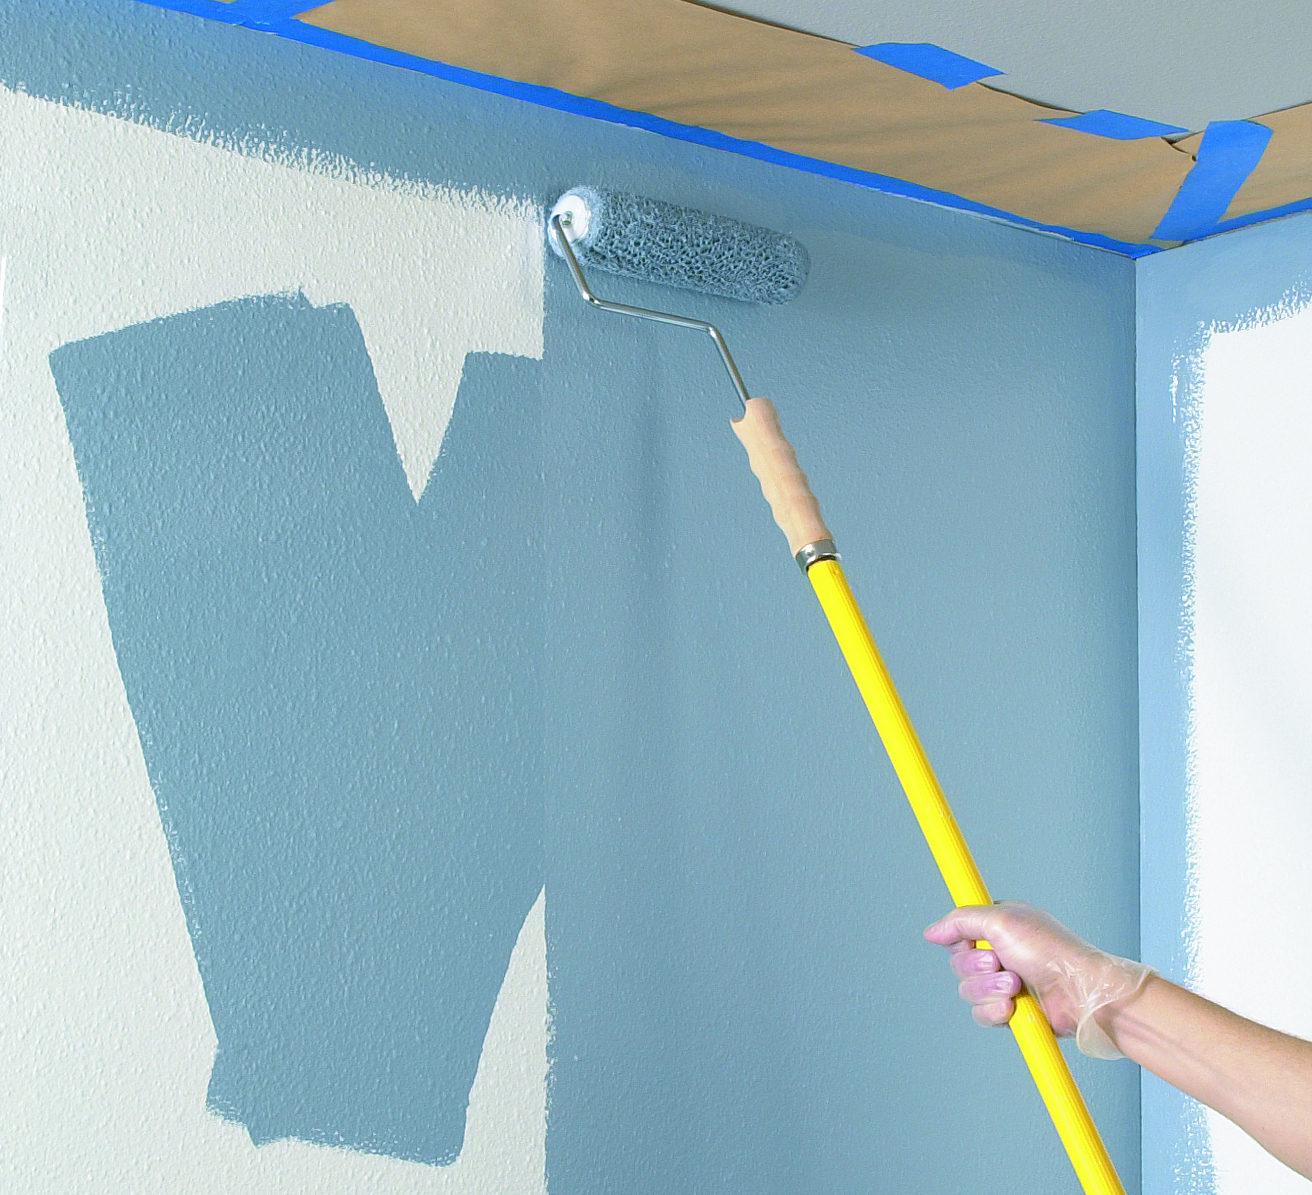
Flashing on New Drywall
Once the final coat goes on that fresh, new drywall, the last thing you want is to look down the length of the wall to see changing sheens. It’s the dreaded paint failure called flashing, and new drywall has a special knack for inviting it.
“Everyone thinks that drywall is simple,” warns Jimenez. “It can be easy, IF you understand a few simple truths and follow one simple rule.”
Truth #1: Not all drywall is created equal.
Truth #2: Not all joint compounds are created equal.
Truth #3: Joint compound and joint tape have a different porosity than each other and the drywall itself.
To prevent flashing, use a primer to seal in the differing porosity of drywall, compound, and tape so that the topcoat absorbs evenly.
One Rule: Prep is everything.
First things first: Make sure that you and the drywallers are on the same page regarding finish level. It should be at least a level four or five before you begin painting.
In addition,
Know what products and processes were used.
Ensure that all joint compound has been allowed proper dry time (four to eight hours) and has been sanded to hide all imperfections.
The surface should be free of dust buildup.
Next, primer is critical. It seals the different porosity of the materials, creating uniform porosity.
If you skip the primer, the topcoat will absorb at different rates, causing flashing. “And the higher the sheen, the less forgiving,” warns Jimenez. “KILZ® Drywall Primer is specially formulated to seal in all that varying porosity so that when you put on the topcoat, you’re far less likely to see flashing.”
There are critical steps you must take to ensure success when painting water-based paint over oil-based paint.
Painting Water-Based Paint Over Oil-Based Paint
There is a long-held rule of thumb that oil sticks to oil and water sticks to water. That’s still true, but today, modern chemistry and a little trick called the bridge coat can still provide an excellent finish when using water-based paint over oil-based paint.
What has made painting water over oil traditionally challenging is that, as oil dries, it hardens and crosslinks. As it gets older, it gets harder and smoother, creating a surface that water-based coatings struggle to adhere to.
However, as chemical companies have transitioned away from solvent-based coatings toward lower VOC products, they have invested significant dollars into improving additives and coating resins.
“Water-based acrylic technology has really improved in the last 10-15 years,” she says.
Those improvements have led to adhesion profiles for water-based paints that would have been expected from an oil-based product.
Jimenez recommends KILZ® Adhesion Primer formulated specifically for this purpose.
“The adhesion profile can go over oil-based and also Kynar.”
While today’s products make it easier for water to adhere to oil, the right prep is also critical to create as many adhesion points as possible.
To create a bridge coat, start by using a TSP or a cleaning solution to ensure the surface is clean.
Next, scuff sand. Regardless of your substrate or sheen, do a scuff sand before priming. If you are painting cabinetry, doors, or trim with a high sheen, scuff sand between each coating application to get a flawless, high-gloss finish.
If you are painting a wall with lower sheen paint, a single scuff sand at the beginning of the process before priming will do.
Don’t forget to clean after sanding to remove all dust particles before applying any coating.
To prevent tannin bleed, use a stain-blocking primer.
Tannin Bleed
Tannin is a natural and important element often found in redwood and cedar. When the tree is in the forest, tannic acid (tannins) creates a hostile environment for fungi and insects, protecting the tree from damage and decay.
When the wood is used as a building material, those same tannins are activated by moisture and drawn to the surface of the paint film. This is what leaves those tea-colored stains on your freshly finished paint job.
A multitude of stain-blocking primers are available to help stop tannin from destroying your topcoat.
Oil/solvent-based primers block the tannins from moving through the film.
Water-based primers allow the tannin to move into the primer coat, and as the primer dries, the stain is locked in.
KILZ RESTORATION® Primer combines both blocking (reducing the solubility and migration) and locking (as it dries) with specialized chemistry that helps stop tannin bleed from affecting the top coat.
Armed with the right primer, you can significantly reduce tannin bleed.
Knowing the proper prep steps and products is the key to making difficult substrates less difficult.
These substrates have been causing headaches for painters for decades, but luckily, paint companies and chemists like Jimenez have worked tirelessly to innovate and create coatings that solve problems like never before.
That said, surface prep will always be important. “If a surface has dirt or anything that impacts the adhesion profile, the product you choose won’t stop a failure from occurring.
“But if you’ve prepped properly and follow up with a product that was formulated to be a solution to the problem you are facing, you will be successful.”
To learn more about products formulated for specific substrates or challenges, check out the Behr Pro® Primer Brochure or contact your local BEHR Pro® Rep.
Business Building
Pro Tips
Products
Dealing with Difficult Substrates