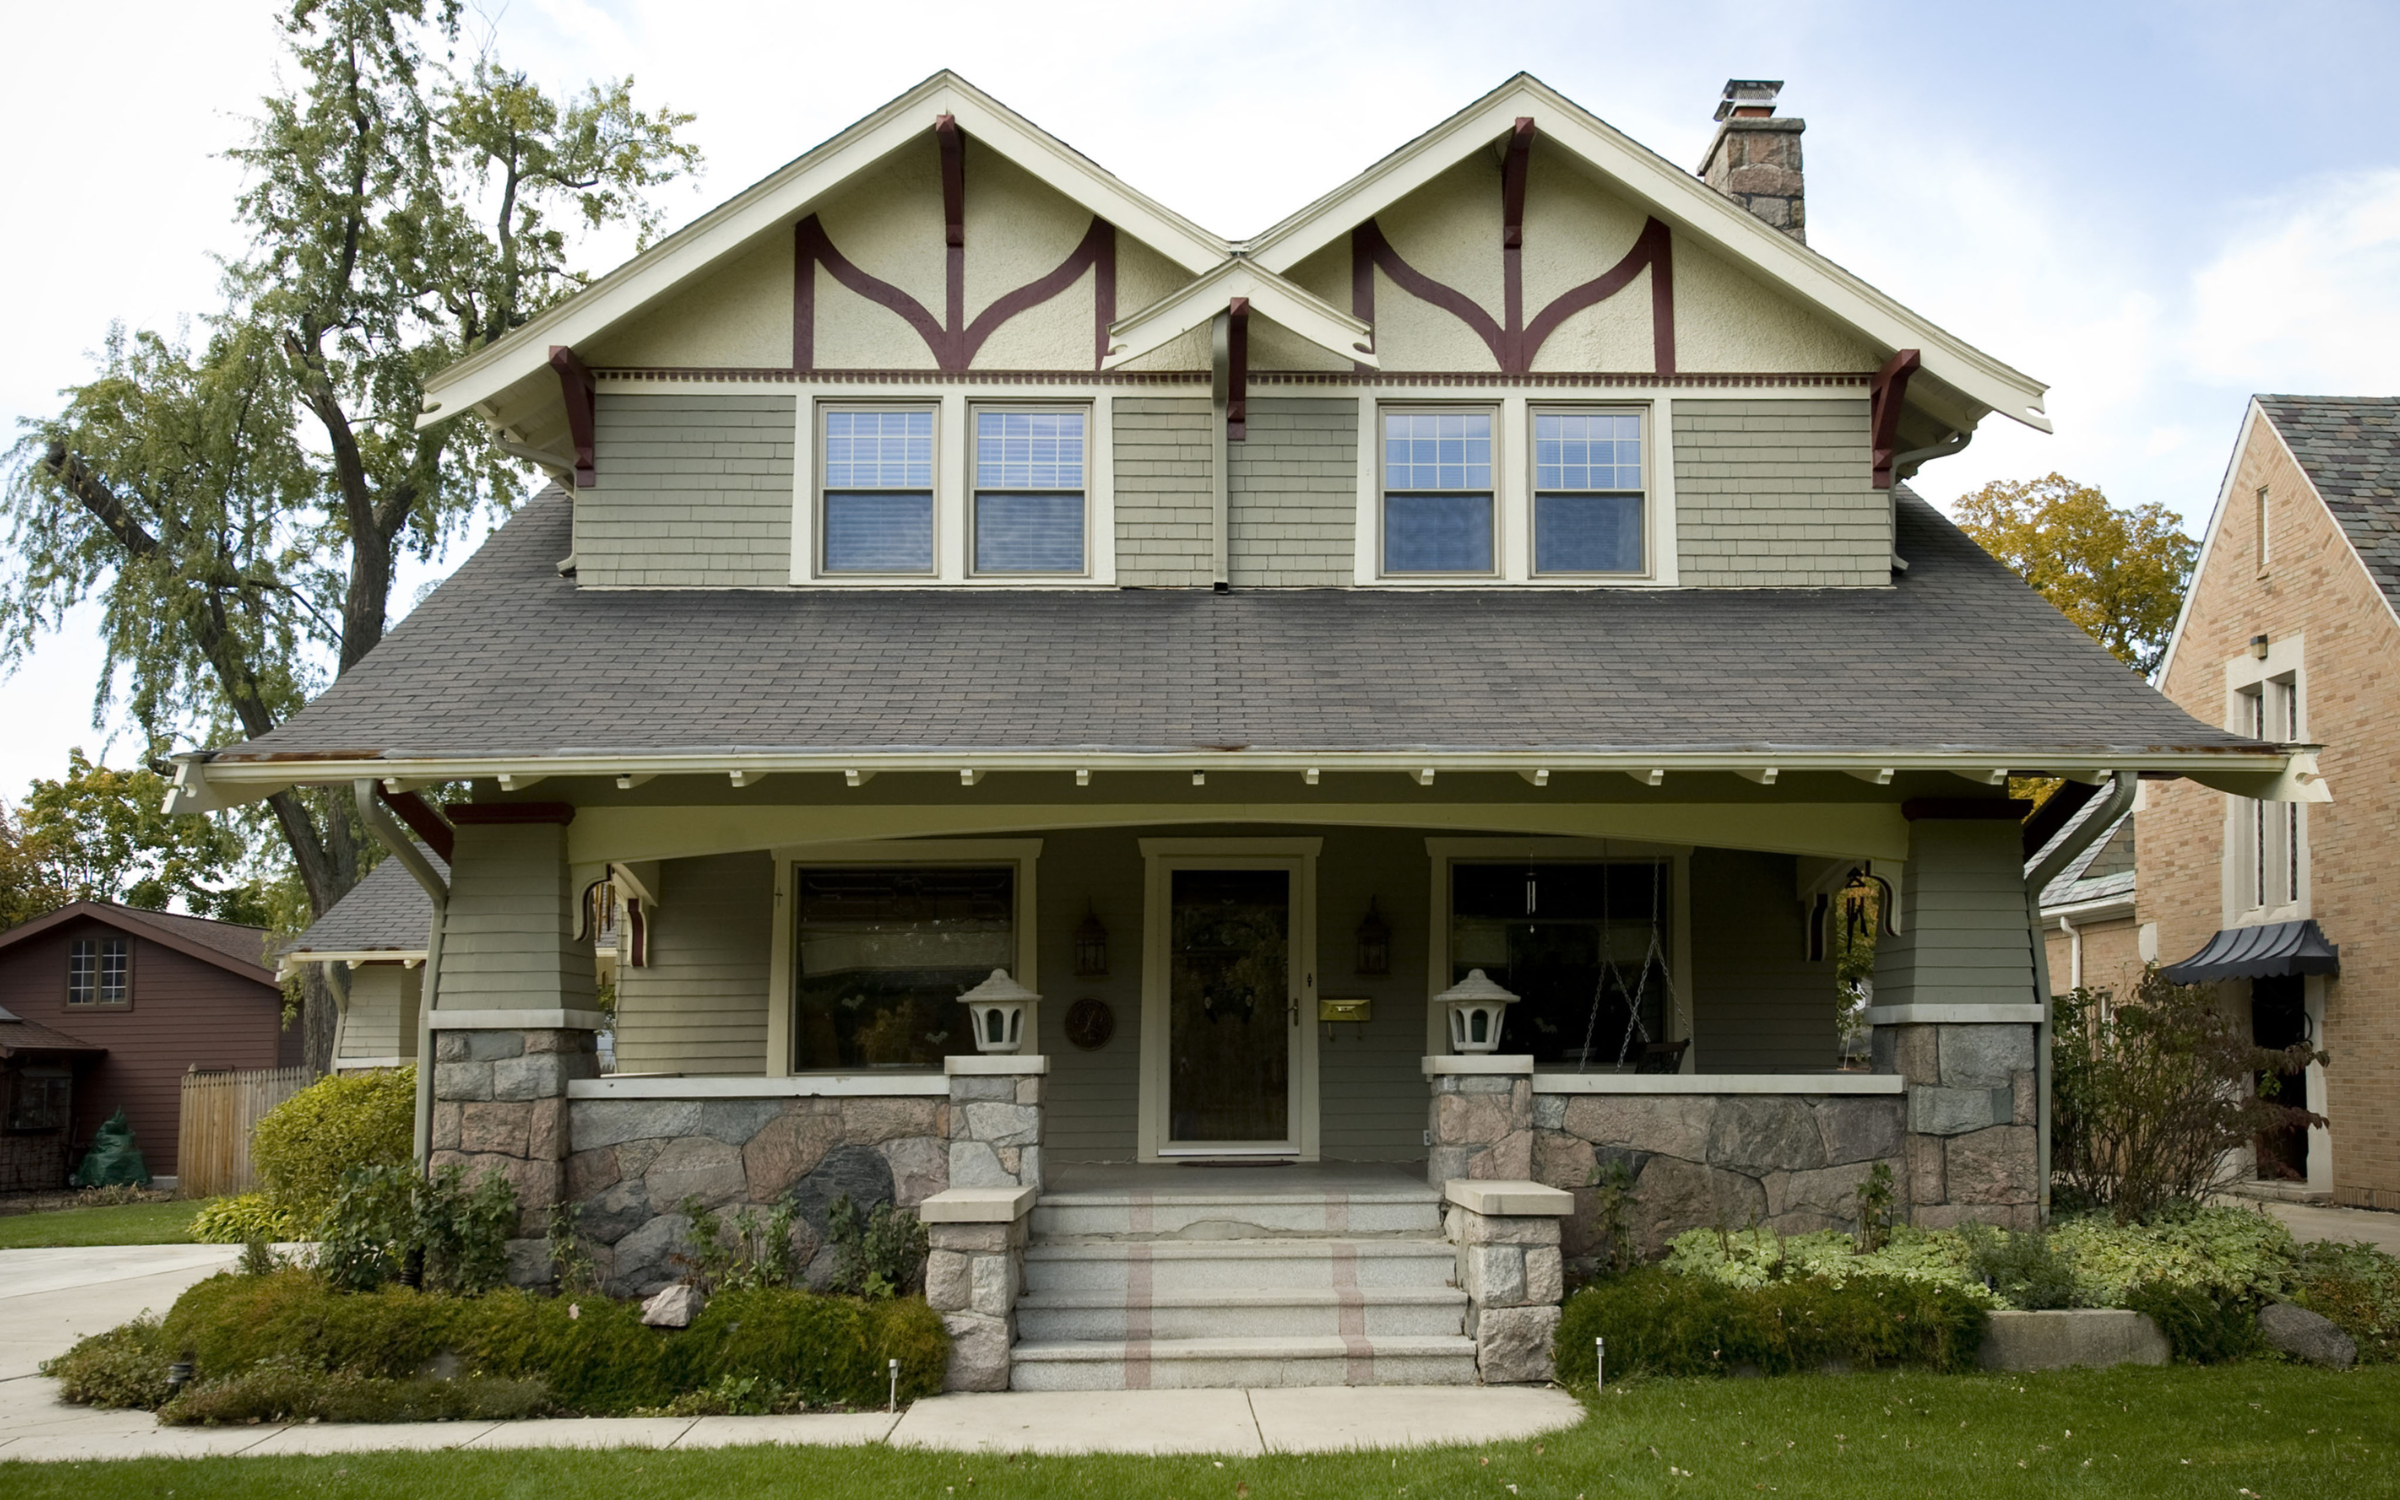
Older homes possess a charm loved by many. While the history and unique details make them attractive to homebuyers, they also make repairs and repaints more challenging for pros. Each project requires astute problem-solving skills and knowledge of products and standards to ensure success.
Peter Schumerth, VP of Product Management, discusses four common problems and strategies to help you restore that old beauty.
Get RRP Certified
Lead-based paint might not be on the shelves anymore, but that doesn’t mean it isn’t hiding on the walls of older homes.
“Painting contractors disturbing the coating on any home that was built pre-1978 require a Renovation, Repair, and Painting (RRP) Certification*,” says Schumerth.
The certification ensures that those working on older homes and potentially dealing with lead-based paint are up to date on the latest rules and best practices surrounding testing, hazards, safety, containment, documentation, and disposal.
Properly Handle Mold and Mildew
Mold and mildew are not uncommon, especially in older homes. When you find the telltale signs of mold or mildew (discoloration, smells, peeling paint, warped substrate, etc.), first things first: Ensure the source of the moisture is fixed.
Next, it’s time to remove the mold and mildew.
“There are many ‘mold-killing primers’ out there,” says Schumerth. “This can create the perception that you can slap the primer on over the mold and mildew, and you are good to go.”
While the mildewcide in these products will help fight both in the future, you need to remove any mold and mildew present before priming. Remove mildew stains with a mildew stain removing product. Commercially available mildew cleaners will do the trick.
Assess the Current Coatings
With older homes, you do not always get to start with a fresh new palette. You can try to talk your clients into taking it down to bare substrate, but time and budget rarely allow that option. This means that each layer of built-up coating has the potential to affect your finished project, requiring additional consideration when choosing prep steps and selecting a paint.**
Start with a thorough assessment of the surface to check for adhesion issues. “You can do this by making a simple ‘X’ mark with a razor (cut as deep as you can and in multiple locations), then do the tape test,” advises Schumerth. “This test allows you to evaluate the integrity of the layers underneath.”
Paint coming up with the tape indicates an adhesion issue. Depending on how large an area peels, you’ll need to either spot sand and prime or do a full sand and prime to ensure you have a smooth, sound surface for your topcoat.
Choose the Right Paint
Each new layer of paint creates tension on existing coatings. Even if your topcoat adheres beautifully to the coating immediately beneath, you need the bridge between each coating below it to hold as well.
“For older homes, I recommend BEHR PREMIUM PLUS® due to its lower binder content. Higher binder and resin content can create more tension, causing additional adhesion stress on the coatings beneath it,” says Schumerth.
While older homes require knowledge and diligence from a pro painter, painting older homes can be a very rewarding and lucrative market.
To learn more about Behr’s products, contact your BEHR Pro Rep.
*This blog is for informational purposes only and contractors are responsible for complying with all applicable federal, state, and local regulations.
** If you encounter significant mold, water damage, or structural concerns, consult a licensed professional to assess current conditions before proceeding. The guidance provided here is intended for general informational purposes only and may not apply to all situations.
Business Building
Pro Tips
Products
Solving Paint Problems with Older Homes