Painting a ceiling, whether smooth or textured, is no small feat. However, fear not! With the right products, tools, and techniques, achieving stunning results can be smooth sailing. Here are some pro tips for ceiling painting to make your next job a breeze.

1. Establish a Strong Foundation
As a professional painter, you understand the importance of solid preparation when painting a ceiling — from moving and/or covering furniture and fixtures, to inspecting the surface and making necessary repairs, to cleaning and — of course — priming. Sure, ceilings don’t get normal wear and tear, but they can sustain other types of damage such as water stains, mold found in bathrooms, and grease spots often seen in kitchens. Here’s where the right primer can make a world of difference. How?
Well, the fact is that not all primers are created equal! Most are designed to strengthen adhesion and prevent peeling, as well as deliver a smooth, uniform finish — yet not all primers are specifically formulated to block stains. Therefore, to ensure effective stain-blocking and a successful paint job, make sure you 1) thoroughly clean and/or remove any damage and 2) use a stain-blocking primer specifically developed for the type and severity of the damage you’re tackling.

When dealing with light to medium stains — scuff marks, handprints, pencil, ink pen, crayons, for example — you’ll achieve the best results applying primers that are specifically formulated to prevent these kinds of stains from bleeding through your finish. Consider Primers such as BEHR® Kitchen, Bath & Trim Stain-Blocking Primer & Sealer and BEHR® Multi-Surface Stain Blocking Primer & Sealer which deliver excellent adhesion and sealing properties while providing a sound anchor for paints.
Heavy stains, including water, smoke, and tannin bleeding, require a more powerful primer like KILZ® Restoration Primer, which not only blocks heavy stains, but also seals pet food and smoke odors. For bathrooms and other moisture-prone spaces, consider priming with KILZ® Mold & Mildew Primer, which provides additional protection against the growth of mold and mildew on the primer film.
2. Use the Right Paint
Once preparation is complete, it’s time to apply. For superior results, ensure you use a coating created explicitly for ceilings. Why? Ceiling paints are specifically formulated to minimize lap marks and spatter, which makes the paint job easier and neater.
When rolling ceilings, consider the following BEHR® Products:
- BEHR PREMIUM PLUS® Interior Ceiling Paint provides excellent coverage at a great value.
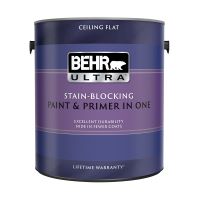
- BEHR ULTRA® Stain-Blocking Ceiling Paint offers stain-blocking performance.
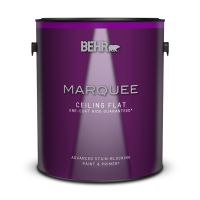
- BEHR MARQUEE® Stain-Blocking Ceiling Paint features one-coat hide along with exceptional stain-blocking properties.
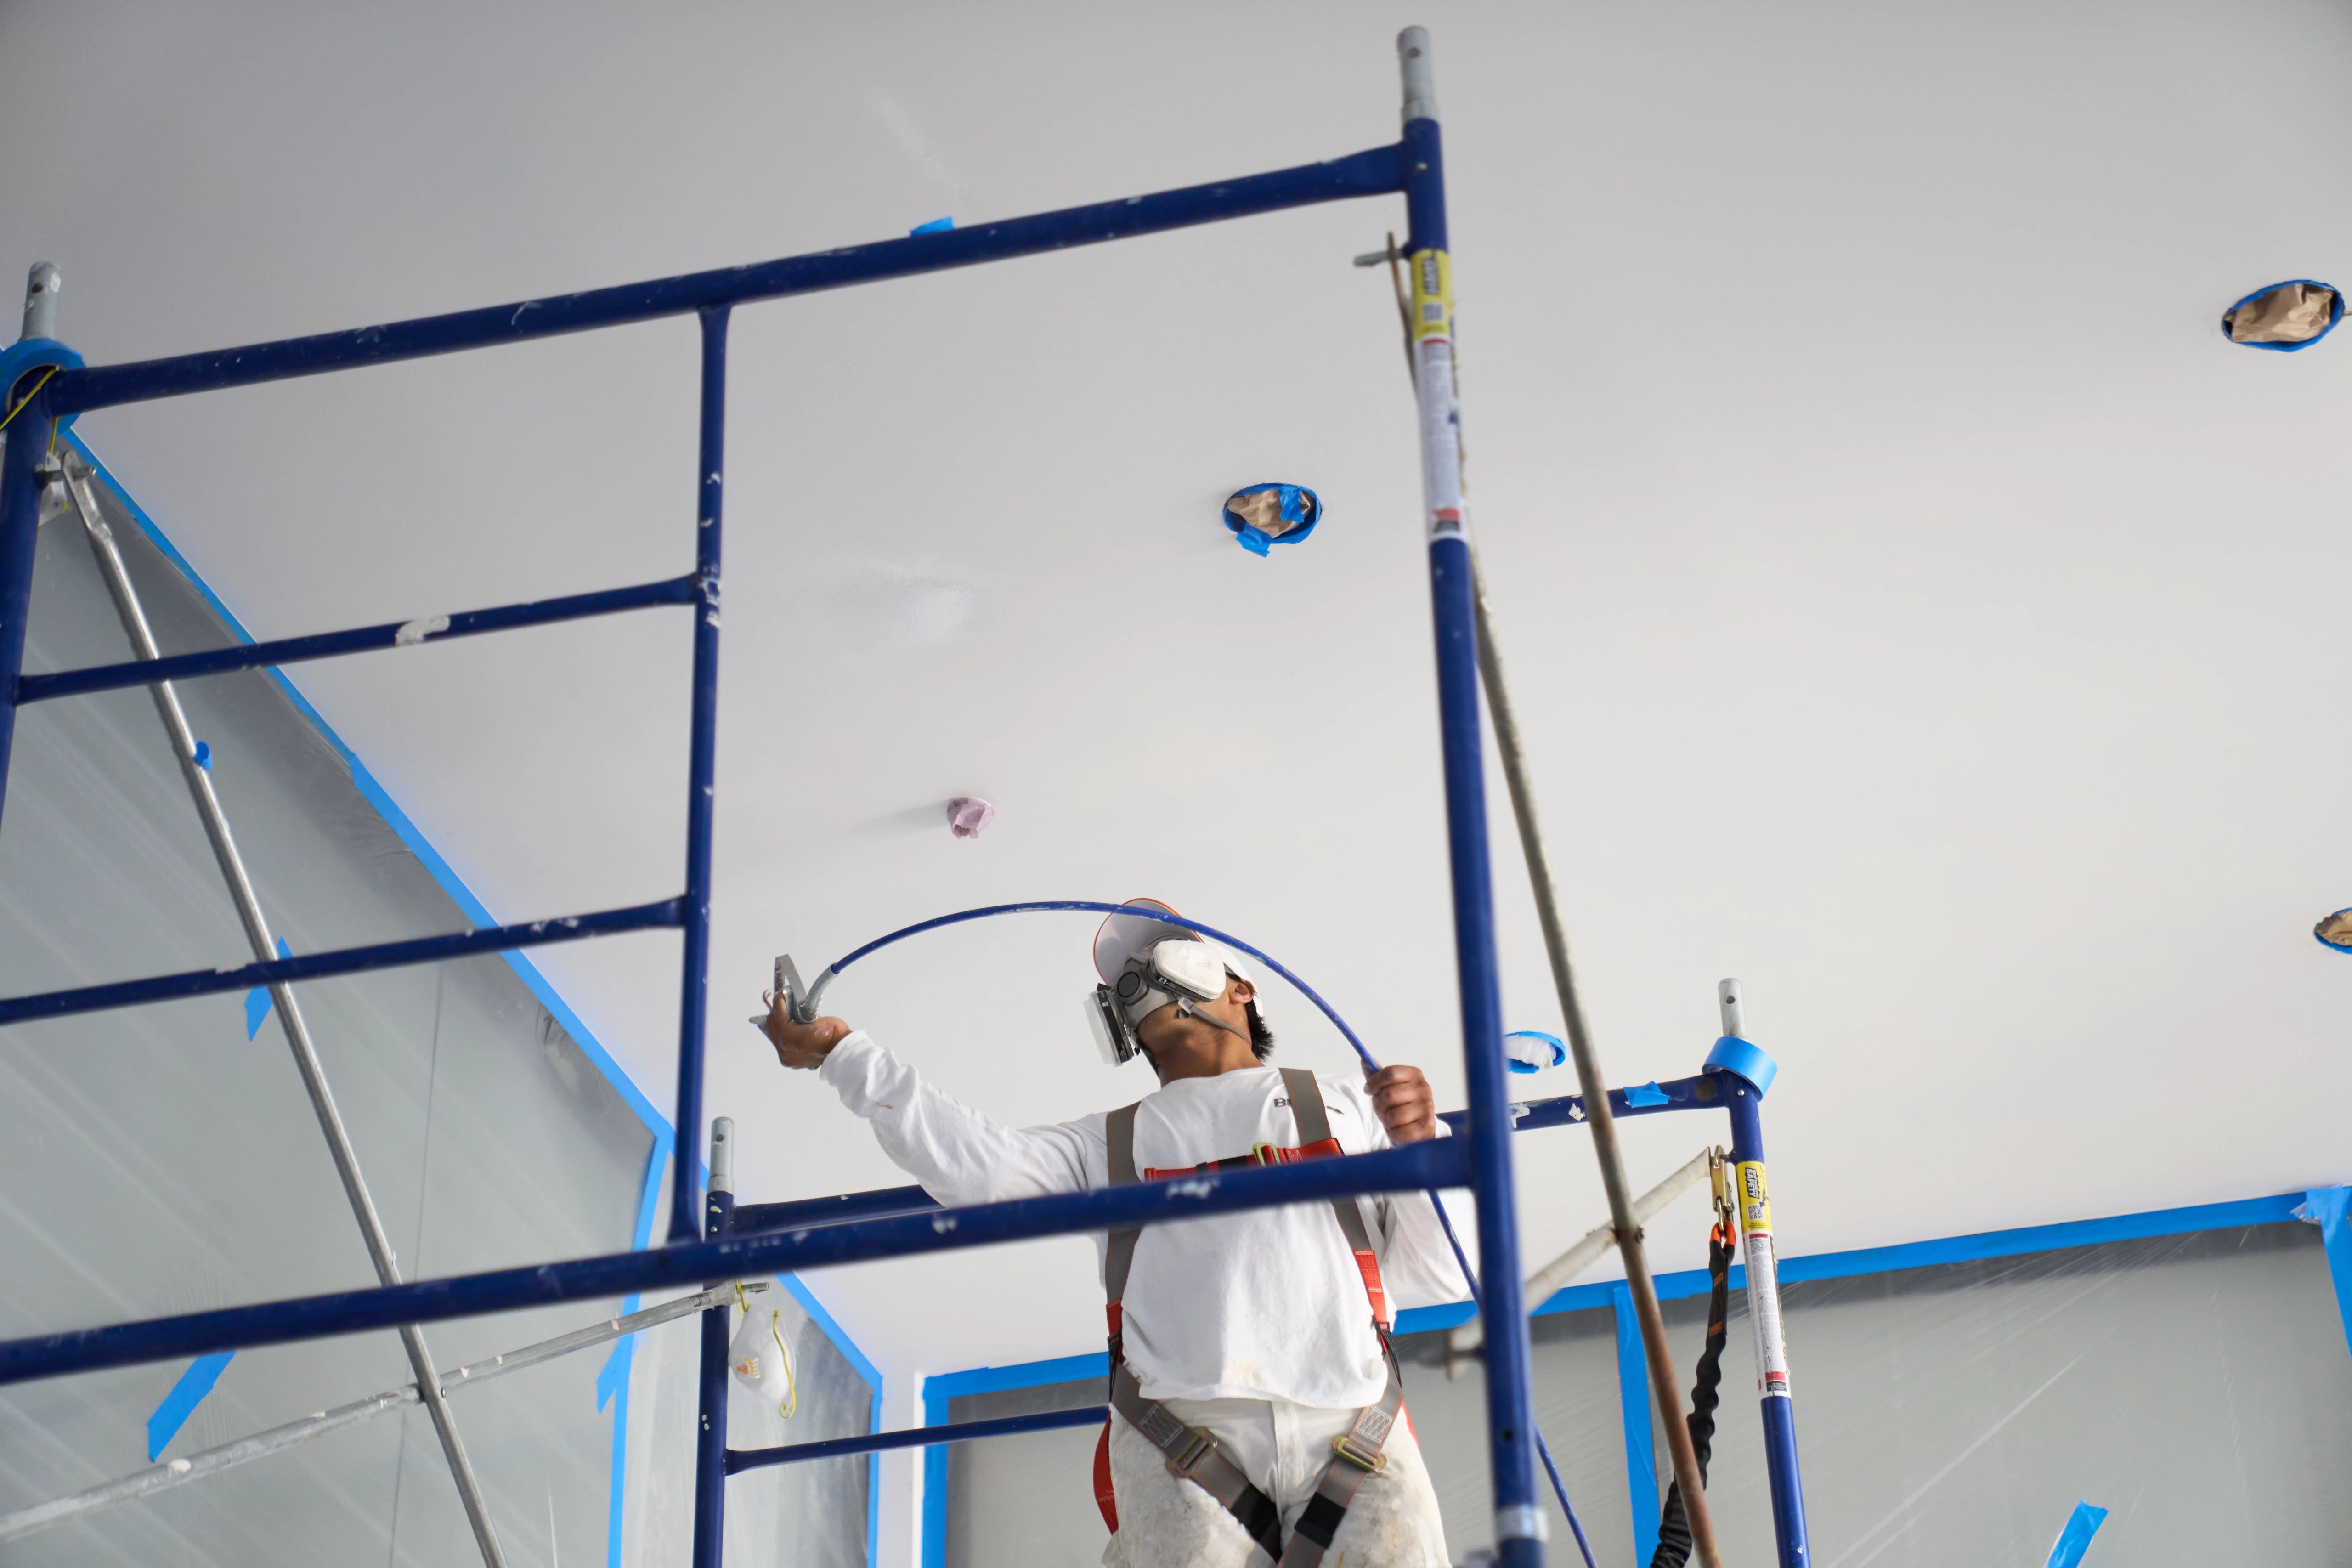
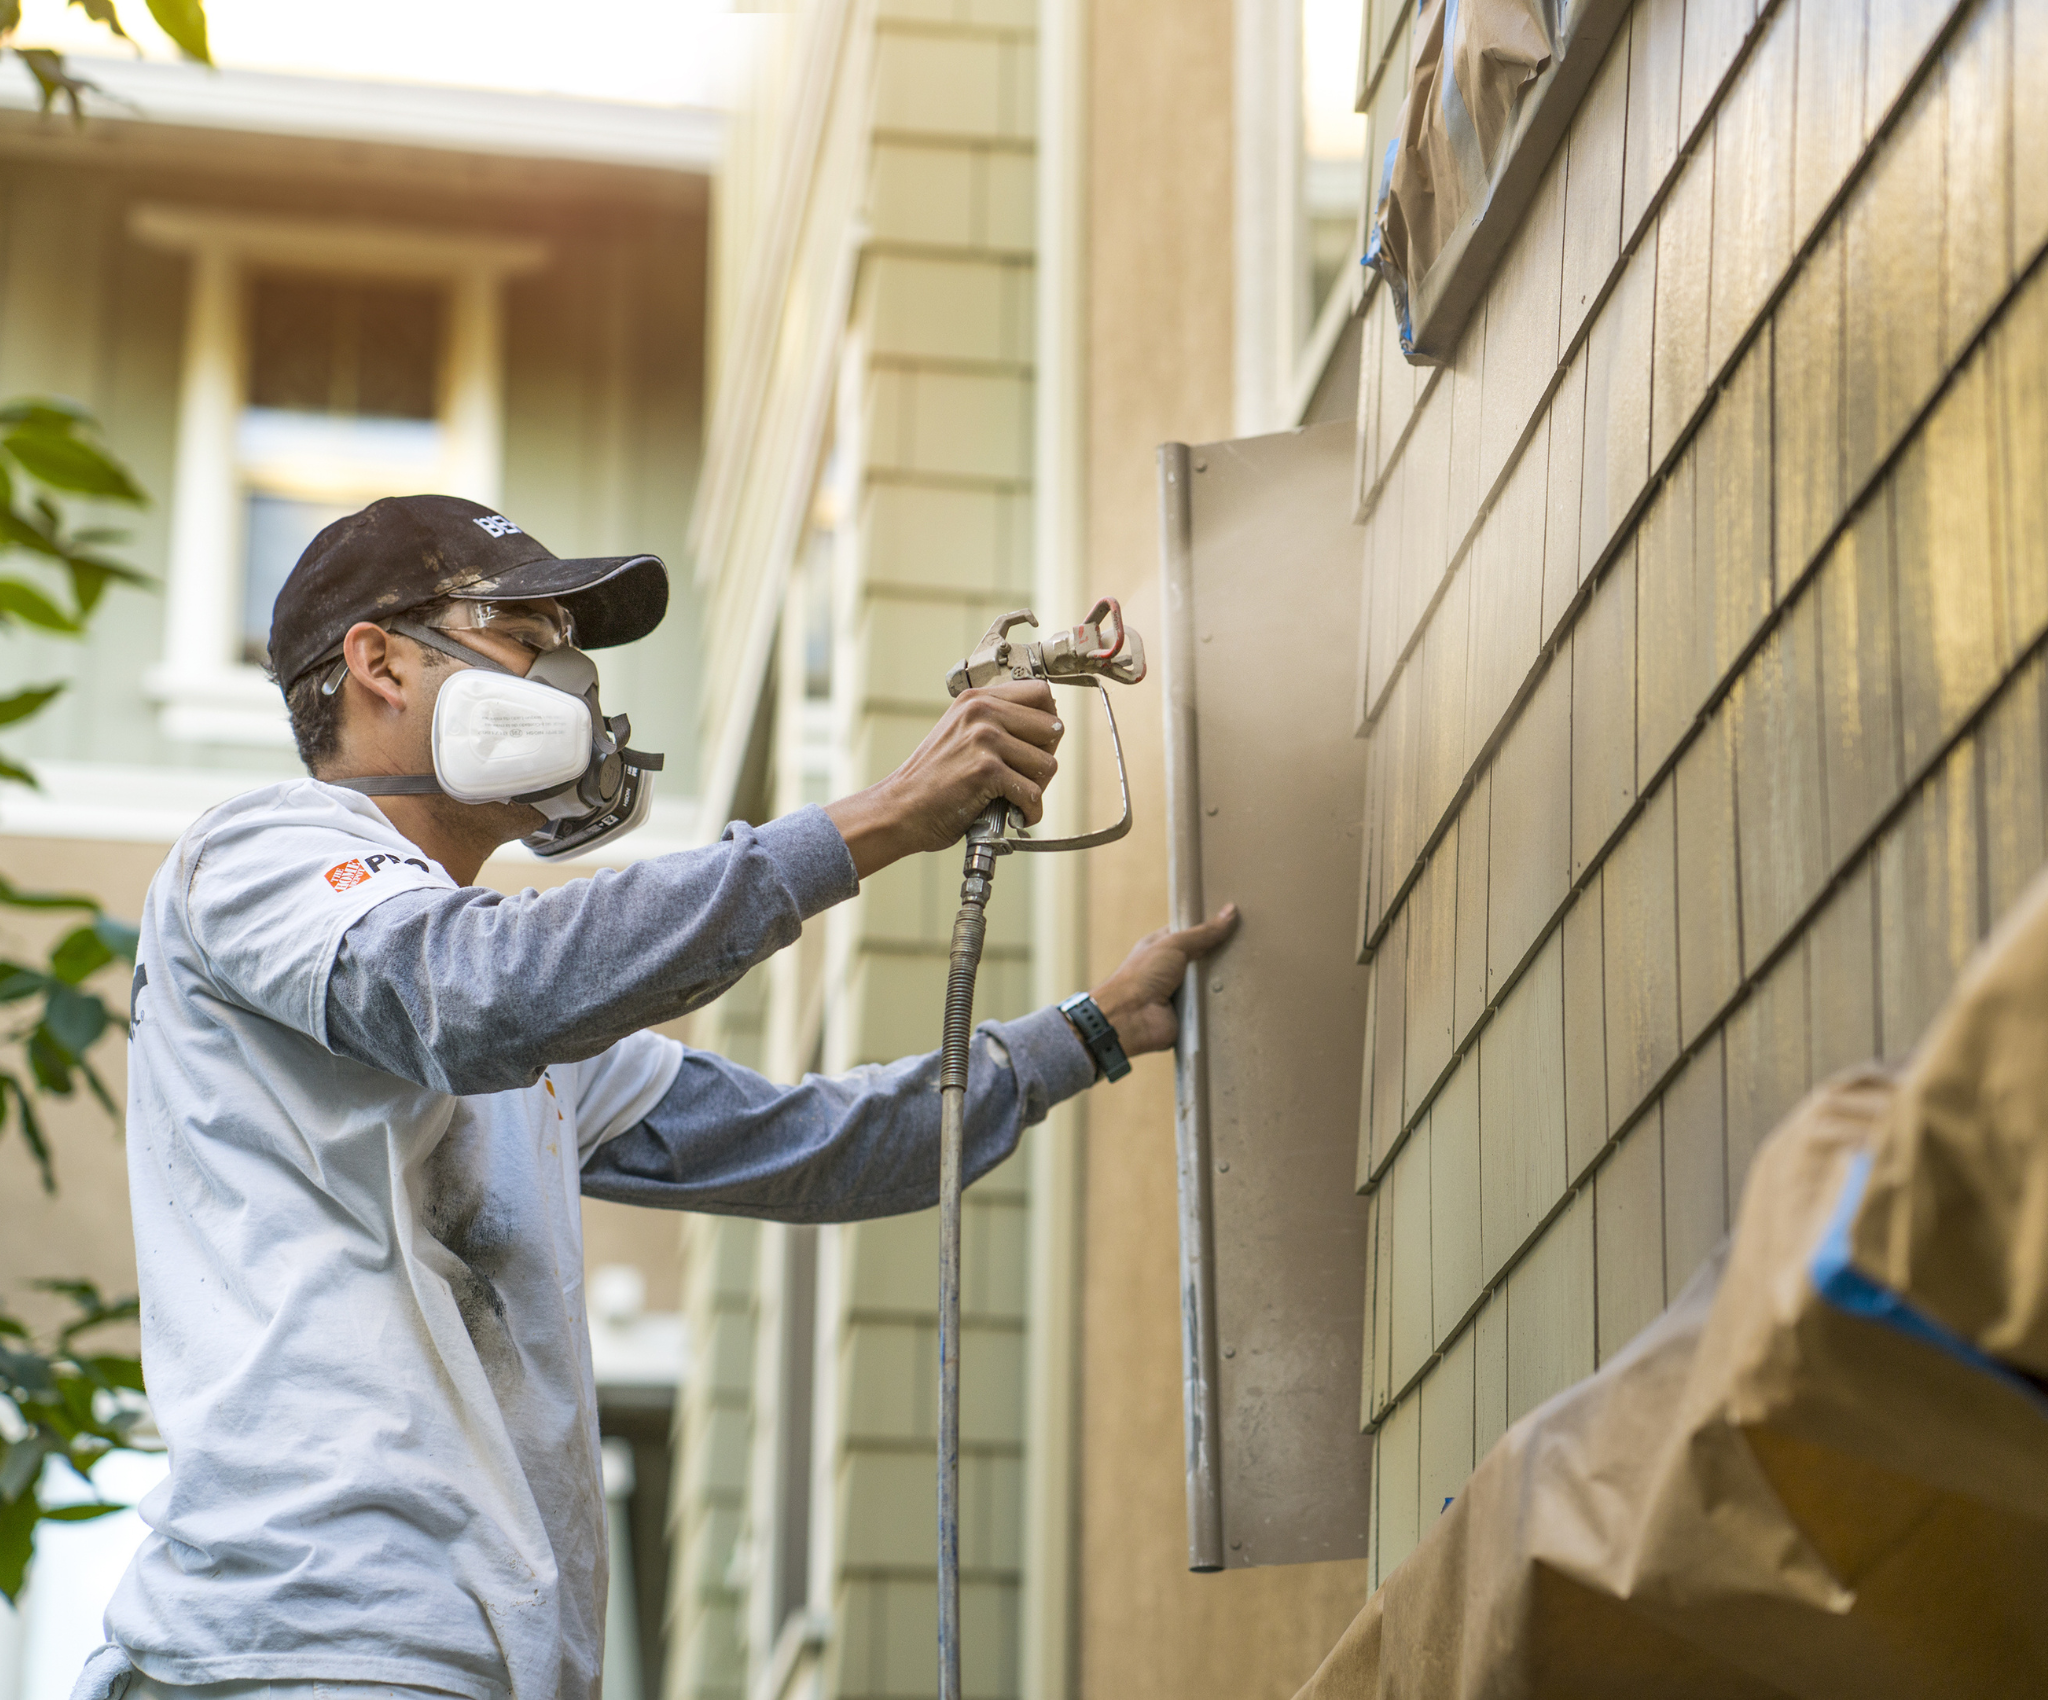
When spraying ceilings, flat paints are an ideal solution as they provide excellent sheen uniformity and help hide surface imperfections. Our Pros recommend:
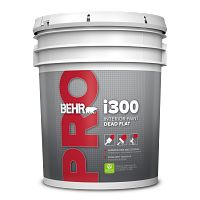
- BEHR PRO® i100 Spray Flat Wall & Ceiling Paint is formulated for spray application and eliminates the need to back-roll to achieve a uniform surface.
3. Get the Direction Right
The decision between rolling and spraying a ceiling depends on several factors such as the type of project, the surface texture, and the size of the area to be painted.
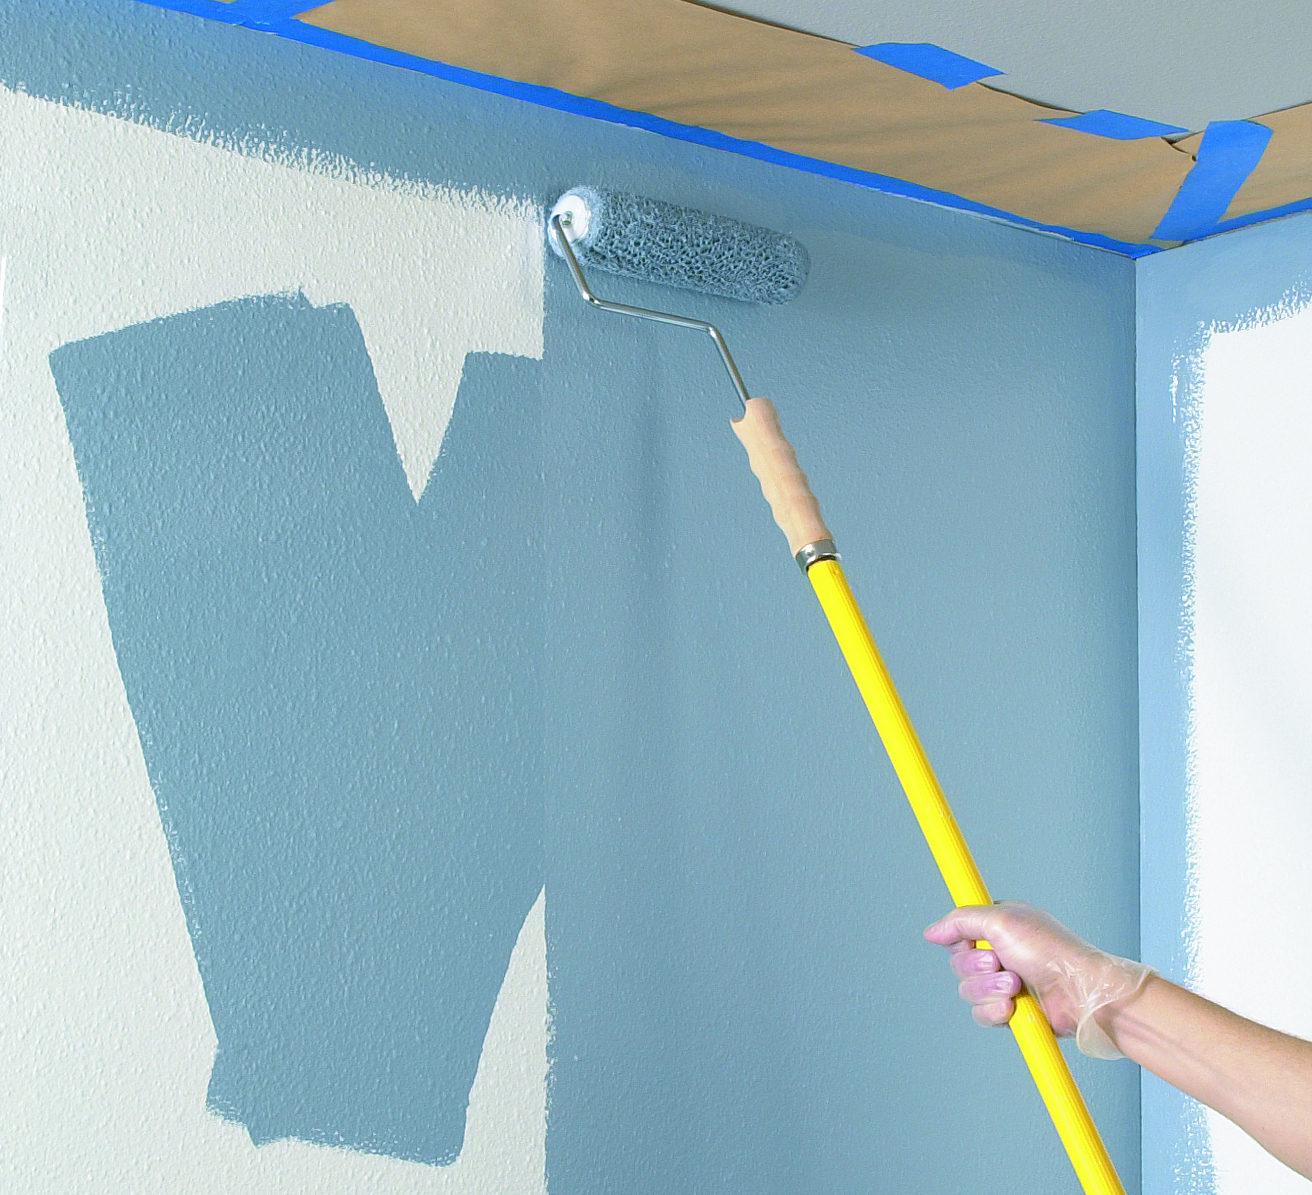
When painting smooth ceilings, the best strategy is to roll parallel with the main source of natural light, such as a big window, as it helps prevent roller lines. If you roll perpendicular to the dominant light source, the roller lines can form a slight shadow.
The same applies when spraying. While it is less of an issue on textured ceilings, it is still best practice to spray in a parallel direction with the incoming light source.
4. Focus on Proper Technique
It’s vital to keep your attention on your strategy when rolling a ceiling. A few suggestions:
- Keep a wet edge, which is accomplished by working in smaller sections (4-by 4-foot area) at a time.
- Keep your pressure on the roller consistent, as pressing too hard will result in more spattering as well as create “fat edges” on the roller pattern. (Note: fat edges are ridges left by the edge of the roller.)
- Finally, don’t rollback and forth too much. Minimize the back-and-forth strokes otherwise you’ll overwork the paint and end up with an uneven finish.
Additional Pro Tips
- Wear safety goggles when applying paint on ceilings.
- Use an 18-inch roller when rolling large ceilings to help get the job done faster.
- In the summertime, ceiling surface temperature can get hot and make the paint dry faster. This can be mitigated by painting the ceiling earlier in the day to keep a longer wet edge.
- When using a sprayer, consider using low-pressure airless spray tips (e.g., Graco RAC X and TITAN HEA) that distribute a softer spray pattern and provide a more consistent, uniform finish. In addition, remember to spray at the lowest pressure that completely atomizes the paint.
As a professional, remember that careful preparation, attention to detail, and using high-quality products are the keys to excellent results and satisfied clients.
If you have any additional questions, please do not hesitate to contact a BEHR® Pro Rep.


good basic info