

Painters and painting business owners come from all kinds of backgrounds. Some of the pros grew up with a brush in their hands; others picked it up after school or even transitioned to the industry after years in a corporate setting.
Regardless of how you got into the industry, learning the trade starts when your boots hit the jobsite, and it doesn’t really stop until retirement. From the art of keeping a wet edge to properly managing a crew, there is no level of the game that doesn’t create some questions.
With that in mind, we talked to Scott Burt, longtime residential painter and past Senior Editor of American Painting Contractor magazine, about some of the most common questions he’s heard in his more than 30 years of painting, and he gave us some of his best answers.

How do you apply water-based paint over oil-based primer?
Historically, that combination of products has been more prevalent on exterior projects; for instance, priming exterior trim on the outside of a house with oil primer and then topcoating with waterborne paint. They are generally compatible when each product is applied according to the manufacturer’s instructions.
One of the most important things to know is the dry time of your primer. Some take longer, and others dry faster. If you are using a longer-drying oil primer, avoid the temptation to rush. Let the primer cure for the time specified by the manufacturer.
Once the primer is dry, scuff sand it with 180-grit sandpaper to smooth the surface. Then apply two topcoats, scuff-sanding in between coats.
How do you fix peeling paint on exterior surfaces?
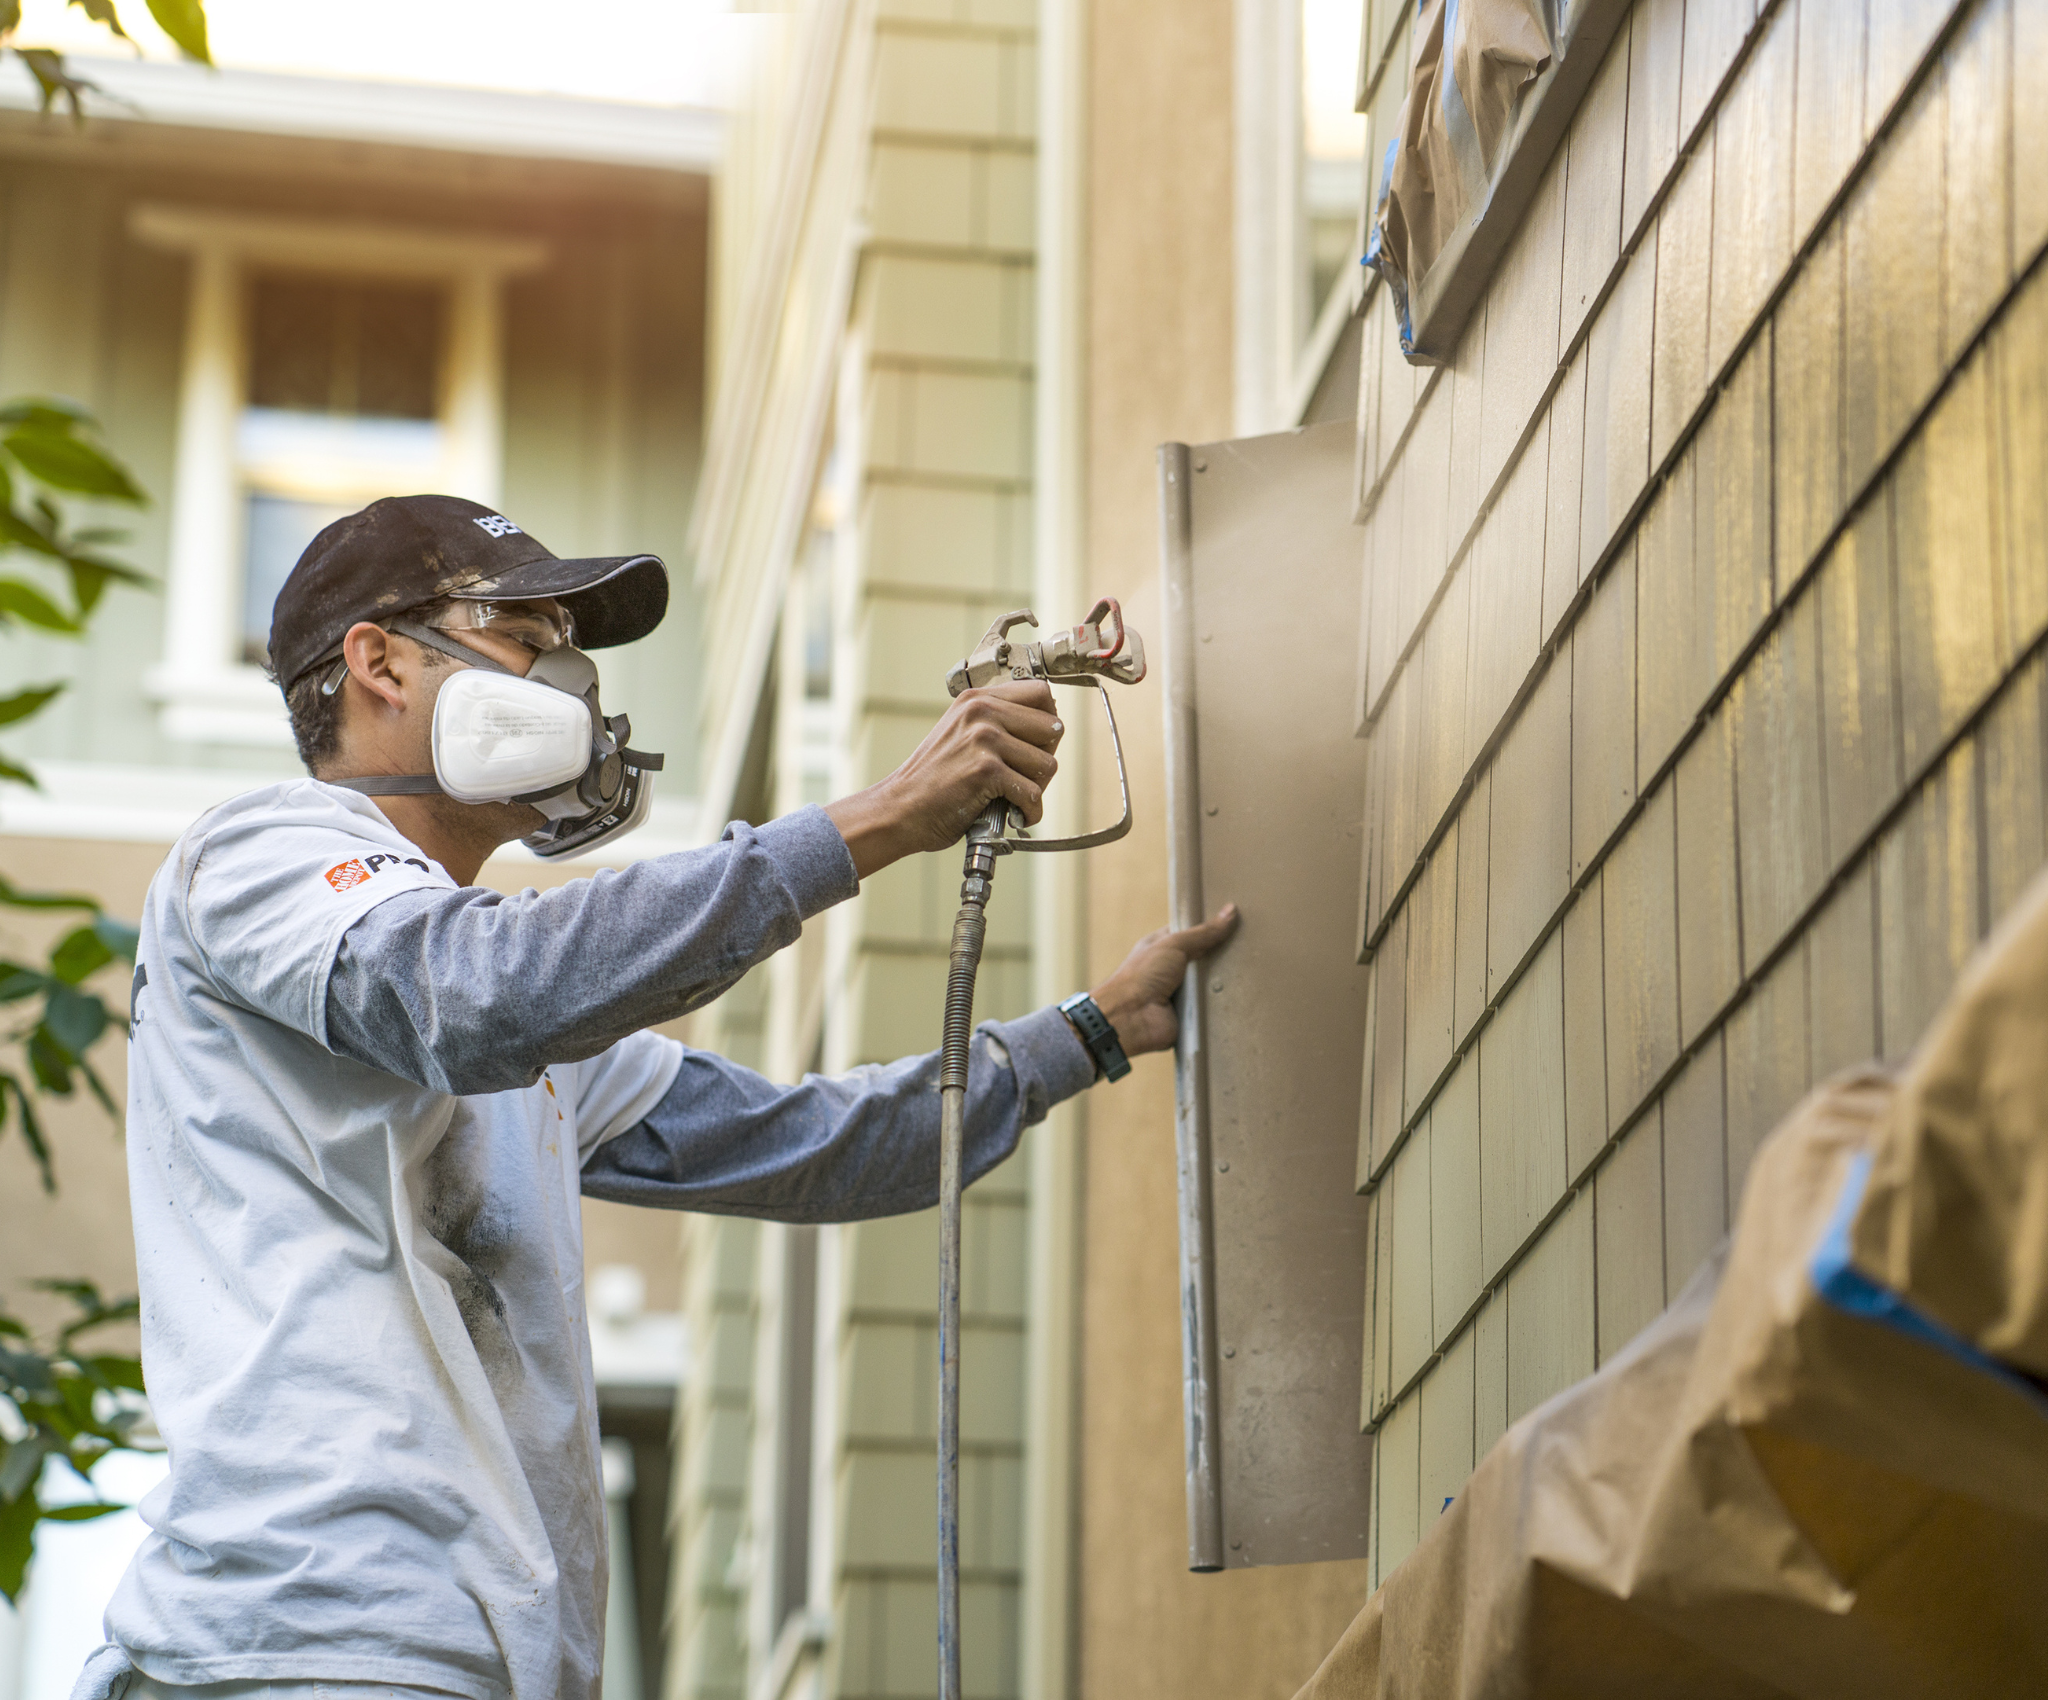
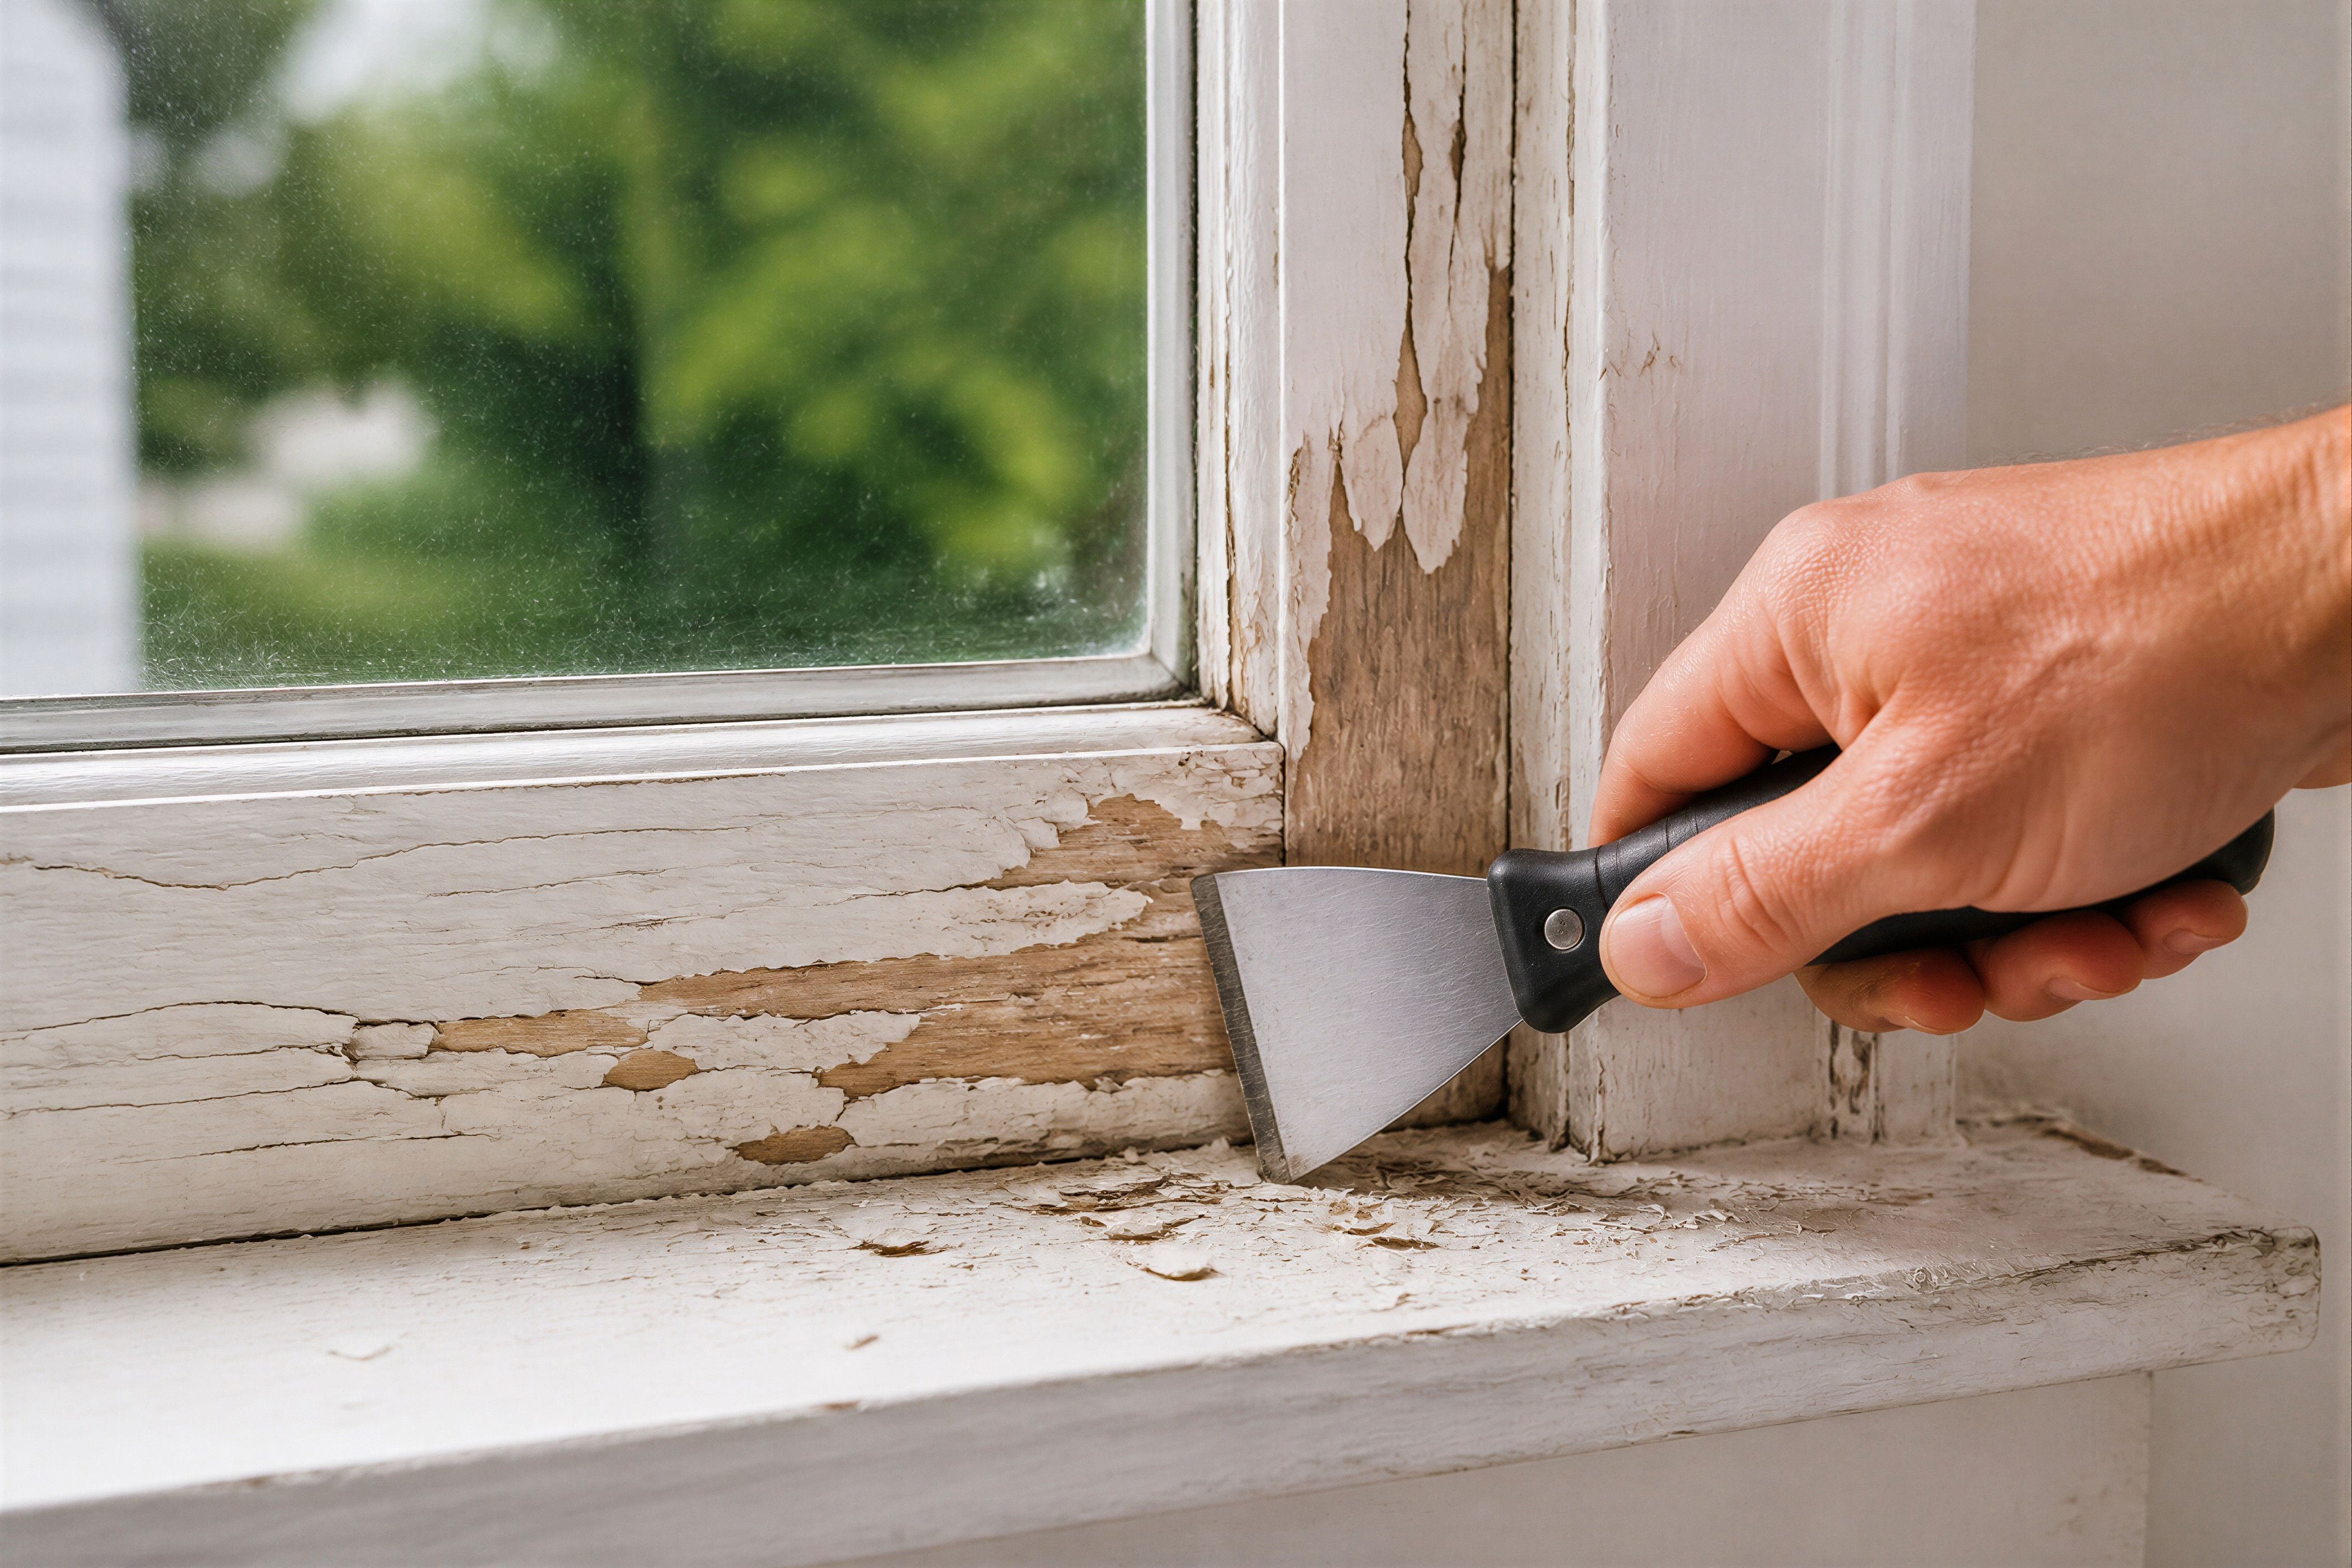
The exterior prep process should always involve scraping and priming, but it’s not just those two steps.
Safety note: Homes built before 1978 may contain lead-based paint. Scraping and sanding these surfaces can create hazardous dust, and work on them may be subject to the EPA Renovation, Repair and Painting (RRP) Rule and state requirements, including certification and lead-safe work practices.
First, scrape any peeling, loose, or failing paint thoroughly. Then sand to “feather” the edges. Make sure there are no edges lifting off the surface. If primer can get behind the coating, water can get behind the coating, and this will cause more peeling.
Next, prime those areas and, depending on the surface, you can sand things smooth one more time before applying your topcoat.
How do you avoid lap marks when rolling?
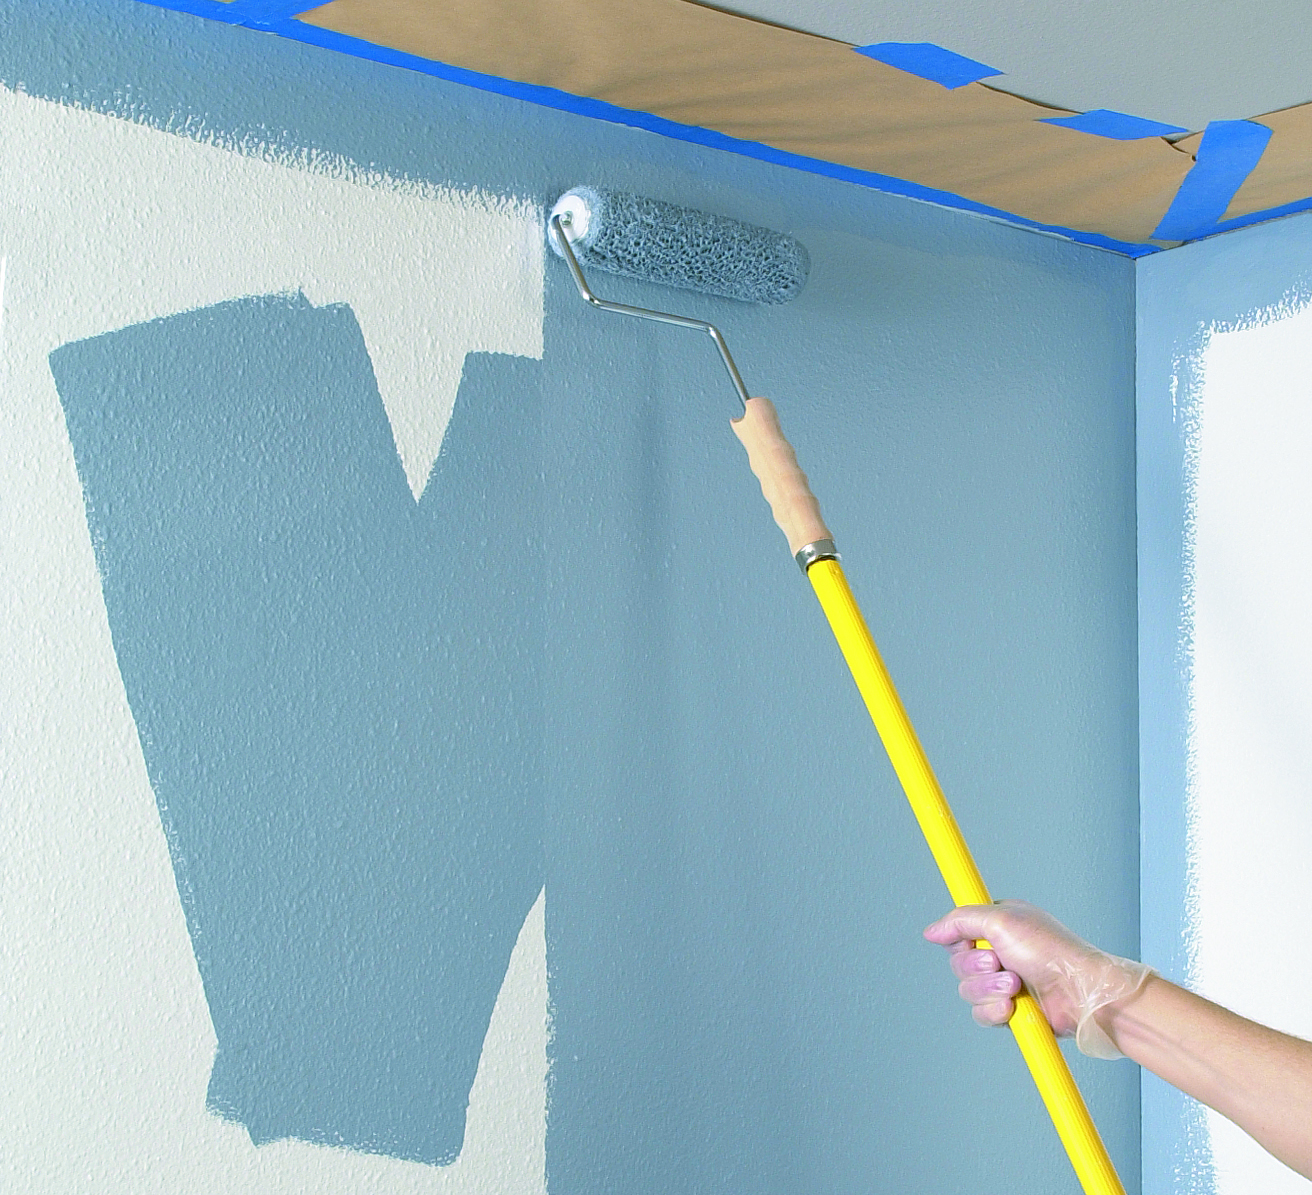
One big thing that I have seen go wrong is when painters are using a new roller and don’t fully load it before they start painting. If you just put that in the roller tray once and start painting, it isn’t fully loaded. It takes a few reps for a roller to really get saturated and effectively spread the paint.
Sometimes I start inside a closet or another small area just to get the roller fully saturated.
The rest is all about learning the right technique.
- Rolling is a vertical game, so go up and down.
- Pay attention to your pace. If you’re rolling too fast, you’re not getting good coverage.
- Don’t apply so much pressure that you get “ropes.” Ropes are created when excess paint is forced out from the edge of the roller, leaving a thick line.
- Always lay off in the same direction. That means, make up your mind early about how you will get that roller off the wall, and do it the same way every time. For me, I lay off from the top of the wall to the bottom.
- Step back and inspect your work from straight on and different angles. Sometimes, if you look straight at it, it looks fine, but if you look from an angle, you can see any spots you missed because the wall wasn’t perfectly flat.
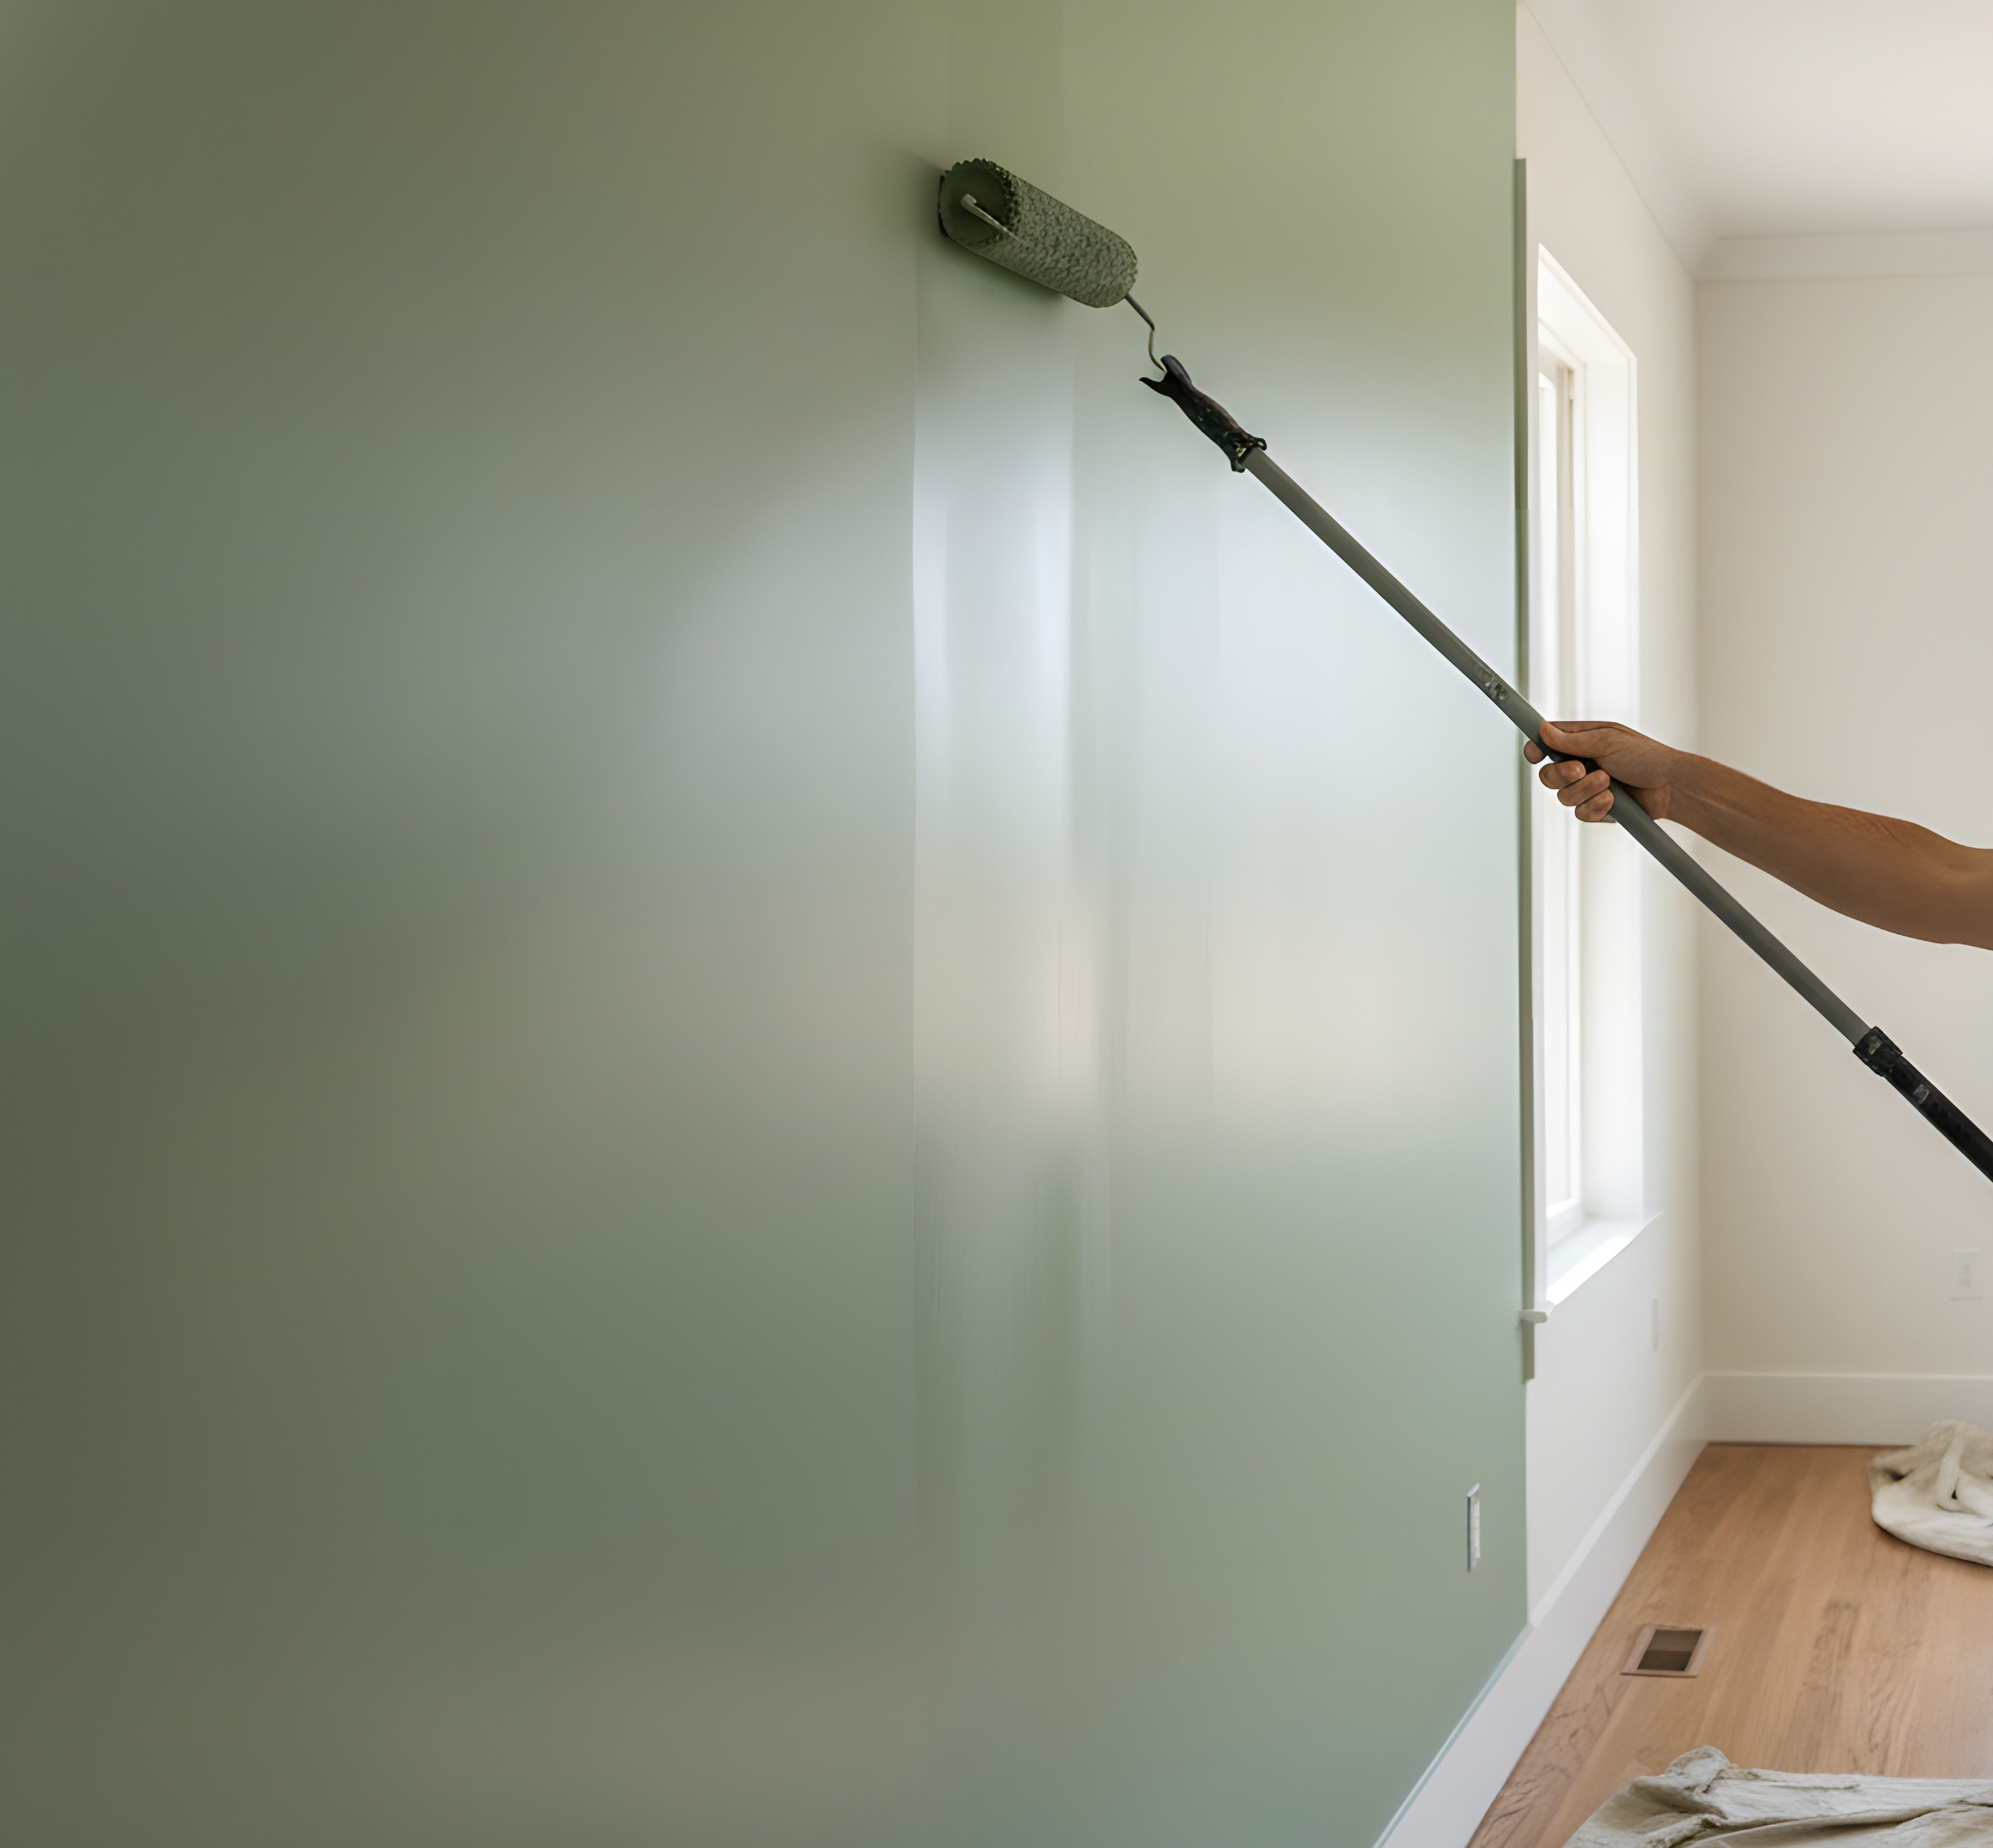
Finally, if the paint starts to dry, you cannot go back and try to manipulate it because that will cause flashing. It’s really important that you do all of these things quickly while the area you are working on is wet with paint. It sounds like a lot, but once you get into the rhythm of it, it becomes second nature.
How do you keep crews from missing all the small details that go into a truly professional paint job?
It all comes down to good training. One trick I’ve learned over the years is to train everyone on exterior before I put them on interior.
Interior is a lot less forgiving because you have artificial light inside of a house as well as different natural light throughout the day. Your eye has to be a lot sharper to be a good interior painter.
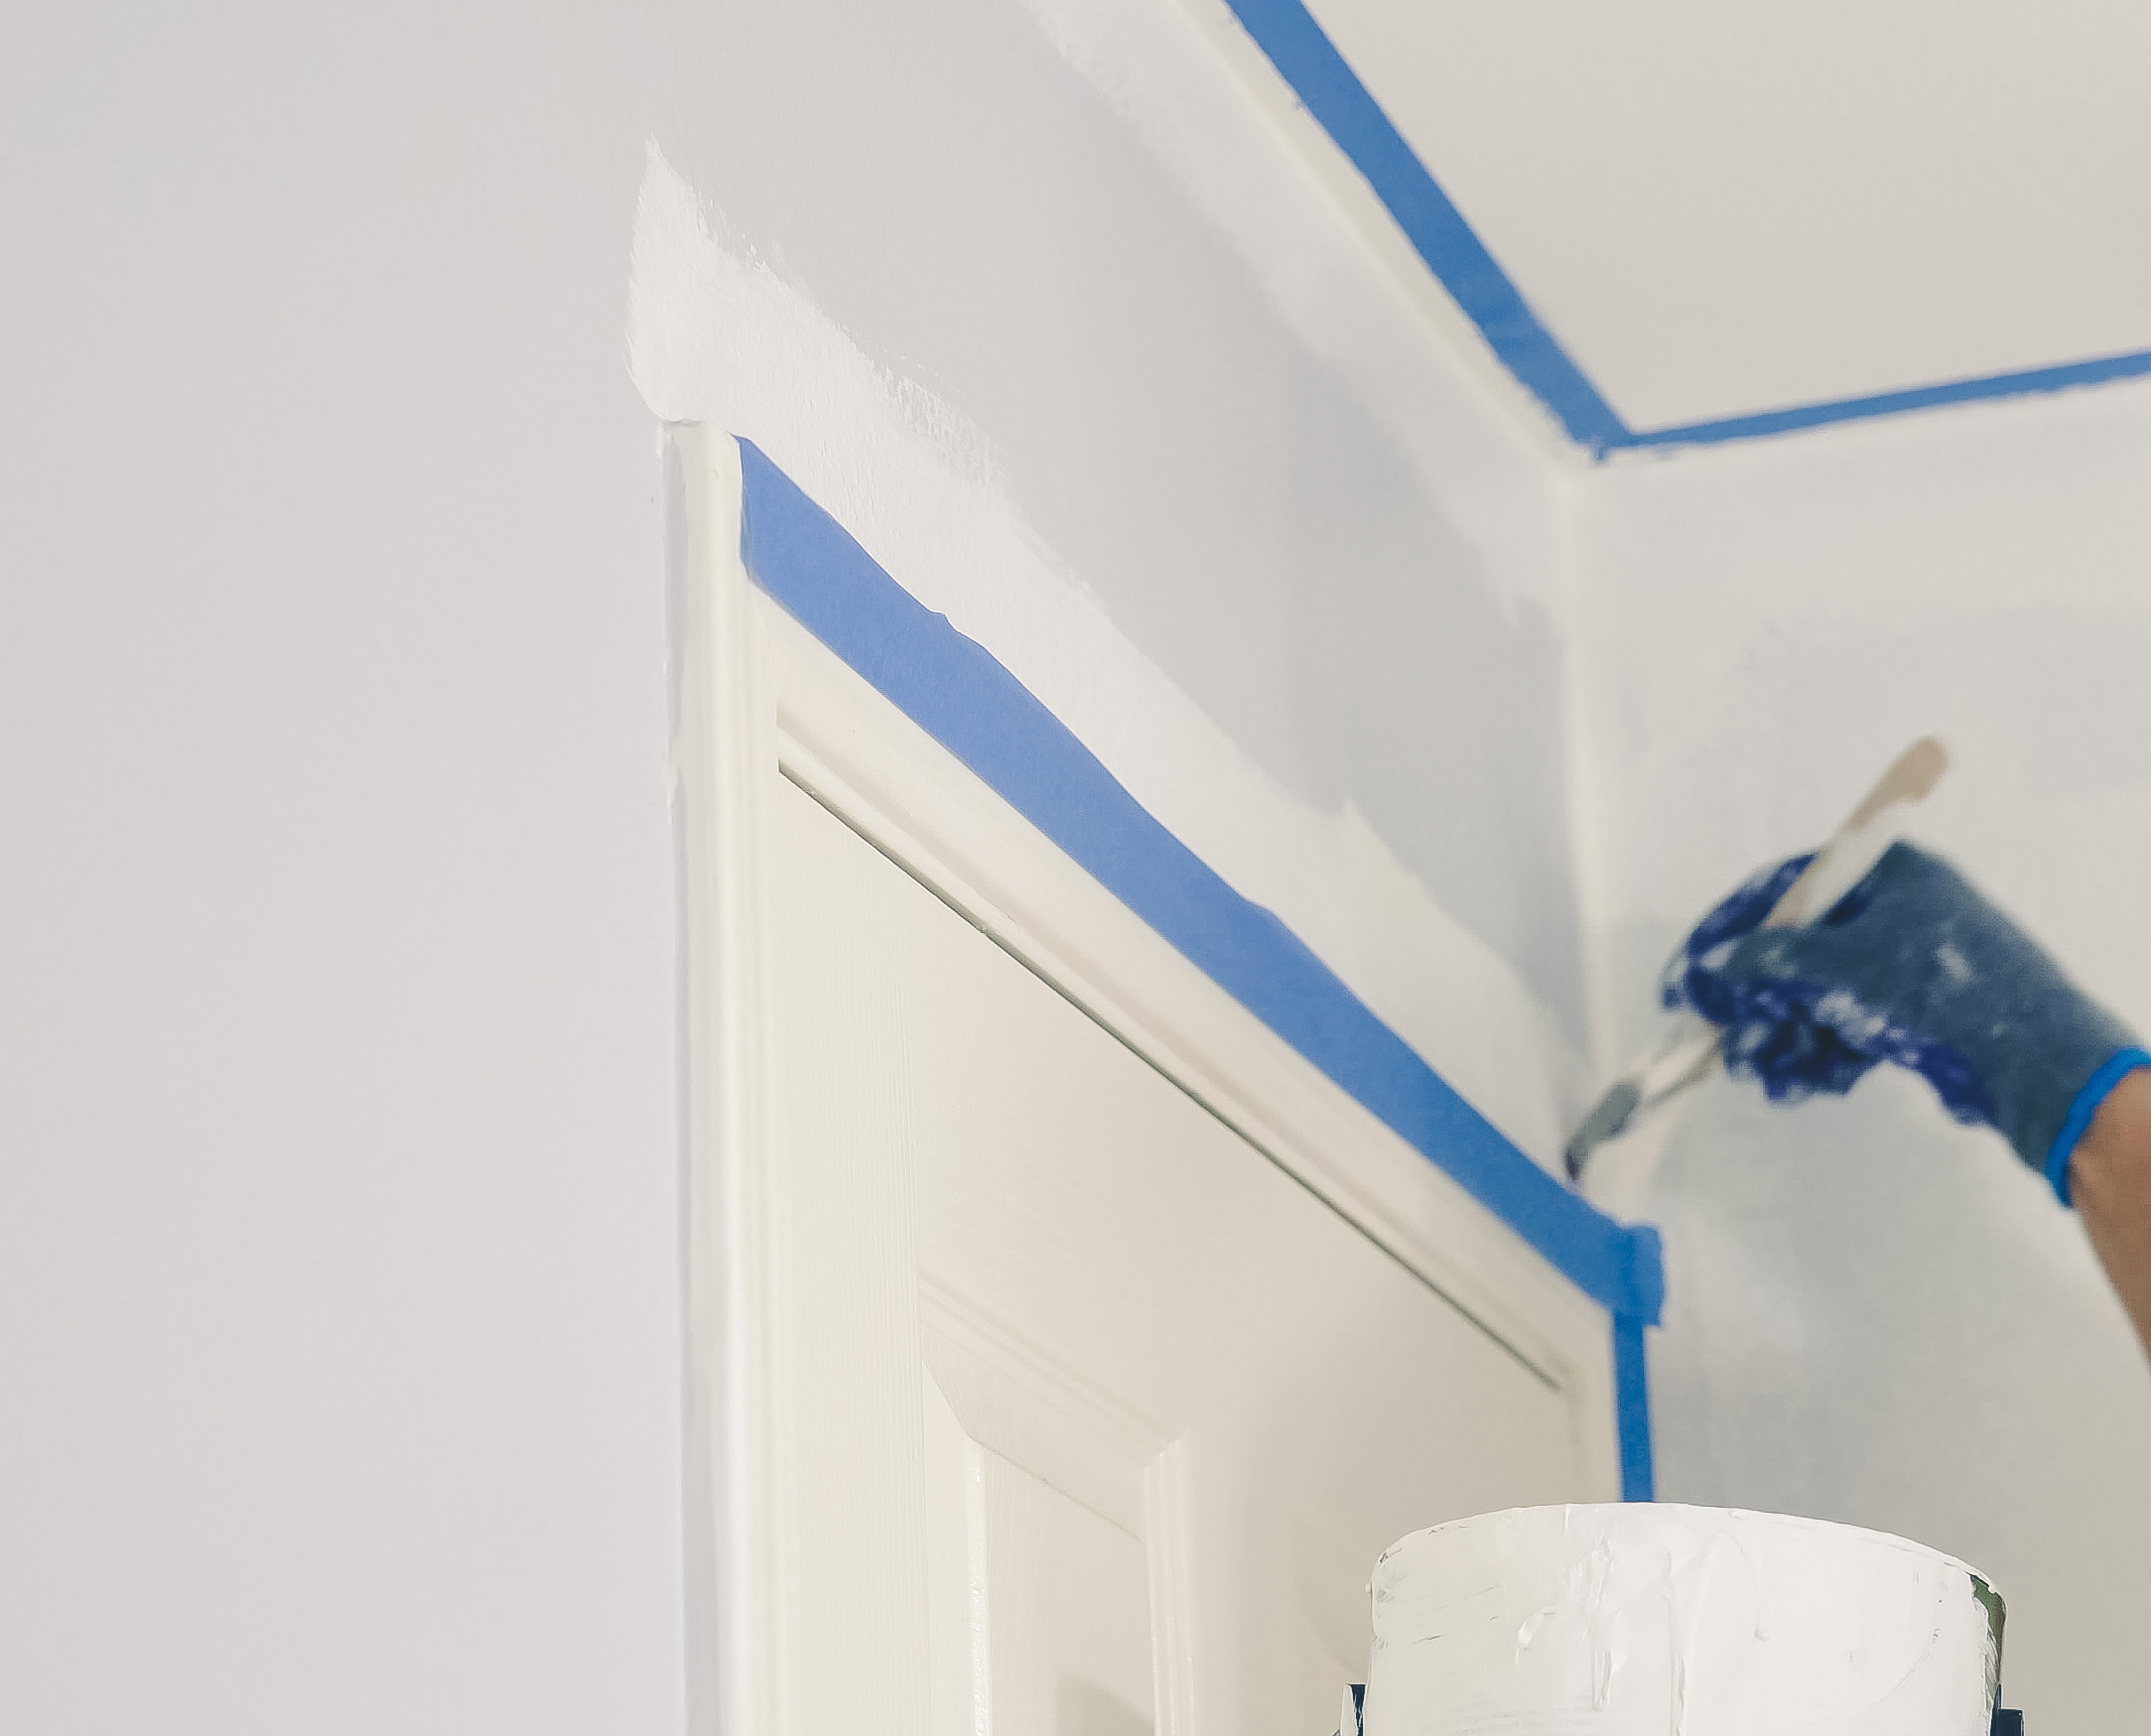
Exterior painting is more forgiving. So that’s where I teach the basics:
- How to spread the paint
- How to keep a wet edge
- How to avoid runs, drips, sags, or curtains
- How to look for those scraped edges where the paint isn’t laying completely down
What process changes have you made over your years as a pro painter that have saved the most time?
Accountability on the production side is incredibly important because everyone isn’t always thinking about the most efficient way of doing things. That’s why you need a game plan.
I started breaking the eight-hour day down into three segments.
- Segment one: 7:00 a.m. until 10:00 a.m.
- 15-minute break
- Segment two: 10:15 a.m. until 12:30 p.m.
- Lunch
- Segment three: 1:00 p.m. until we are done for the day.
I have everything listed that needs to be done in each segment. Those smaller segments mean you can say, “this needs to be done before break,” “this needs to be done before lunch,” etc. In addition, the list is digestible and achievable.
I don’t try to fit 10 hours of work into an eight-hour day.
I also make sure I have all the materials needed to complete the job on site. Make sure you set yourself and everyone up for success.
In my experience, people get more focused with this type of structure rather than saying, “let’s just get as much done as possible before lunch.”
The information in this article is for general informational purposes only and reflects the experience and opinions of the individual interviewed. Always follow product label directions, manufacturer specifications, and applicable safety laws and regulations.
For answers to your paint pro questions, reach out to your BEHR Pro Rep.