
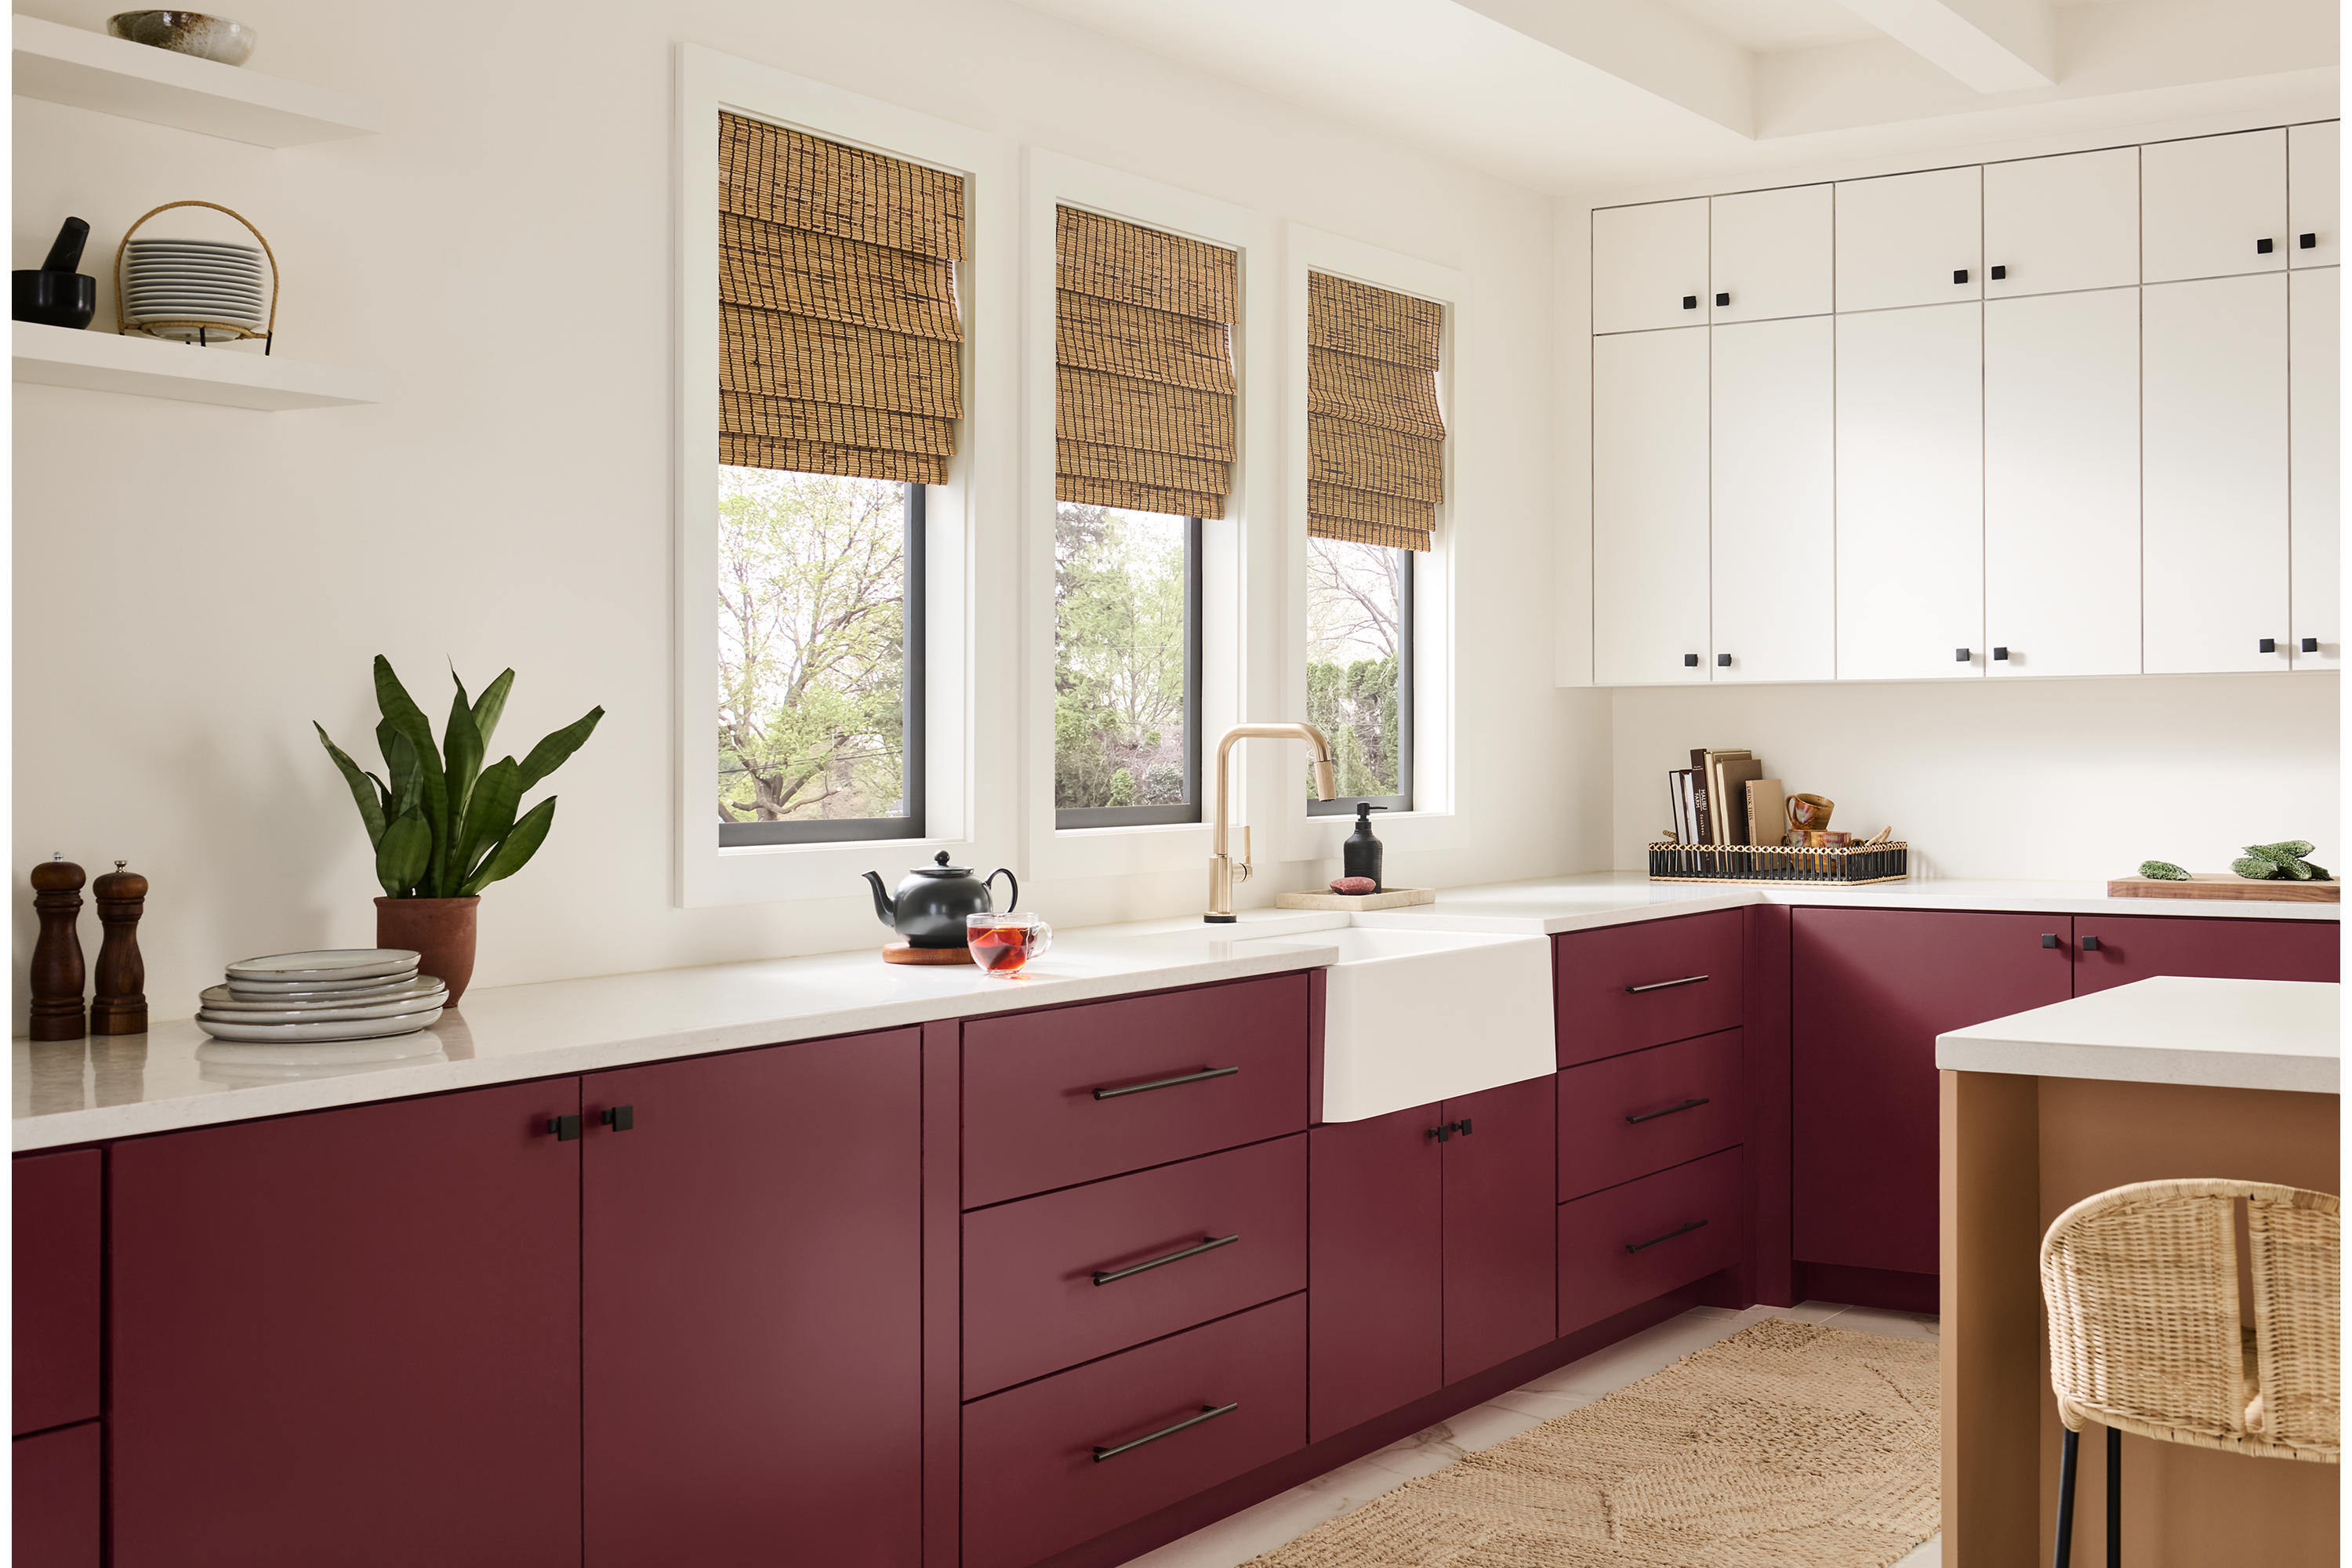
For homeowners, beautifully painted cabinets can be a great source of pride. For painting pros, they can showcase exceptional skill, product knowledge, and attention to detail. However, these projects are notoriously unforgiving, especially when steps are skipped or improper products are selected. Check out this list of pro tips to ensure you and your crew are prepped to do the job right.
Customer Prep
All jobs start with excellent prep, and the first prep step is fully understanding the expectations, current conditions, and potential challenges. Start by finding out the level of finish that the customer expects.
“It depends on what the paying customer wants. You’ll choose different products depending on whether they want a factory finish or a basic repaint to spruce up the cabinets,” says Ed Edrosa, Senior Product Manager for Behr Paint.
Many contractors offer an array of products and finish levels, so the customer can choose an option that meets their needs and budget. If you only do high-end projects and are unwavering in your quality standards, create a strong qualifying process to identify the prospects who can afford your level of work.
Before giving an estimate, inspect for defects that could add additional prep work to the project. High levels of grease, dents/holes, mixed materials, and wood species that require grain filler are a few examples of things to look for. Prepare for sneaky challenges that often pop up once the project is in process. Many contractors recommend a clause in the contract that addresses how unforeseen challenges will be handled.
Job Site Prep
A well-planned job site helps the job move along efficiently, ensures that everyone stays safe, and that everything in the home stays clean and damage-free.
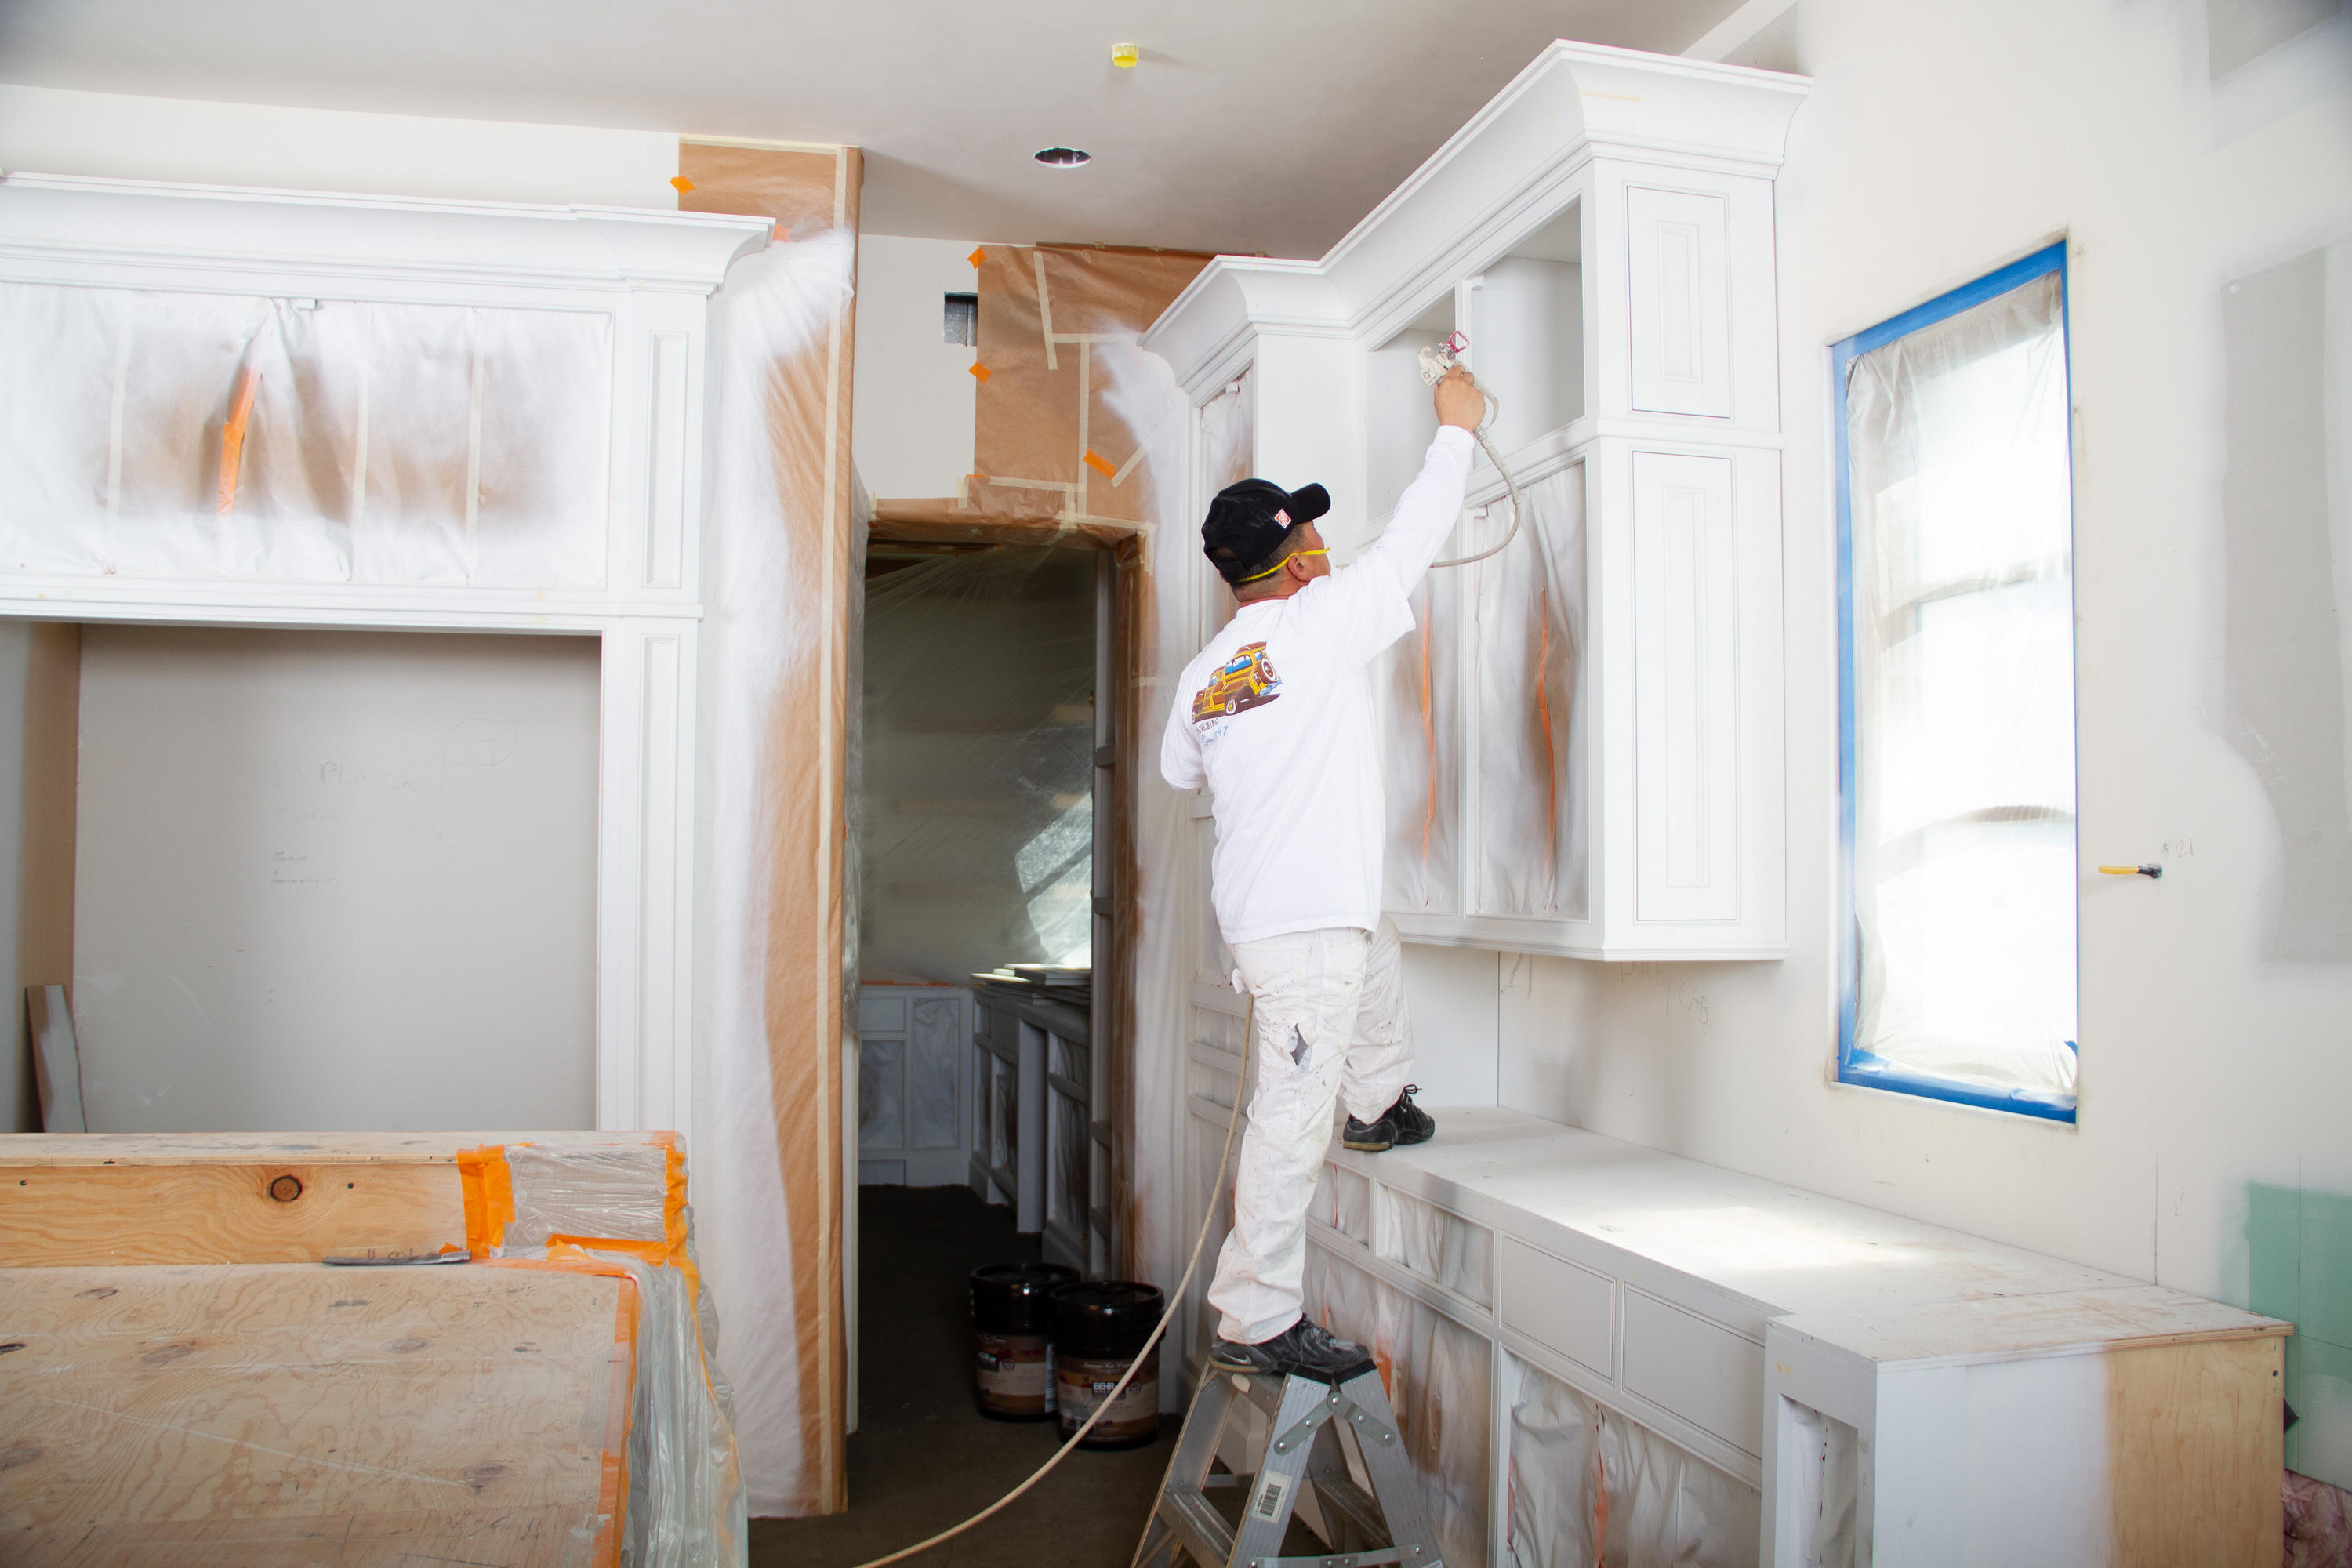
- Overspray: Since most cabinets will be sprayed, all surfaces not being sprayed should be properly covered to protect them from overspray.
- Ventilation/PPE: Properly train crew members and ensure use of appropriate PPE. Set up your site for proper ventilation and air filtration.
- Lighting: Good lighting is critical to ensure that nothing is missed during prep and you can quickly see any imperfections in the coating that need attention.
- Transportation: If you are taking drawers and doors off-site to a shop, don’t forget to wrap and secure them to protect the items from damage.
Surface Prep
Grease and oil are common in kitchens, and they wreak havoc on paint. Begin with a good old-fashioned cleaning. Grease cutters like Dawn dish soap, TSP, and, in tough situations, denatured alcohol are good go-tos. Inspect and scrape the cabinets, and clean all their nooks and crannies.
Sanding strategy and primer choice are situational. Generally, a three-coat system with a scuff sand before each coat will give you a quality result. Follow these steps:
- Sand
- Prime
- Sand
- Coat one
- Sand
- Coat two
Remove dust with a vacuum cleaner after sanding, and wipe all surfaces with a wet rag or tack cloth.
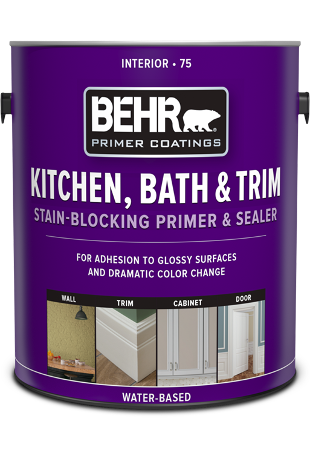
Choose a primer that is formulated for your specific situation. For instance, if you are painting enamel over previously painted cabinets, “our BEHR® Kitchen, Bath & Trim Stain-Blocking Primer & Sealer will do the trick,” says Edrosa. This primer blocks medium-to-heavy stains and is perfect for properly prepped glossy surfaces.
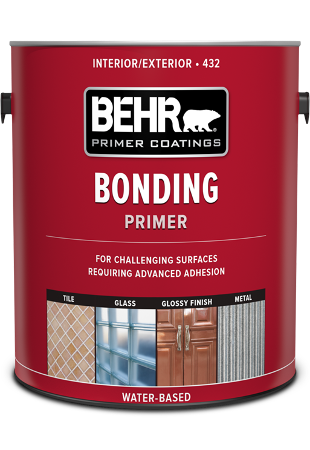
However, if you are working on something like melamine cabinets, it’s better to use a bonding primer like BEHR Interior/Exterior Bonding Primer for its high-adhesion qualities.
Paint
“Not every paint can be used on cabinets,” warns Edrosa. Even once old grease is removed, the new coating needs to hold up to future grease. “The oils soften the paint film, so if you don’t use the right paint, you can end up with something that looks good, but you’ll get a callback in a few months because the paint is softening and accumulating dirt.” Cabinet paints are formulated with special resins designed to resist grease and prevent staining. While it is possible, it’s rare to see a successful cabinet job that doesn’t use spraying as its primary application method.
“Technique plays a big part in a beautiful and lasting result,” says Edrosa.
Before spraying, always strain the paint to remove impurities that can clog the tip or spray debris with your topcoat. It’s best to apply two thinner coats as opposed to one thick coat.
Build a System
It might seem impossible to create a system that handles the wide array of substrates, expectations, and challenges that come with painting cabinets, but if you establish standard operating procedures around what you see most and build flexibility into contracts for unknown unknowns, you can take a lot of stress out of the job.
Set your standard offers and price, and only take on those gnarly jobs when you are sure you are ready for them (and up-charging for them).
Cabinets, while more challenging than a lot of other repaint work, are popular and lucrative projects. It’s worth the time and effort to become known for your excellent cabinet work.
To learn more about Behr’s cabinet products, contact your local BEHR Pro Rep.