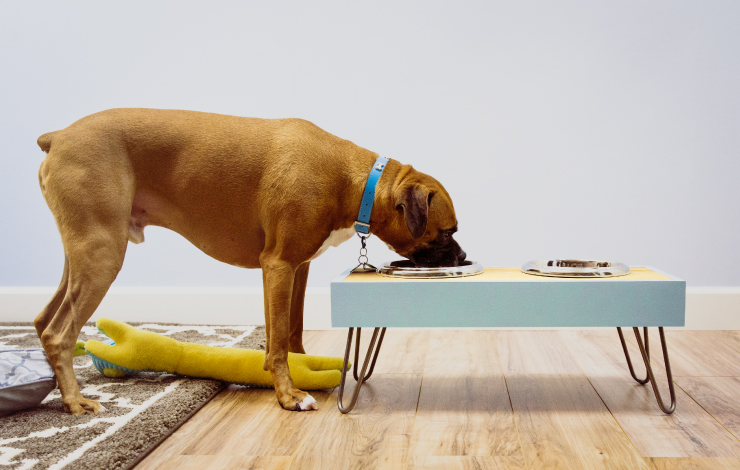
One of our coworkers recently approached us with a project idea. She wanted to build a raised feeding stand for her boxer -Panzer. We are always looking for fun project ideas here, and couldn’t resist an opportunity to create something for a furry friend.
We decided to make this a scrap project, with the wood, paint, and extra materials we had laying about the studio.
Materials:
Wood boards*:
4″x 0.75″ board cut to the following lengths:
2 x 26.5 inches
2 x 11 inches
11″ x 0.75″ board cut to 25 inches in length
4 x 8″ Hairpin legs – we ordered ours online.
Semi-gloss paint in the color of your choice- we used Beachside Drive M460-2
2 dog bowls
Spray varnish- optional
1.5″ finishing nails or brads
1.5″ wood screws
Painter’s tape
Tools:
Brad gun or hammer
Sander or sanding block
Mini roller or paintbrush
Jigsaw
Power drill or screwdriver
*The measurement guidelines listed above are designed with the wood we had on hand, and for the size of the dog we were constructing for. Feel free to alter the dimensions and colors for larger or smaller dogs…or cats even!
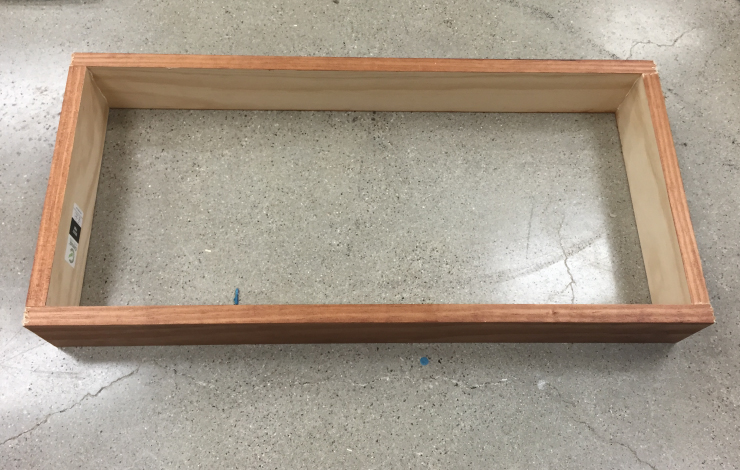
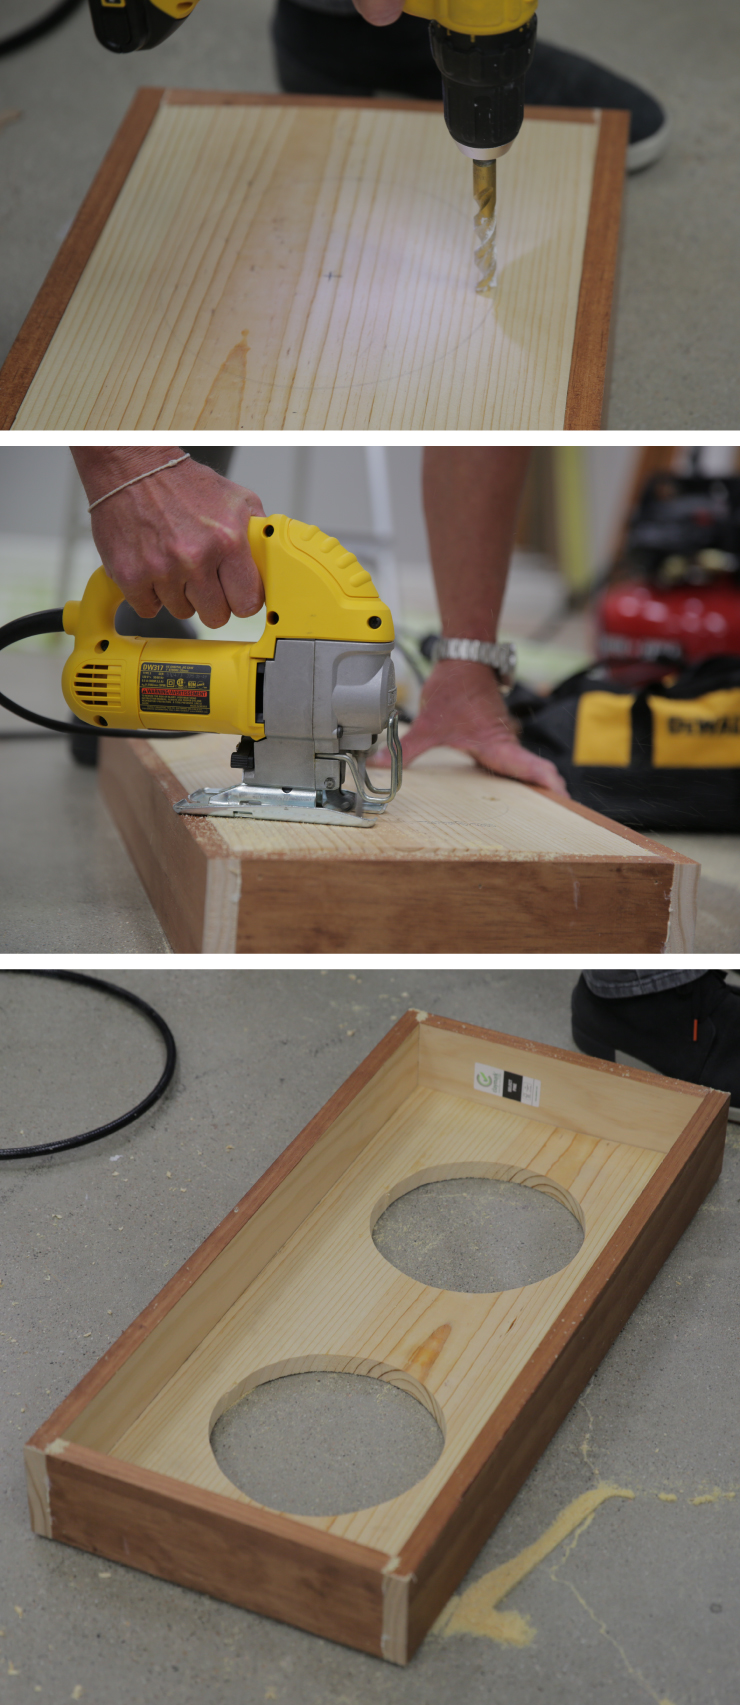
Step 1: Cut your wood and create a frame
Measure and cut your scrap wood pieces to create a rectangular frame and secure it together.
Step 2: Cut the stand top to length
The top piece should fit snugly within the wooden frame
Step 3: Place and nail stand top
Place the stand top within the frame and secure to the frame.
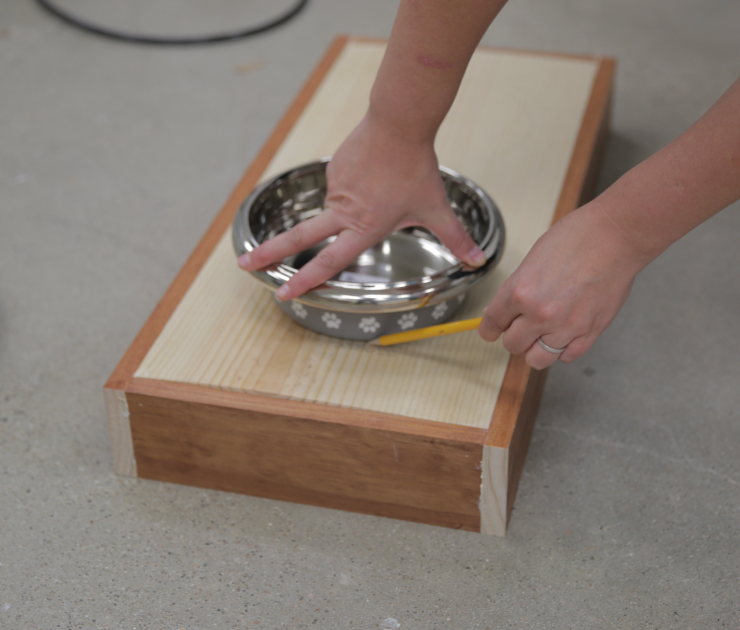
Step 4: Measure and trace bowls
Align your bowls on the stand top. Trace a line around the bottom of the bowl. If your bowls flare outward you may want to trace the inner lip of the bowl, so they fit down into the stand.
Step 5: Drill a guide hole and saw out circles
Drill a guide hole at the top, but within, the traced circle. Place the jigsaw blade in the hole and carefully saw around the traced circle. Repeat for the other circle.
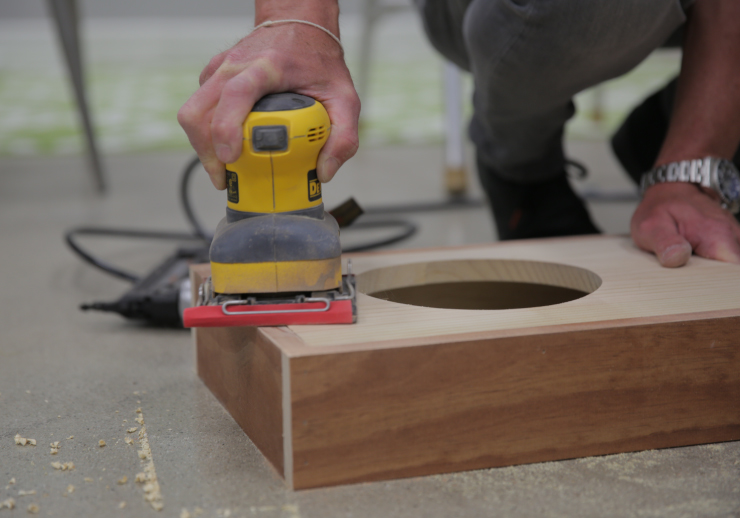
Step 6: Sand
Sand the top of the stand to level and smooth.
Step 7: Cut, glue and secure leg blocks (optional)
We needed a bit of extra height for the legs we purchased. This step may or may not be necessary depending on the legs and wood you are using.

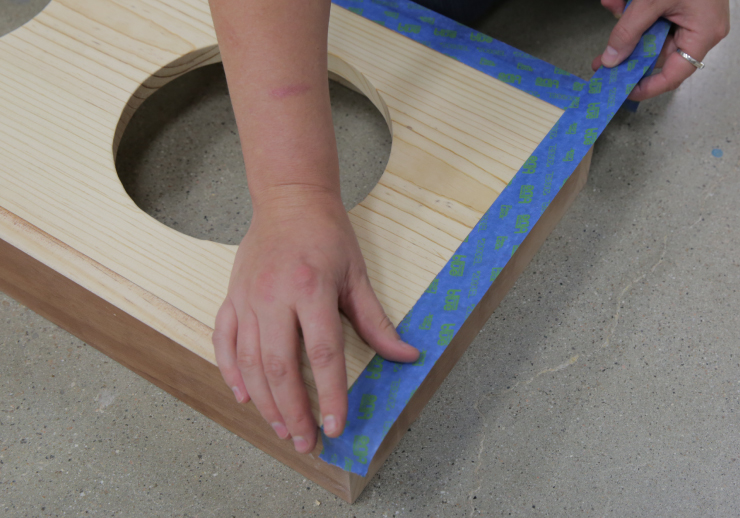
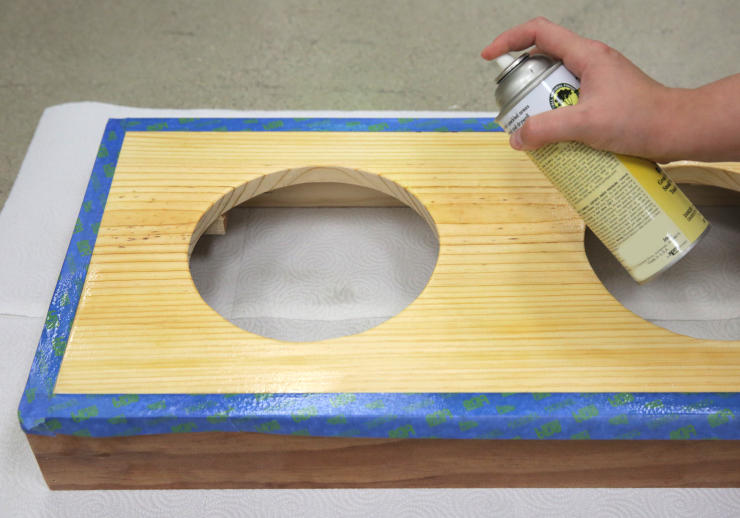
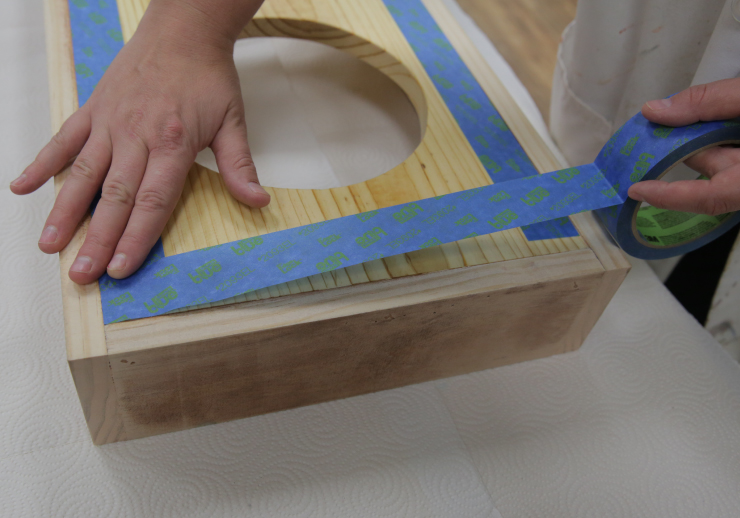
Step 8: Tape edge and apply varnish (optional)
Because we had a nice looking piece of wood to top our stand, we decided to keep it natural and apply a layer of clear varnish. If you’d like to paint your stand one color, skip to step 10.
Step 9: Remove tape and reapply for painting
When the varnish has completely dried, remove the tape and reapply for painting.

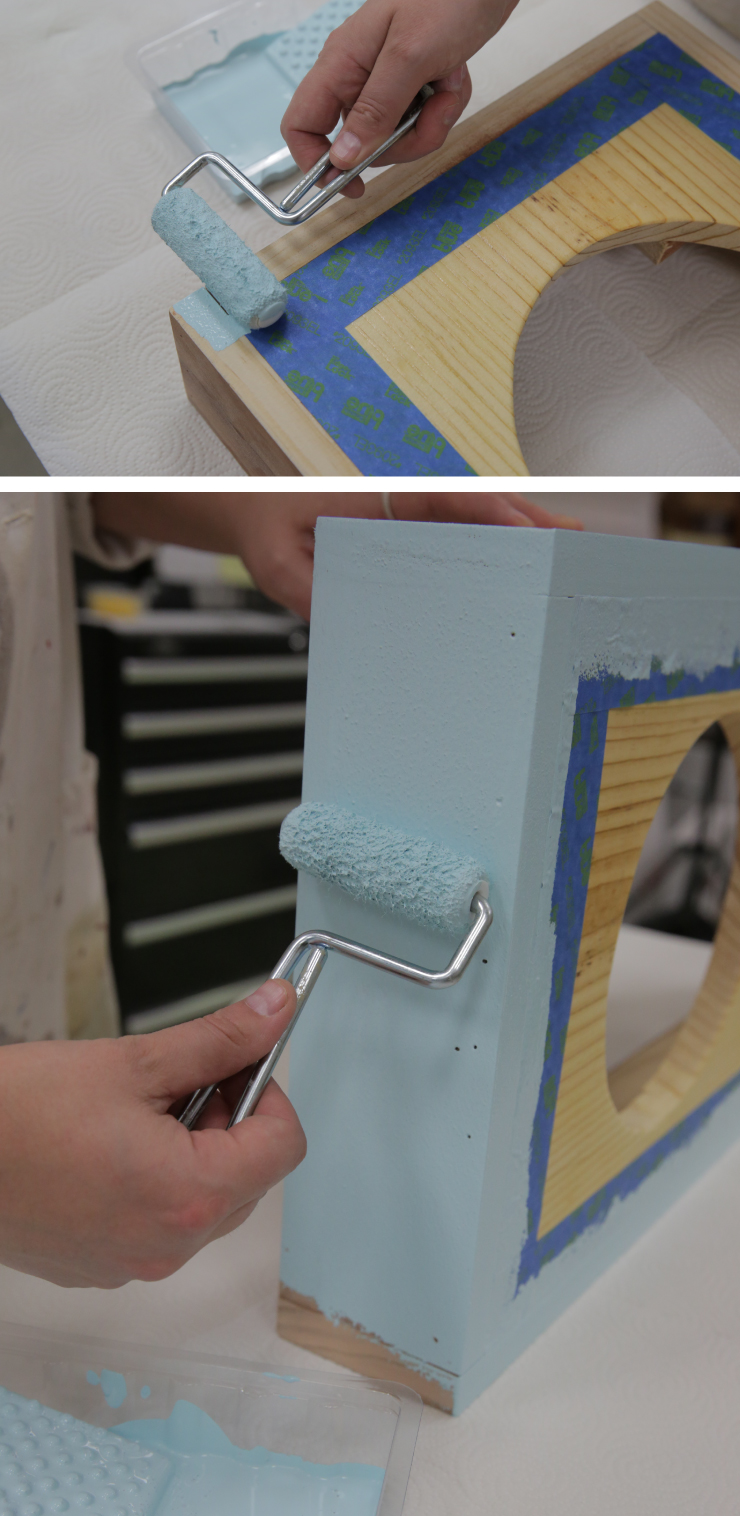
Step 10: Paint
With a roller, or brush, paint your stand. Allow to dry and apply second coat if necessary/desired.
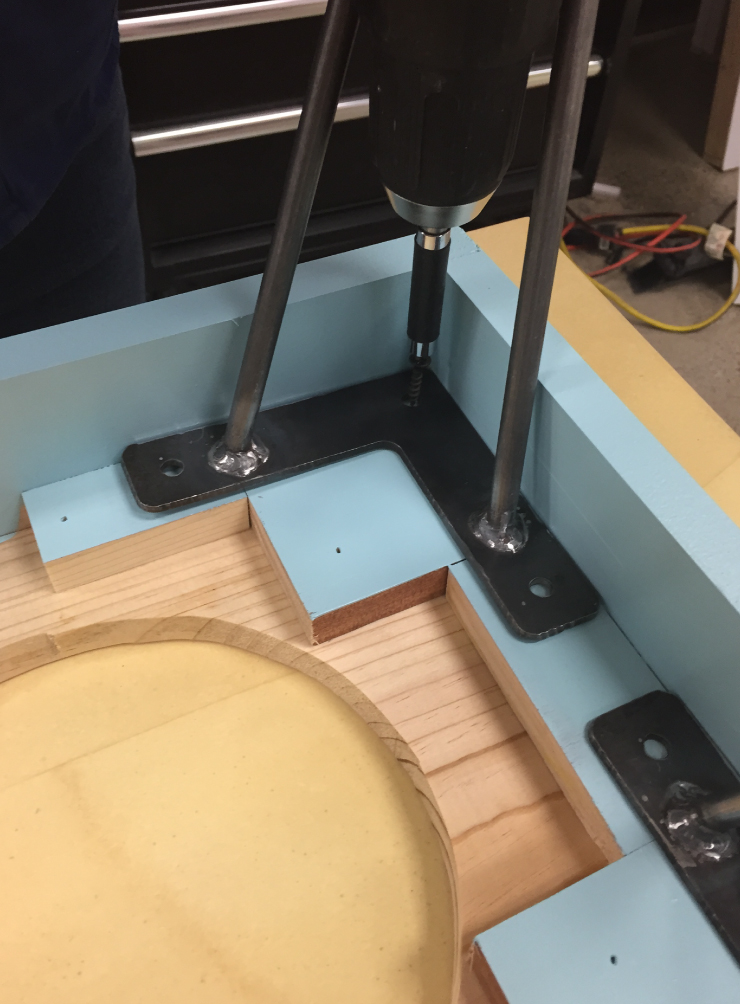
Step 10: Attach legs
Line the hairpin legs in the corners of the stand. With your power drill, or screwdriver, drive your wood screws through the holes into the stand. Repeat until all legs are secure.
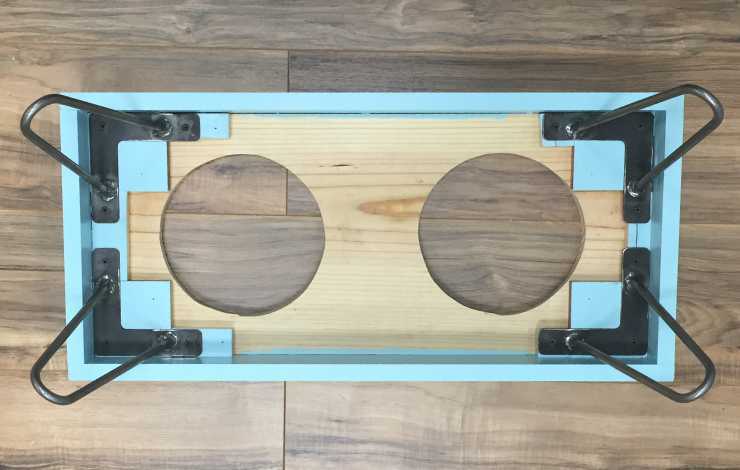
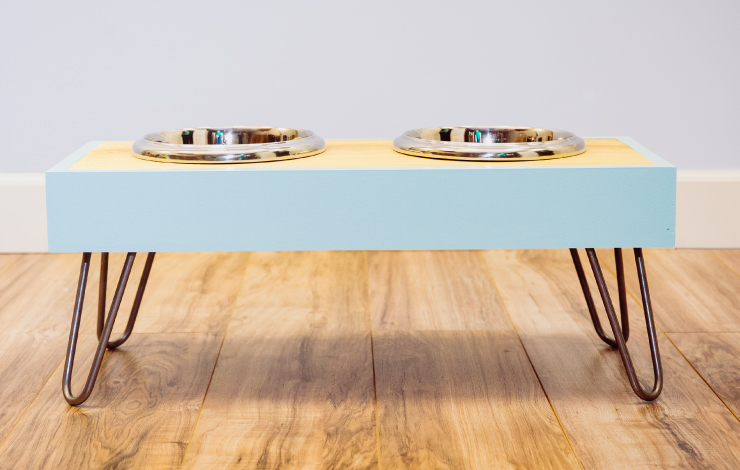
Step 12: Turn the stand over, insert bowls, and fill with food and water for your pet!
Colorfully yours,
-Quinn