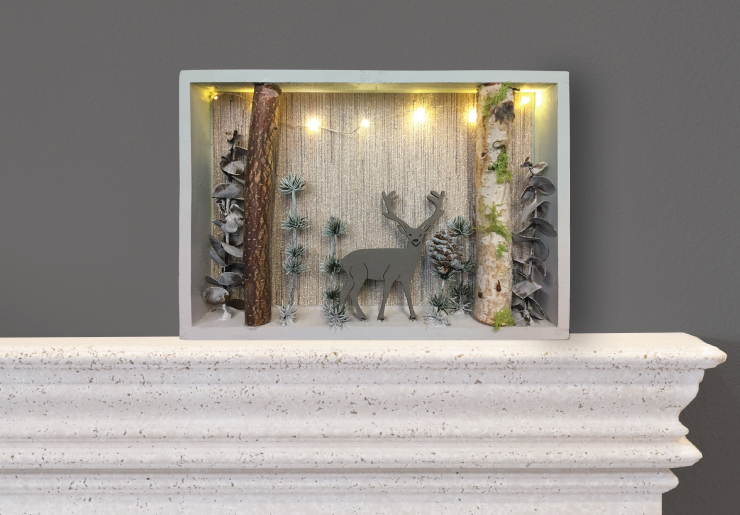
Looking for a project to do on a cool winter day? We’ve got the perfect project in this darling winter scene shadow box. To complete this project this you will need the following materials and tools:
Wooden shadow box
Small paint brush
Wooden cutouts in animal/seasonal/holiday themes
Dried or artificial twigs and sprigs
Decorative paper in the patter or color of your choice
Paint
12″ LED light pack (may need batteries)
Drill and drill bit
Glue, glue gun and glue sticks
Step 1: Assemble supplies
Gather all items together to complete the project. Take a moment to measure and cut your paper, twigs and sprigs to fit within the box.
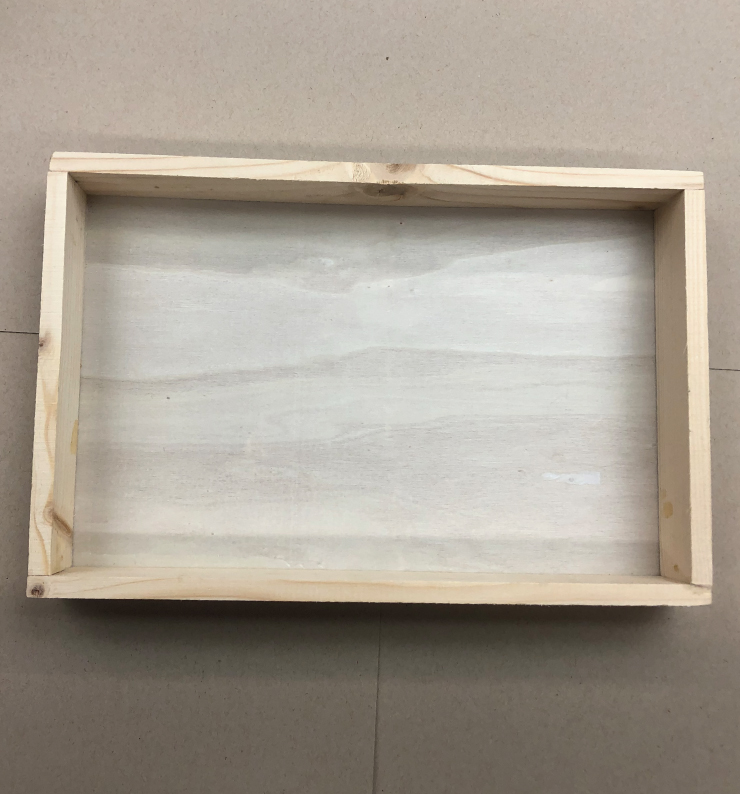
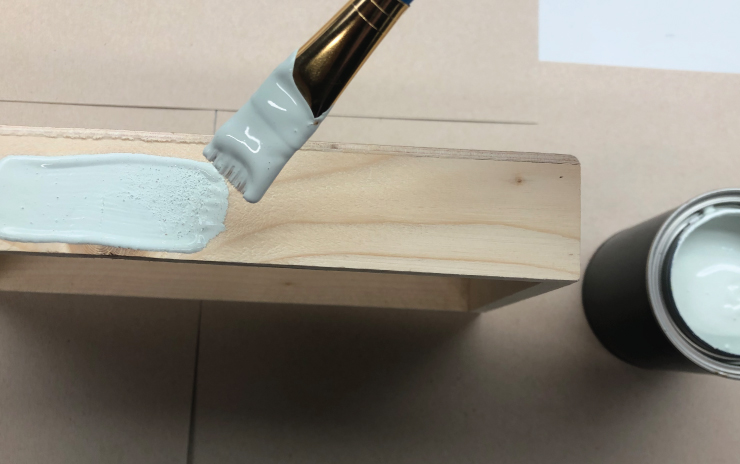
Step 2: Paint box
Paint your shadow box inside and out in the color of choice. We used Ice Water BCP26 and Fossil Gray BCP42.
Step 3: Glue in paper
Apply glue to back of the box and secure paper in place.

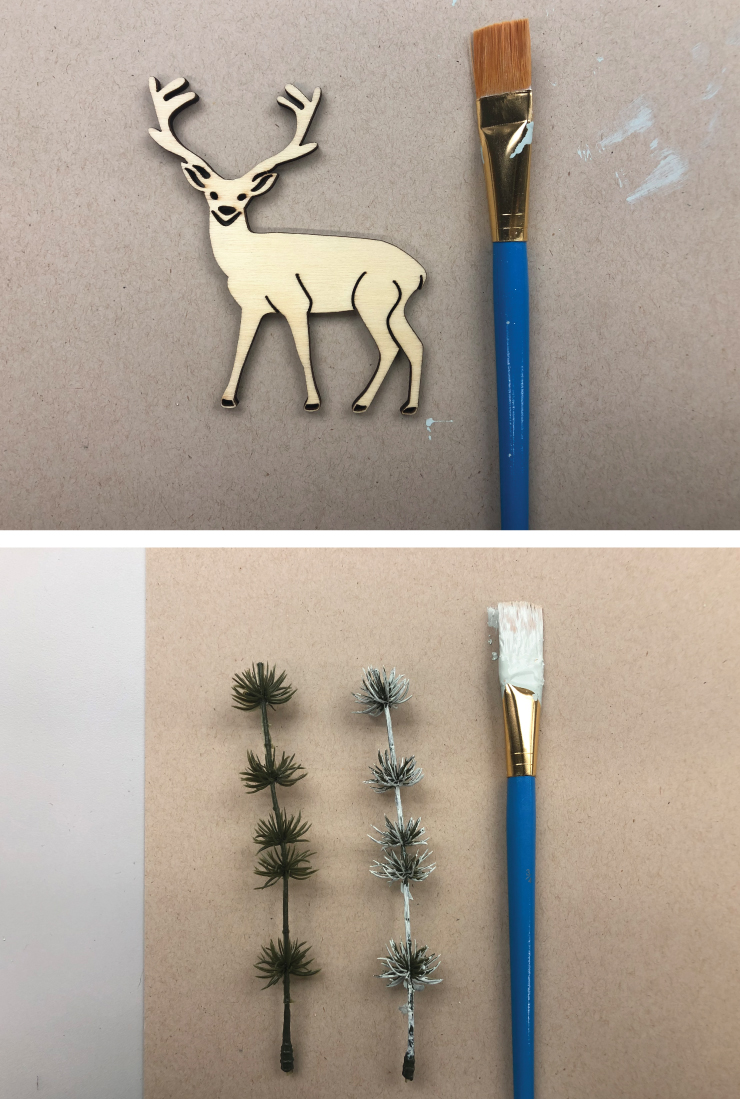
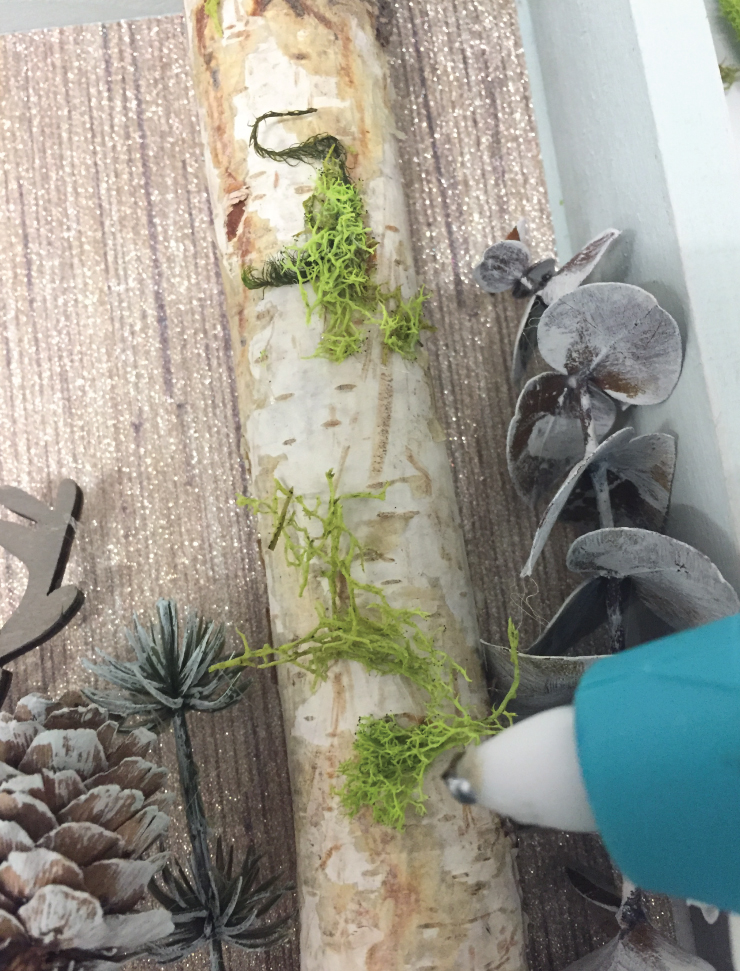
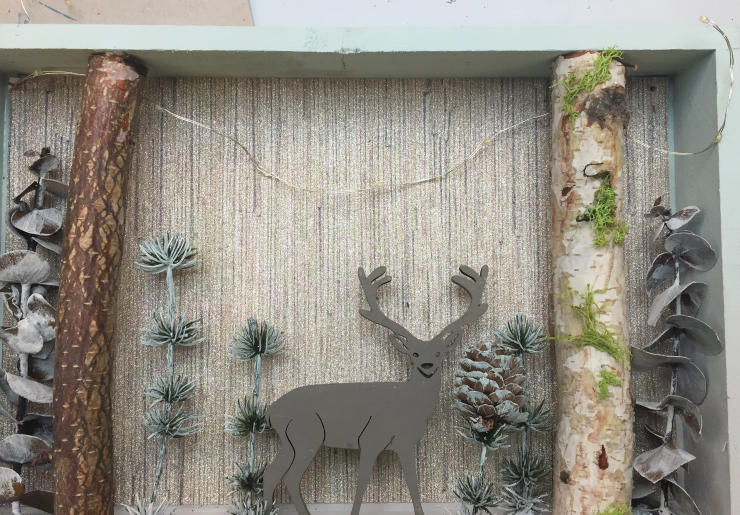
Step 4: Paint and arrange box decor
Paint your wood cutouts and floral clippings. We painted our wooden deer in Fresh Earth BCP14. When dry, position your items in the box in preparation to hot glue.
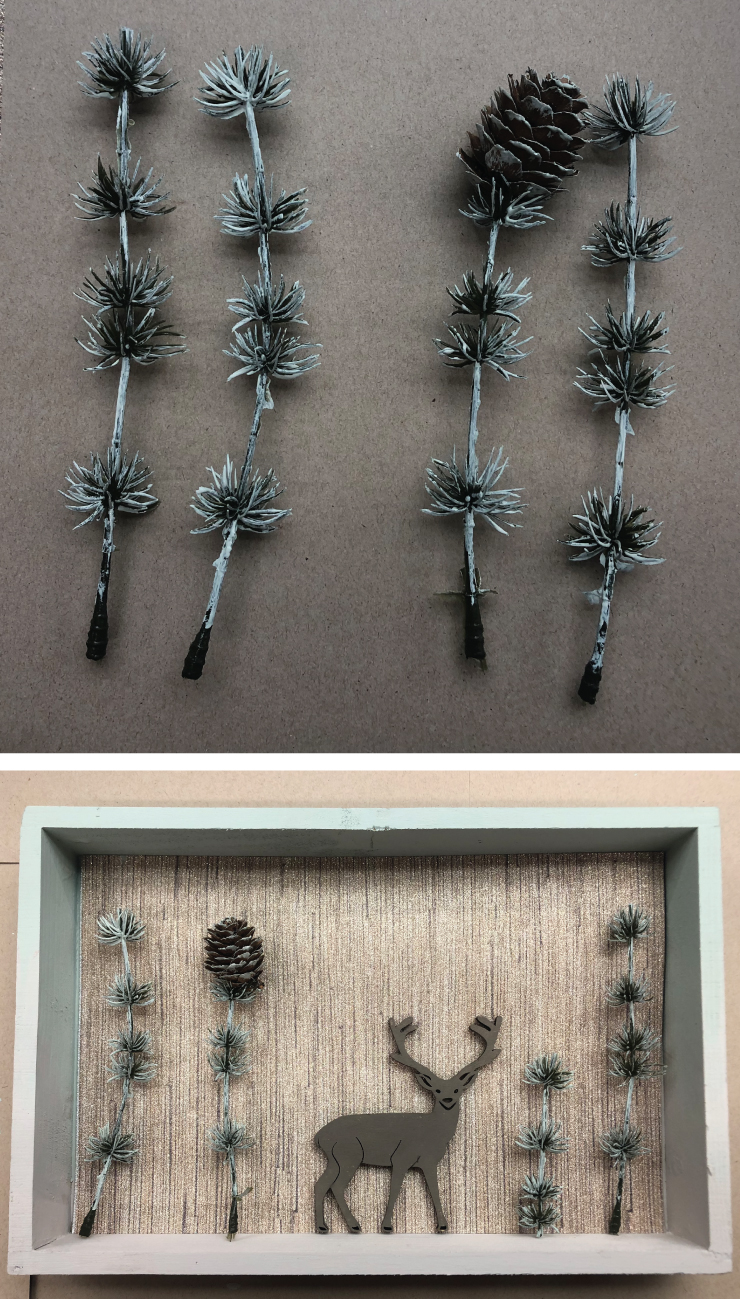
Step 5: Hot glue elements
When you are happy with the positioning of your items, secure them in place with your glue gun.
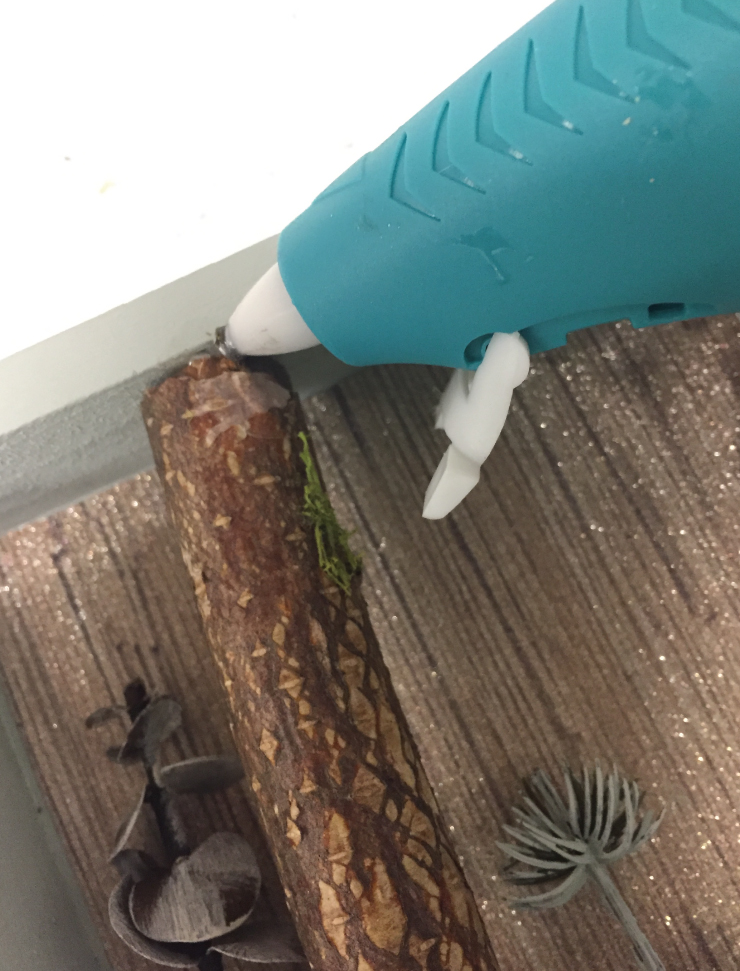
If you are gluing detail elements to your items do so now. If you’d like to string lights through your box move onto step 6, if not skip to step 8.
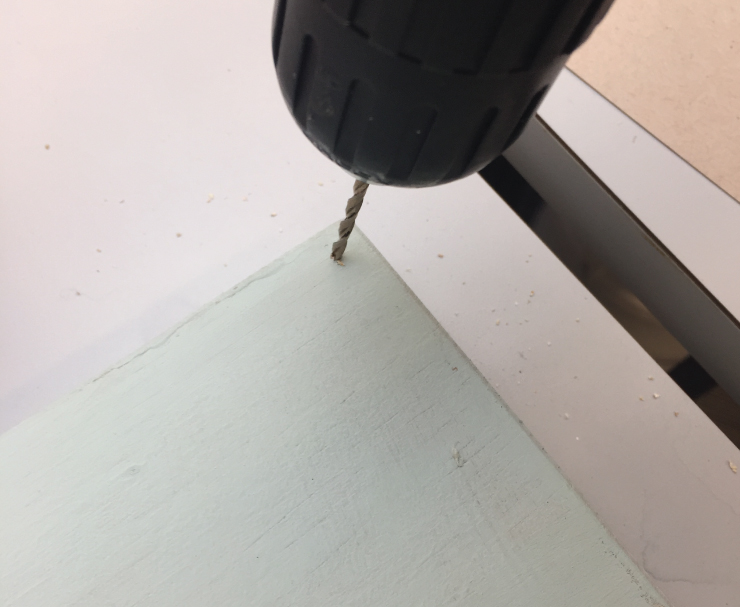
Step 7: String lights (optional)
To string lights through the box you will need to drill two holes into each of the top corners. Select a drill bit that will allow you to string your lights through. Drill one hole in the upper right corner and another in the upper left.
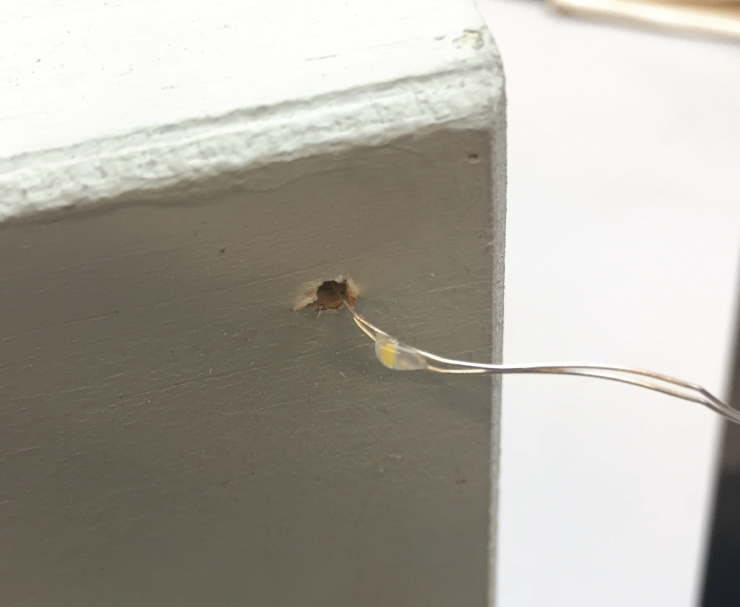
String your lights through one of the back top holes, across the inside of the box and out the hole on the opposite side.
Step 8: Display
Add batteries to your lights if needed, turn on and display where all can see.
For more holiday inspiration and project ideas visit our Holiday Collection.
Colorfully yours,
-Daniela Donato
DIY Projects
DIY Winter Scene Shadow Box
TIME
BUDGET
COMPLEXITY