If you have a little leftover paint about the house and are looking to immerse yourself in a fun DIY project, consider making a Moon Phase Mobile.
The moon, in all its shades of gray, is the perfect subject to showcase our newest collection of colors.
Materials:
1/2″ plywood board
4 shades of paint – we used: Black Boudoir PPU26-23 (for black), Imperial Gray PPU26-02 (for dark gray), Flint Gray PPU26-05 (for light gray) and Minimalistic PPU25-12 (for white)
White jewelry cord
Small paintbrush
Tools:
Drill press
4″ hole saw
Sanding Block
Power drill
Miter or hand saw
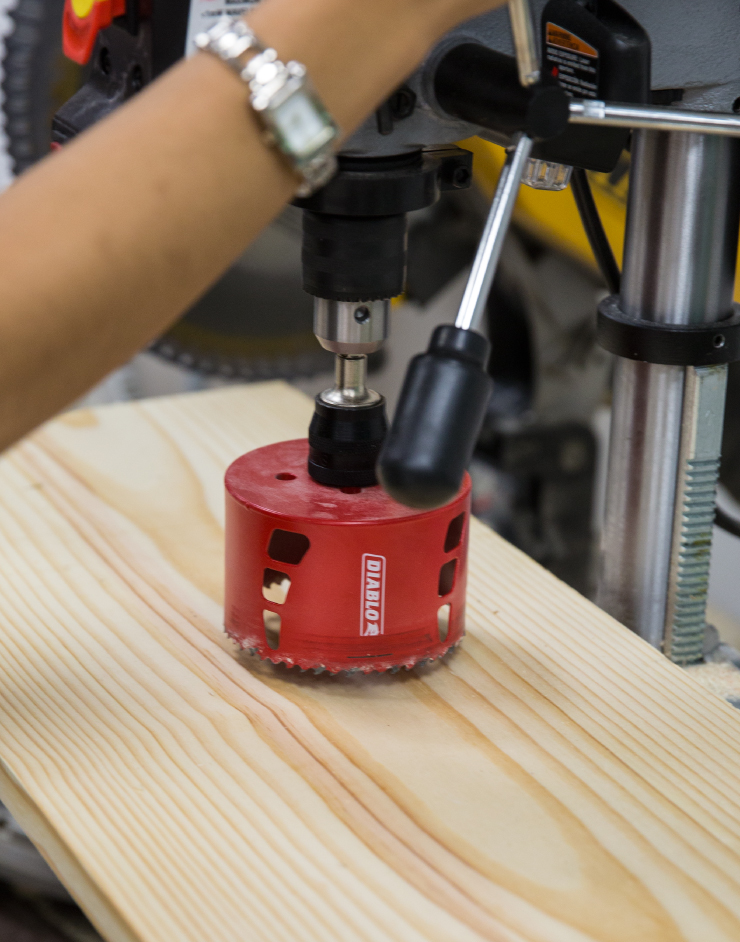
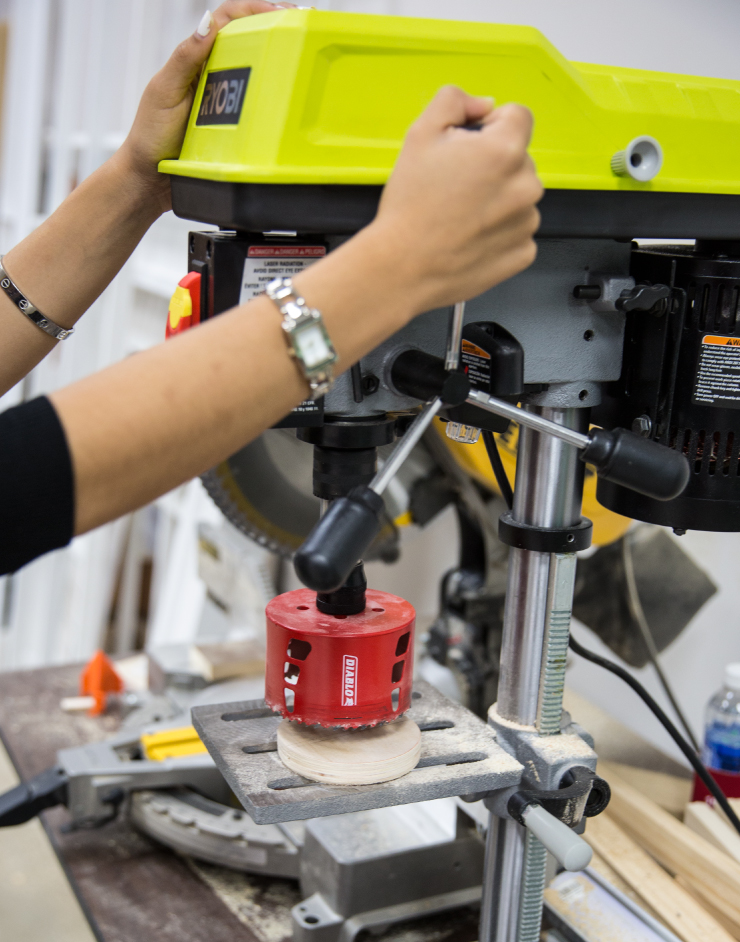
Step 1: Cut your wood
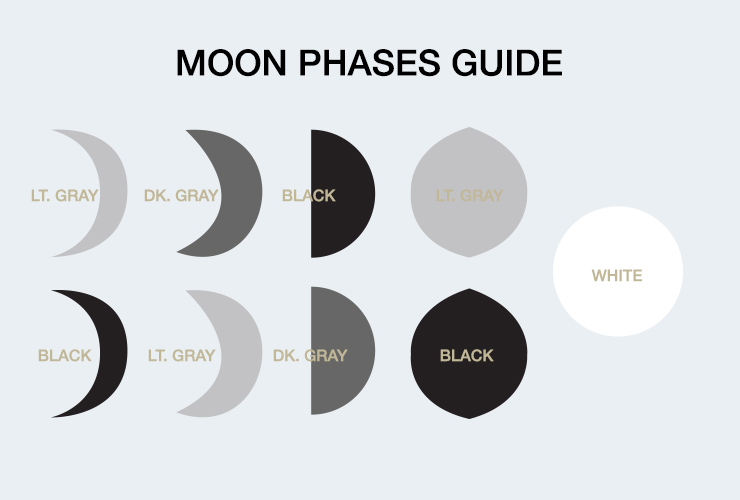
Cut your moon shapes out of your board using a 4″ hole saw and drill press. Follow the guide below for the number of moon pieces, shapes, and colors.
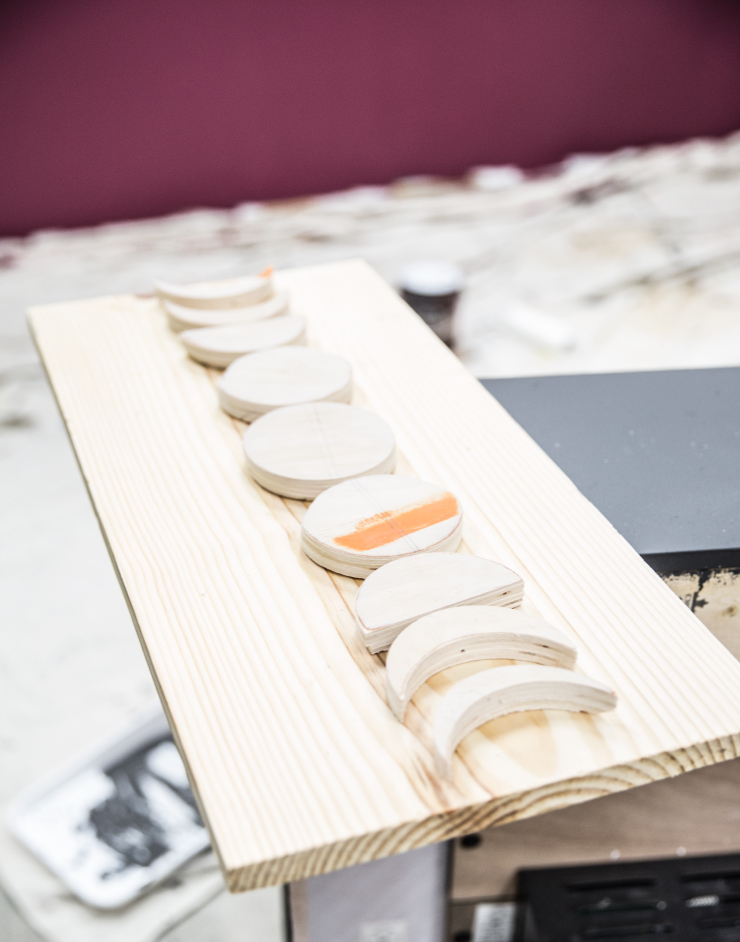
Step 2: Sand your wood
Once your moon pieces have been cut, sand the edges with a sanding block to smooth.

Step 3: Drill a hole to hang
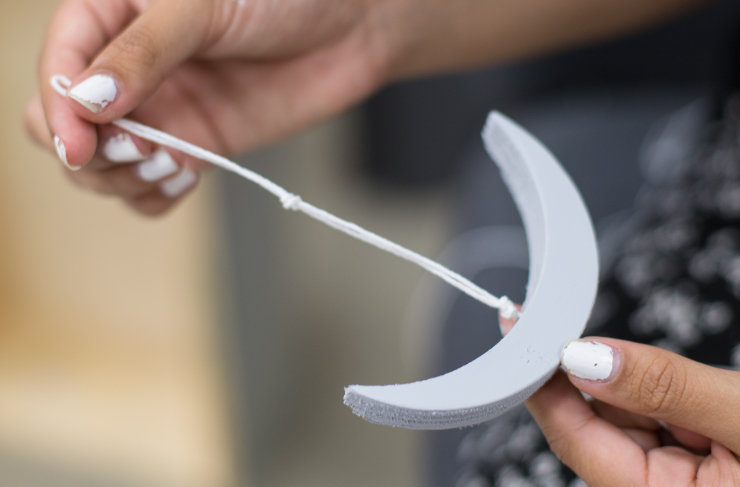
With a power drill, drill a hole through the center of the moon. Make sure the hole is big enough for the cord to fit through.

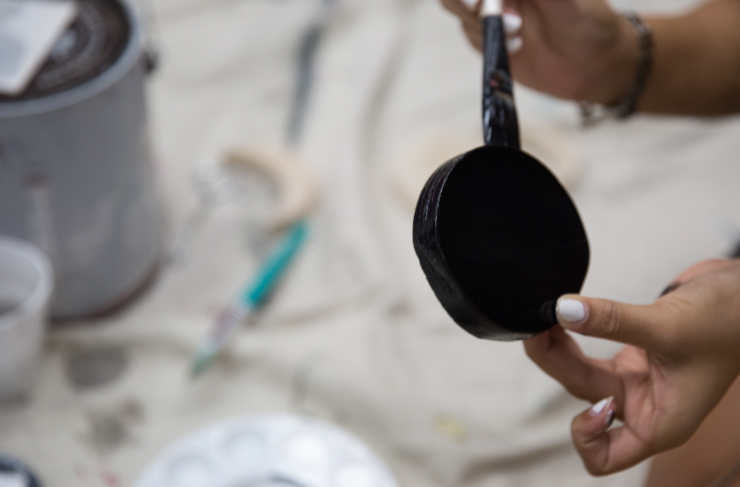
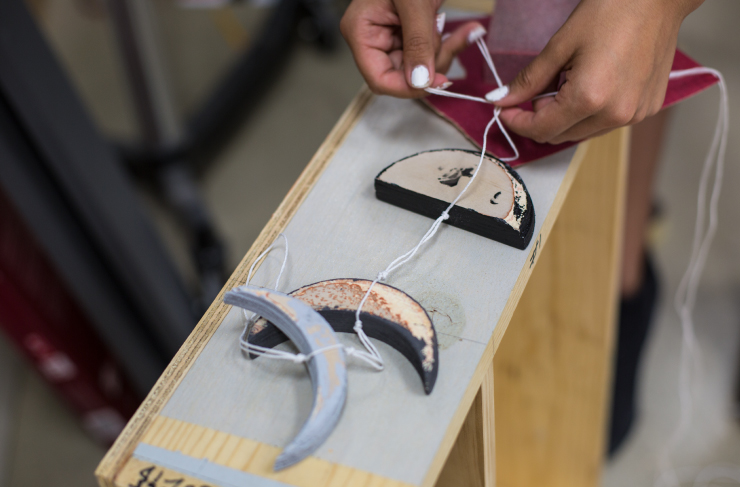
Step 4: Paint your moons
Use your paintbrush to paint each moon either white, light gray, dark gray, or black. Refer to the Moon Phases Guide to ensure you paint each moon the correct color. Make sure you do not cover any of the holes with paint as you will need to put your cord through the hole.
Step 5: String your moons together
Once the pieces are dry, it’s time to put your moons on your cord. Start by finding the middle of your cord. Double the cord and tie a loop knot at the top. Tie a second knot 3 inches down from your first knot. String your first moon through with one cord, and let the other cord hang down the back. Slide your moon up flush with the knot, bring the two cords together at the bottom of the moon, and tie another knot. Repeat this process for the remainder of your moon pieces. After the last moon, tie a double knot and cut off any extra string.
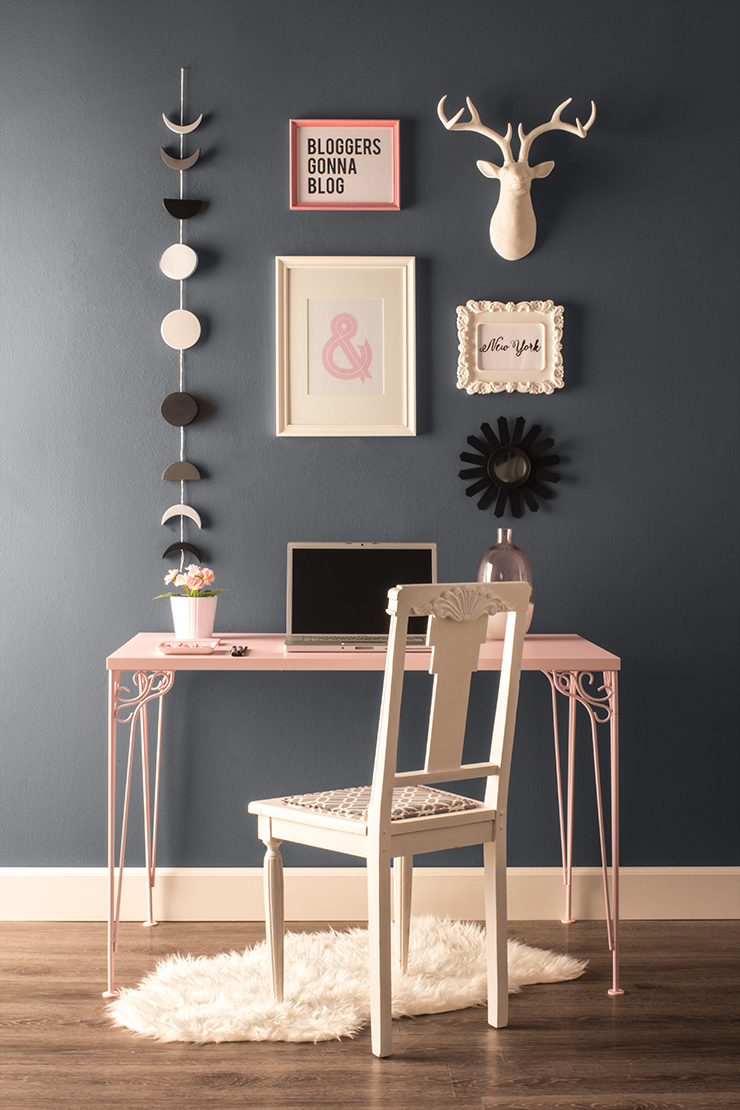
Step 6: Hang your Moon Phase Mobile and enjoy!
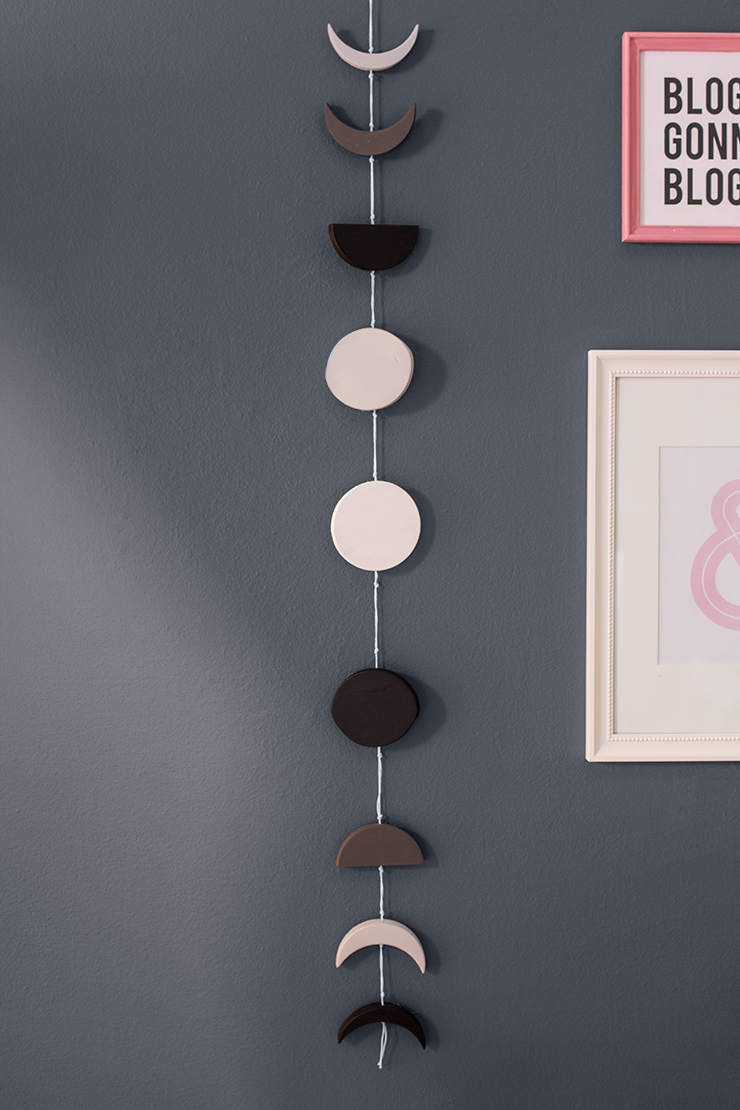
Wall color featured: Summer Storm PPU26-22
Colorfully yours,
Kaylene Karim