
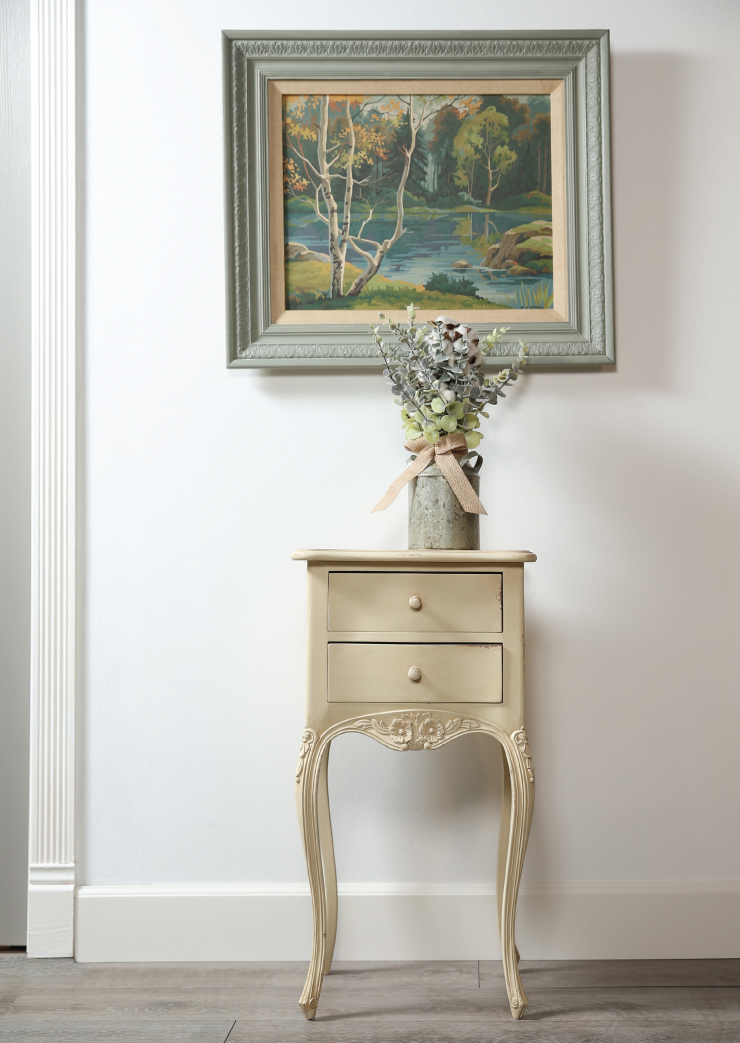
Perhaps you have something similar to our project here. A painting or picture you inherited, found at a garage sale or did yourself. It might be quite good and you just can’t seem to throw it away, but the frame is just a little too flashy, too shabby, or just not the right color for your space. You would hang it up if it looked a little better, but framing can be costly. Here is where Behr® Chalk Decorative Paint can save you time, money, and present the perfect color solution!
To complete this project you will need the following:
Tools and Materials:
Behr® Chalk Decorative Paint in Dusty Laurel BCP24
Behr® Wax Decorative Finish in Clear and Dark
Paintbrush
Sandpaper or sanding block
Clean rag
Picture frame in need of love
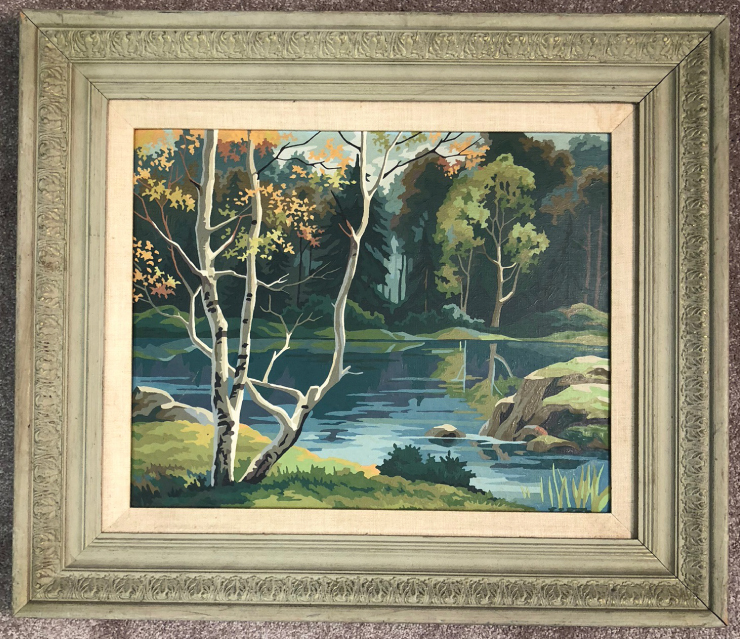
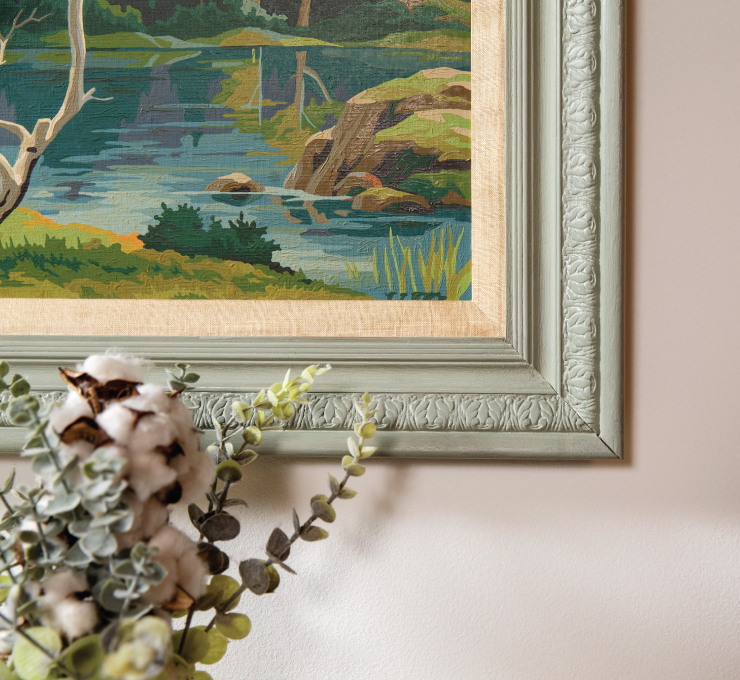
Here is our painting, we love the image of this tranquil forested lake, but the frame had definitely seen better days.
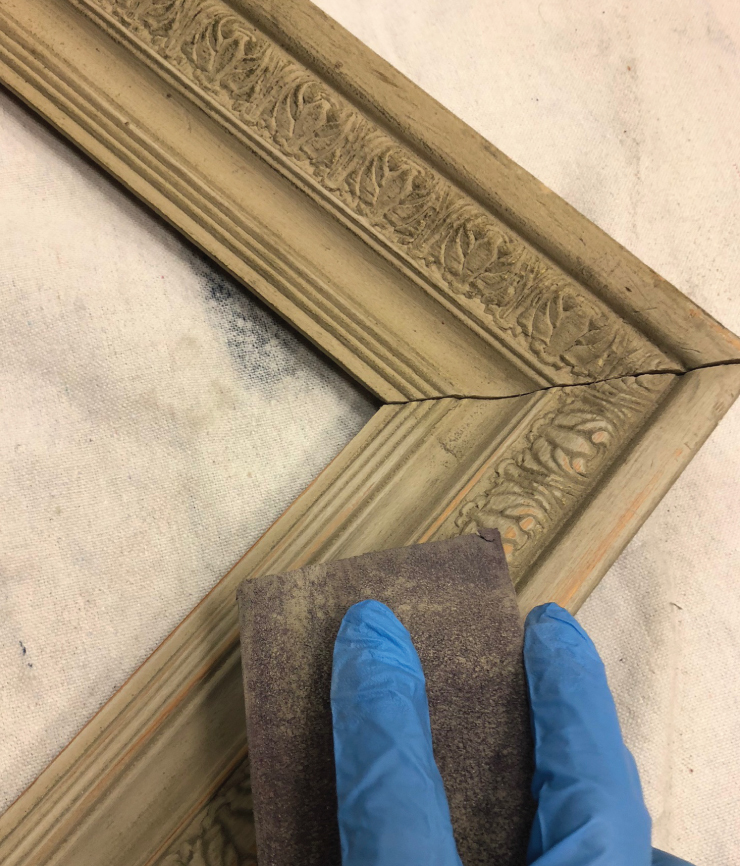
Step 1: Prep
Prepping your surface is always a good idea. Remove any dirt and residue with a gentle cleaning solution and allow it to dry. Lightly sand the surface of your frame and brush off dust.
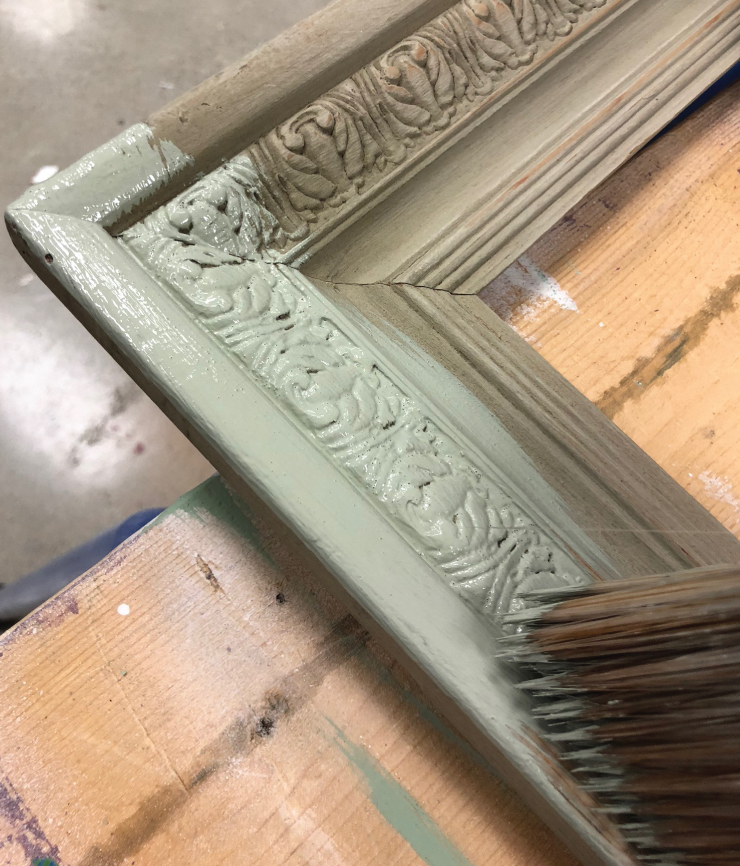
Step 2: Paint
With your brush paint the frame in the color of your choice. Be sure to get the paint into all the little nooks and crannies of the details. Allow to dry and apply a second coat if necessary/desired.
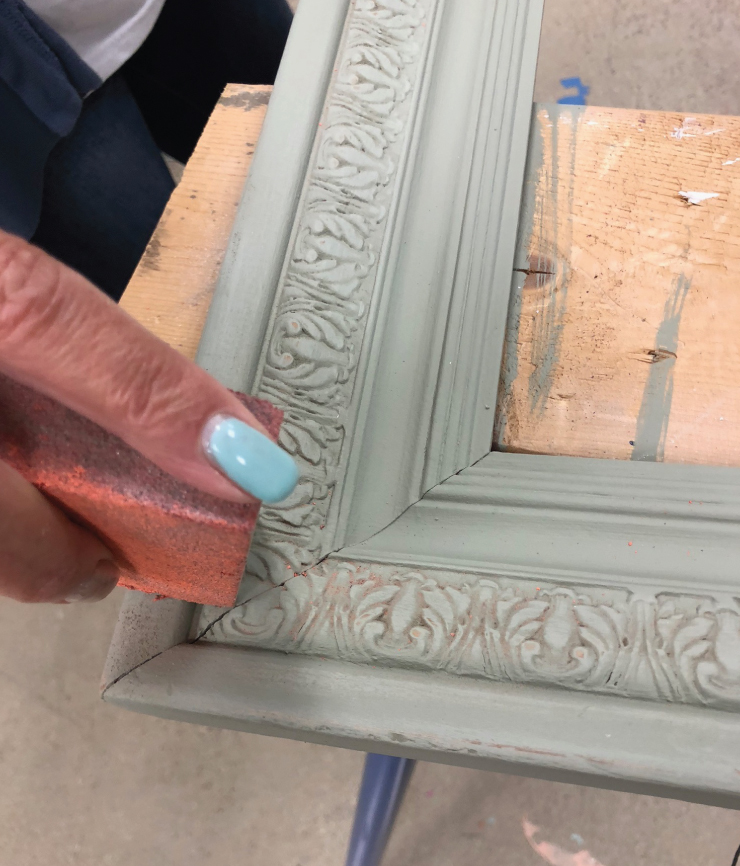
Step 3: Create an antiqued look (optional)
If you’d like your piece to have an antiqued look you can sand the high points of your piece with your sanding block.
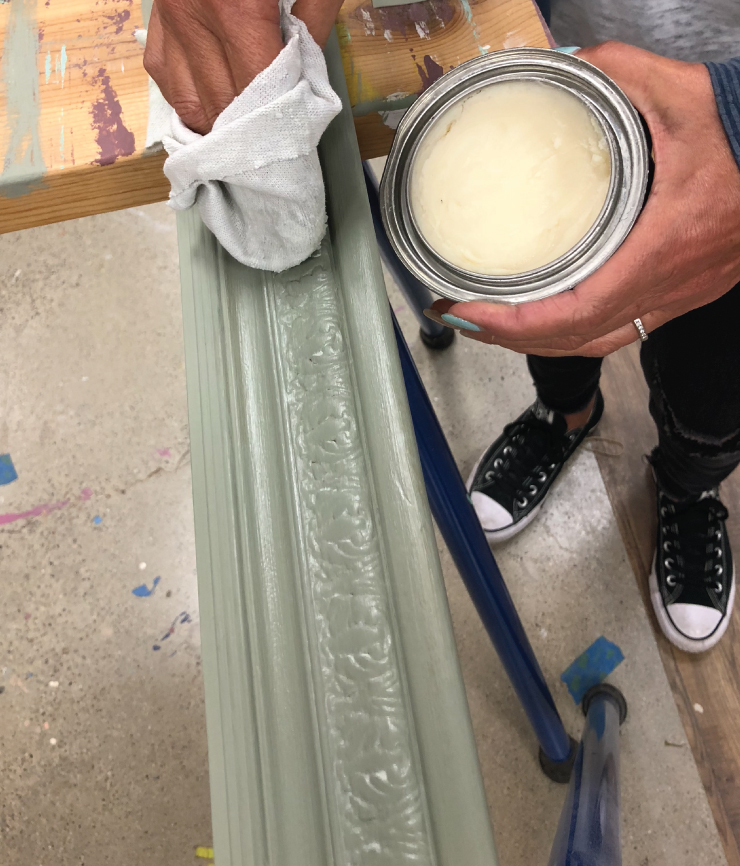
Step 4: Apply wax
Each wax color produces it’s own look, and each combination of wax colors produces a different look as well. With this frame we wanted a more delicate look so we started with an application of the clear wax.
We followed the Clear wax application with the Dark wax to give subtle emphasis to the frame’s details.

Et Voila! A beautifully refurbished frame, ready to adorn your walls once again.
For more information on our new Chalk Decorative Paint System visit behr.com.
To watch a short video detailing these new products click here.
Colorfully yours,
Larayne
DIY Projects
Chalk Decorative Paint: Picture Perfect Frame
TIME
BUDGET
COMPLEXITY


What kind of brush do I use to get into all the detail? Thank you.
Hello Vi, thank you for visiting our blog!
You can use a regular paint brush and a chalk paint brush too.
You can find both at your local Home Depot.
Hope this helps!
Colorfully Yours,
Deanna
Where can I see an example of what the white wax application looks like? So, far I have only seen examples with the clear wax and the dark wax? Thank you.
Hi KG,
Thank you for visiting our blog and for your interest in our Chalk Decorative Wax! We’re glad you stopped by.
To help you visualize the product, here’s a link to The Home Depot website that features an image of a hutch finished with the white wax: https://www.homedepot.com/p/BEHR-PREMIUM-8-oz-White-Interior-Chalk-Decorative-Wax-715016/305936949#overlay
Please let us know if you have any other questions—we’re happy to help!
Colorfully Yours,
Deanna