
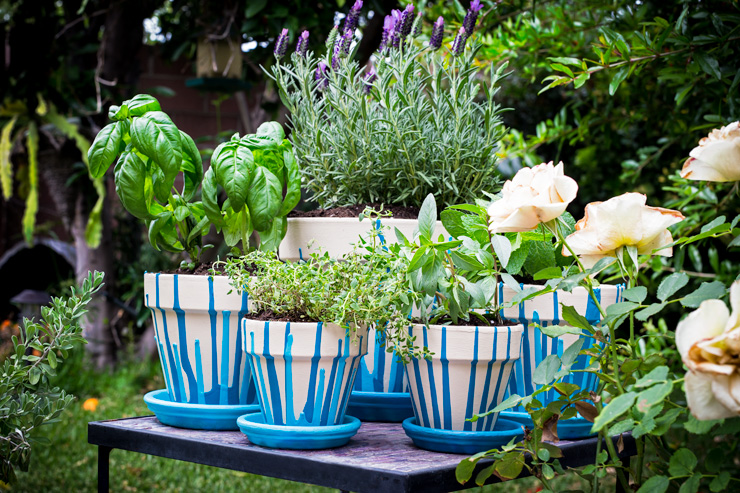
Terra cotta pots and saucers offer the perfect blank canvas to create beautiful, unique works of art and add color and class to any outdoor space. Since Mother’s Day is right around the corner, I created a gift for my mother that would not only be useful, but would add some pizzazz to her back patio. We are a family that takes great pride in cooking together and keeping our heirloom recipes as true to when they first made their trip across the Atlantic. Creating a colorful herb garden would be a great way to not only spruce up the space, but to provide fresh ingredients for the dishes we hold so dear to our hearts.
Materials needed:
Terra cotta pots of varying sizes
Terra cotta saucers – matching the sizes of the pots
Terra cotta pot sealer – available in aerosol cans at your local craft store
Rag
Paint – a base color and one or two accent colors- I used Sand Motif PPU4-13 as the base and Fiji P460-5 and Caribe PPU13-01 as accent colors
Paintbrushes
Small styrofoam cups
Turkey baster
Potting soil and small stones
Herbs, flowers or succulents
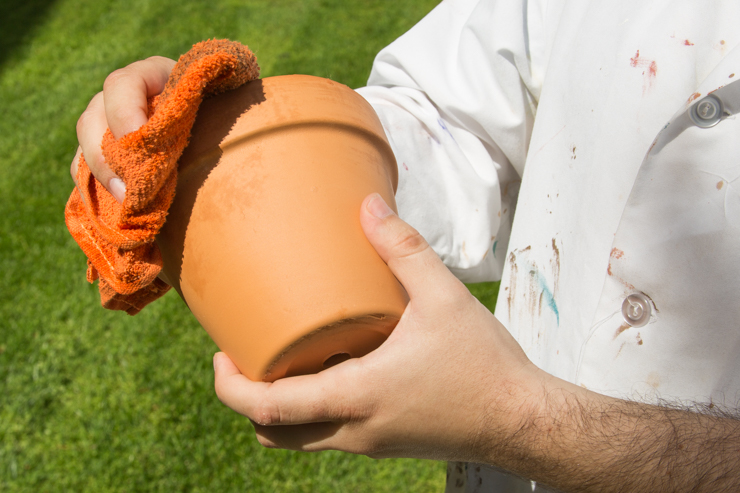
Step 1: Clean the pots
Using a damp rag, wipe the pots and saucers to remove dirt and dust. Allow them to dry.
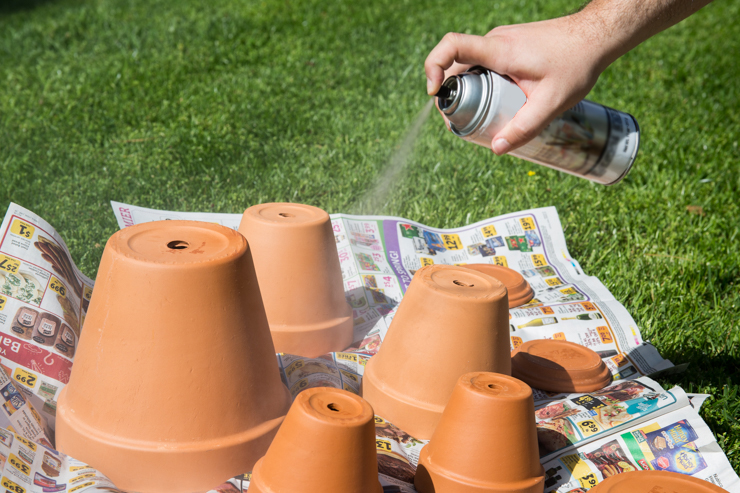
Step 2: Seal the terra cotta pots and saucers
Using a terra cotta sealer, in a well-ventilated or outdoor area, spray the outsides and inside rims of the pots and all sides of the saucers. Make sure you follow the instructions on the spray can for best results. Two or more coats may be required. Allow to dry per the instructions.
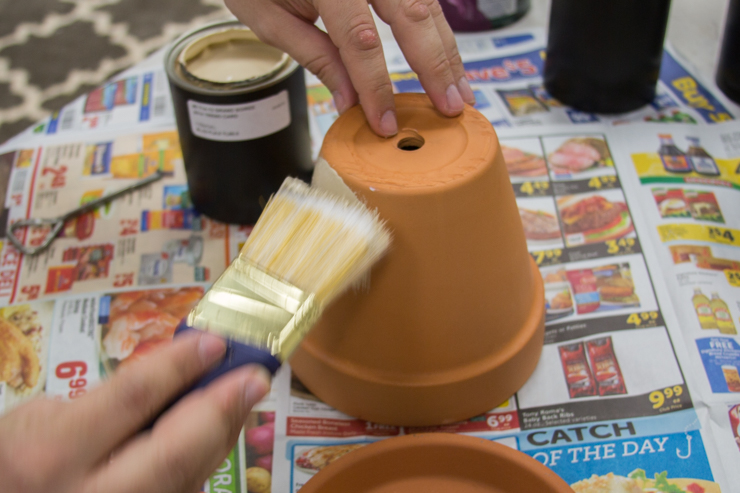
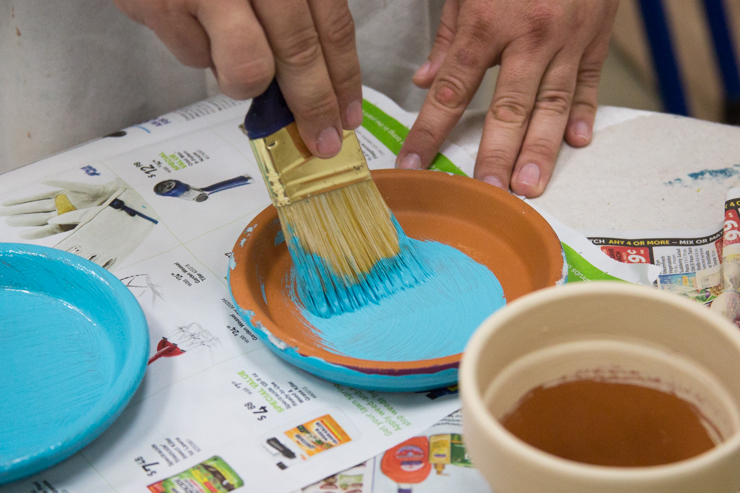
Step 3: Paint your pots
With your base color and a paintbrush, paint the inner rim and outside of the pots. Allow to dry for two hours. Apply a second coat if needed.
Step 4: Paint your saucers
Paint the saucers with your accent colors. I alternated painting the saucers in my two accent colors for a bit of variety and fun. Allow to dry for two hours. Flip and paint the saucer bottoms. Allow 2 hours to dry. Add a second coat if needed.
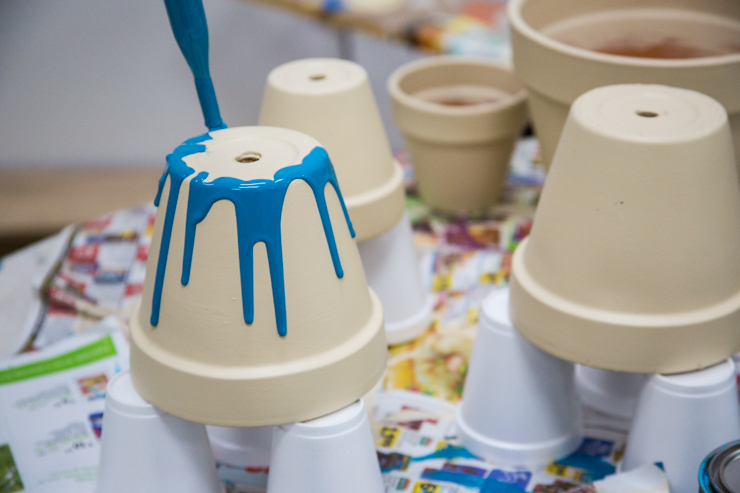
Step 5: Apply drip effect
Once your pots and saucers are dry, place them upside-down on three styrofoam cups. This will prevent the dripping paint from sticking the pots to your work surface. Pour a small amount of your accent color into your turkey baster and squeeze it gently around the bottom rim of your pots. Allow the paint to drip naturally down the sides.
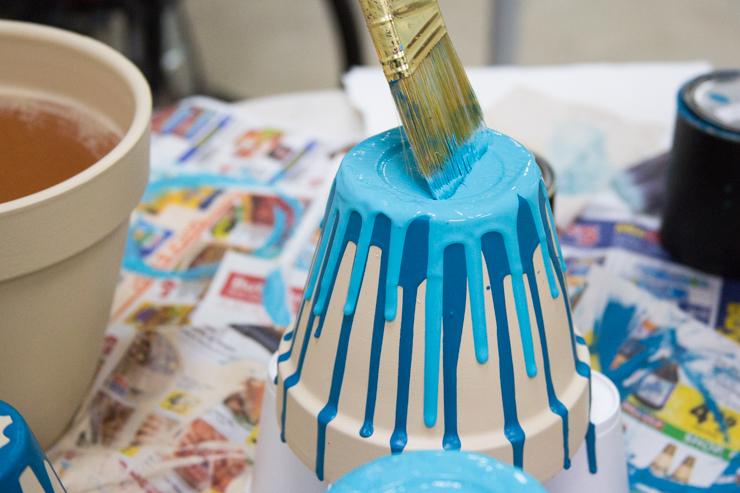
If you are using one accent color, use a paintbrush to smooth the accent color across the bottom of the pot and allow to dry overnight before planting.
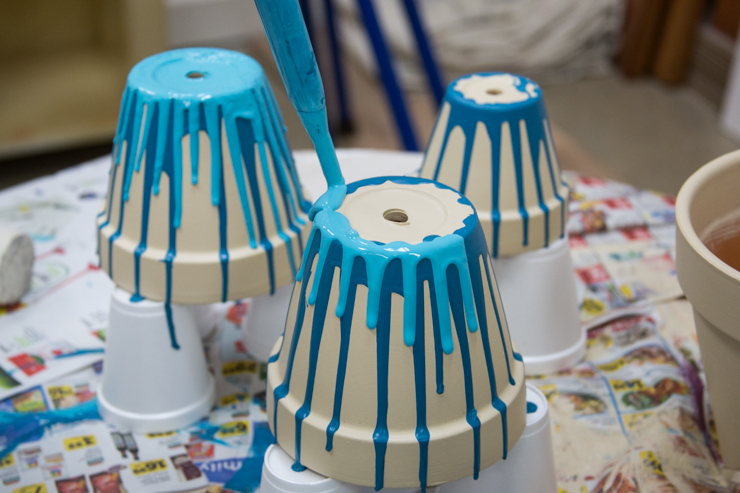
If you are using two, allow the first accent color to dry for two hours before applying the next. Use a paintbrush to smooth the second accent color across the bottom of the pots and allow to dry overnight.
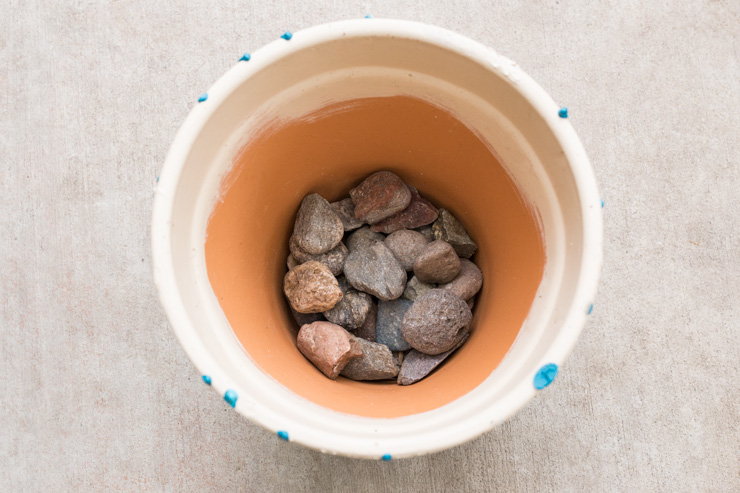
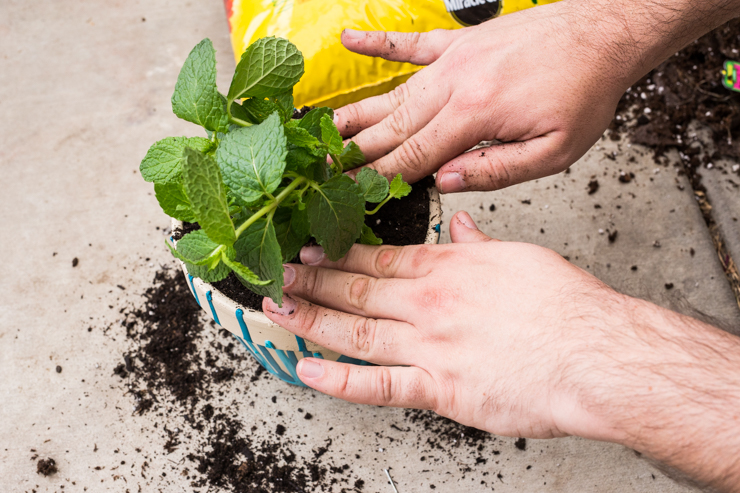
Step 6: Pot your plants
Potted plants need proper drainage to grow and thrive. A great way to ensure this is to fill with small rocks, covering the bottoms and drainage holes before adding soil. To fill the pots I selected: lavender, sweet basil, Thai basil, German thyme, and sweet mint- few of my mom’s favorites.
Step 7: Display your project
These pots look great displayed en masse. Arrange them together to add a splash of color to your outdoor space.
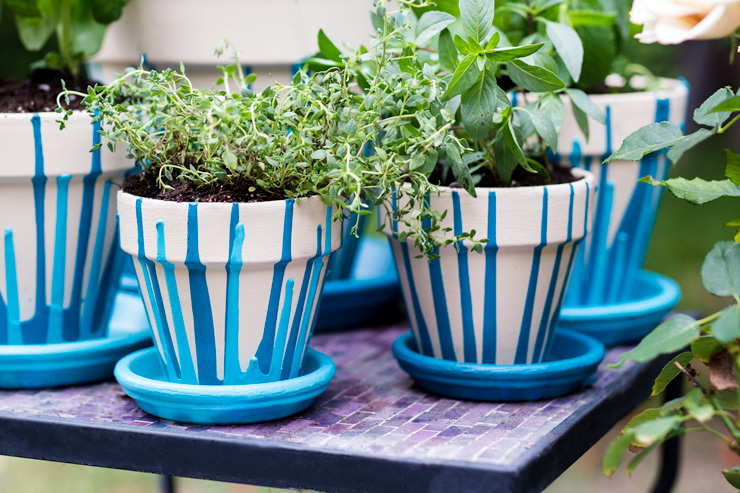
Whether you’re making them for mom or just to add an extra dose of creativity to your culinary masterpieces, these colorfully, painted pots are sure to please.
Colorfully yours,
Alex


I just did this, using lime green and forest green colored paint. Instead of a turkey baster, I thought I would have more control with mustard and ketchup squeeze dispensers I bought for $1.99 at Walmart. Today they are drying; the day after tomorrow they will be filled with green plants. Thank you SO much for sharing this wonderful, creative project!
Hello Linda thank you for being a Behr fan! 🙂
That is an awesome idea as well with the squeeze dispensers. You are so very welcome! 😀
Colorfully Yours,
Deanna
Great job! This is an interesting article. Thanks for sharing. Will continue following your posts.