Refinishing cabinets can save homeowners thousands of dollars on a kitchen or bathroom upgrade. Though it’s a DIY-friendly task, they frequently hire out this job because it’s labor-intensive and time-consuming. Have you been called for a cabinet re-painting job? To ensure a happy customer, here’s a refresher course on cabinet refinishing with a few tips from the paint experts at Behr Paint.
Gather your materials
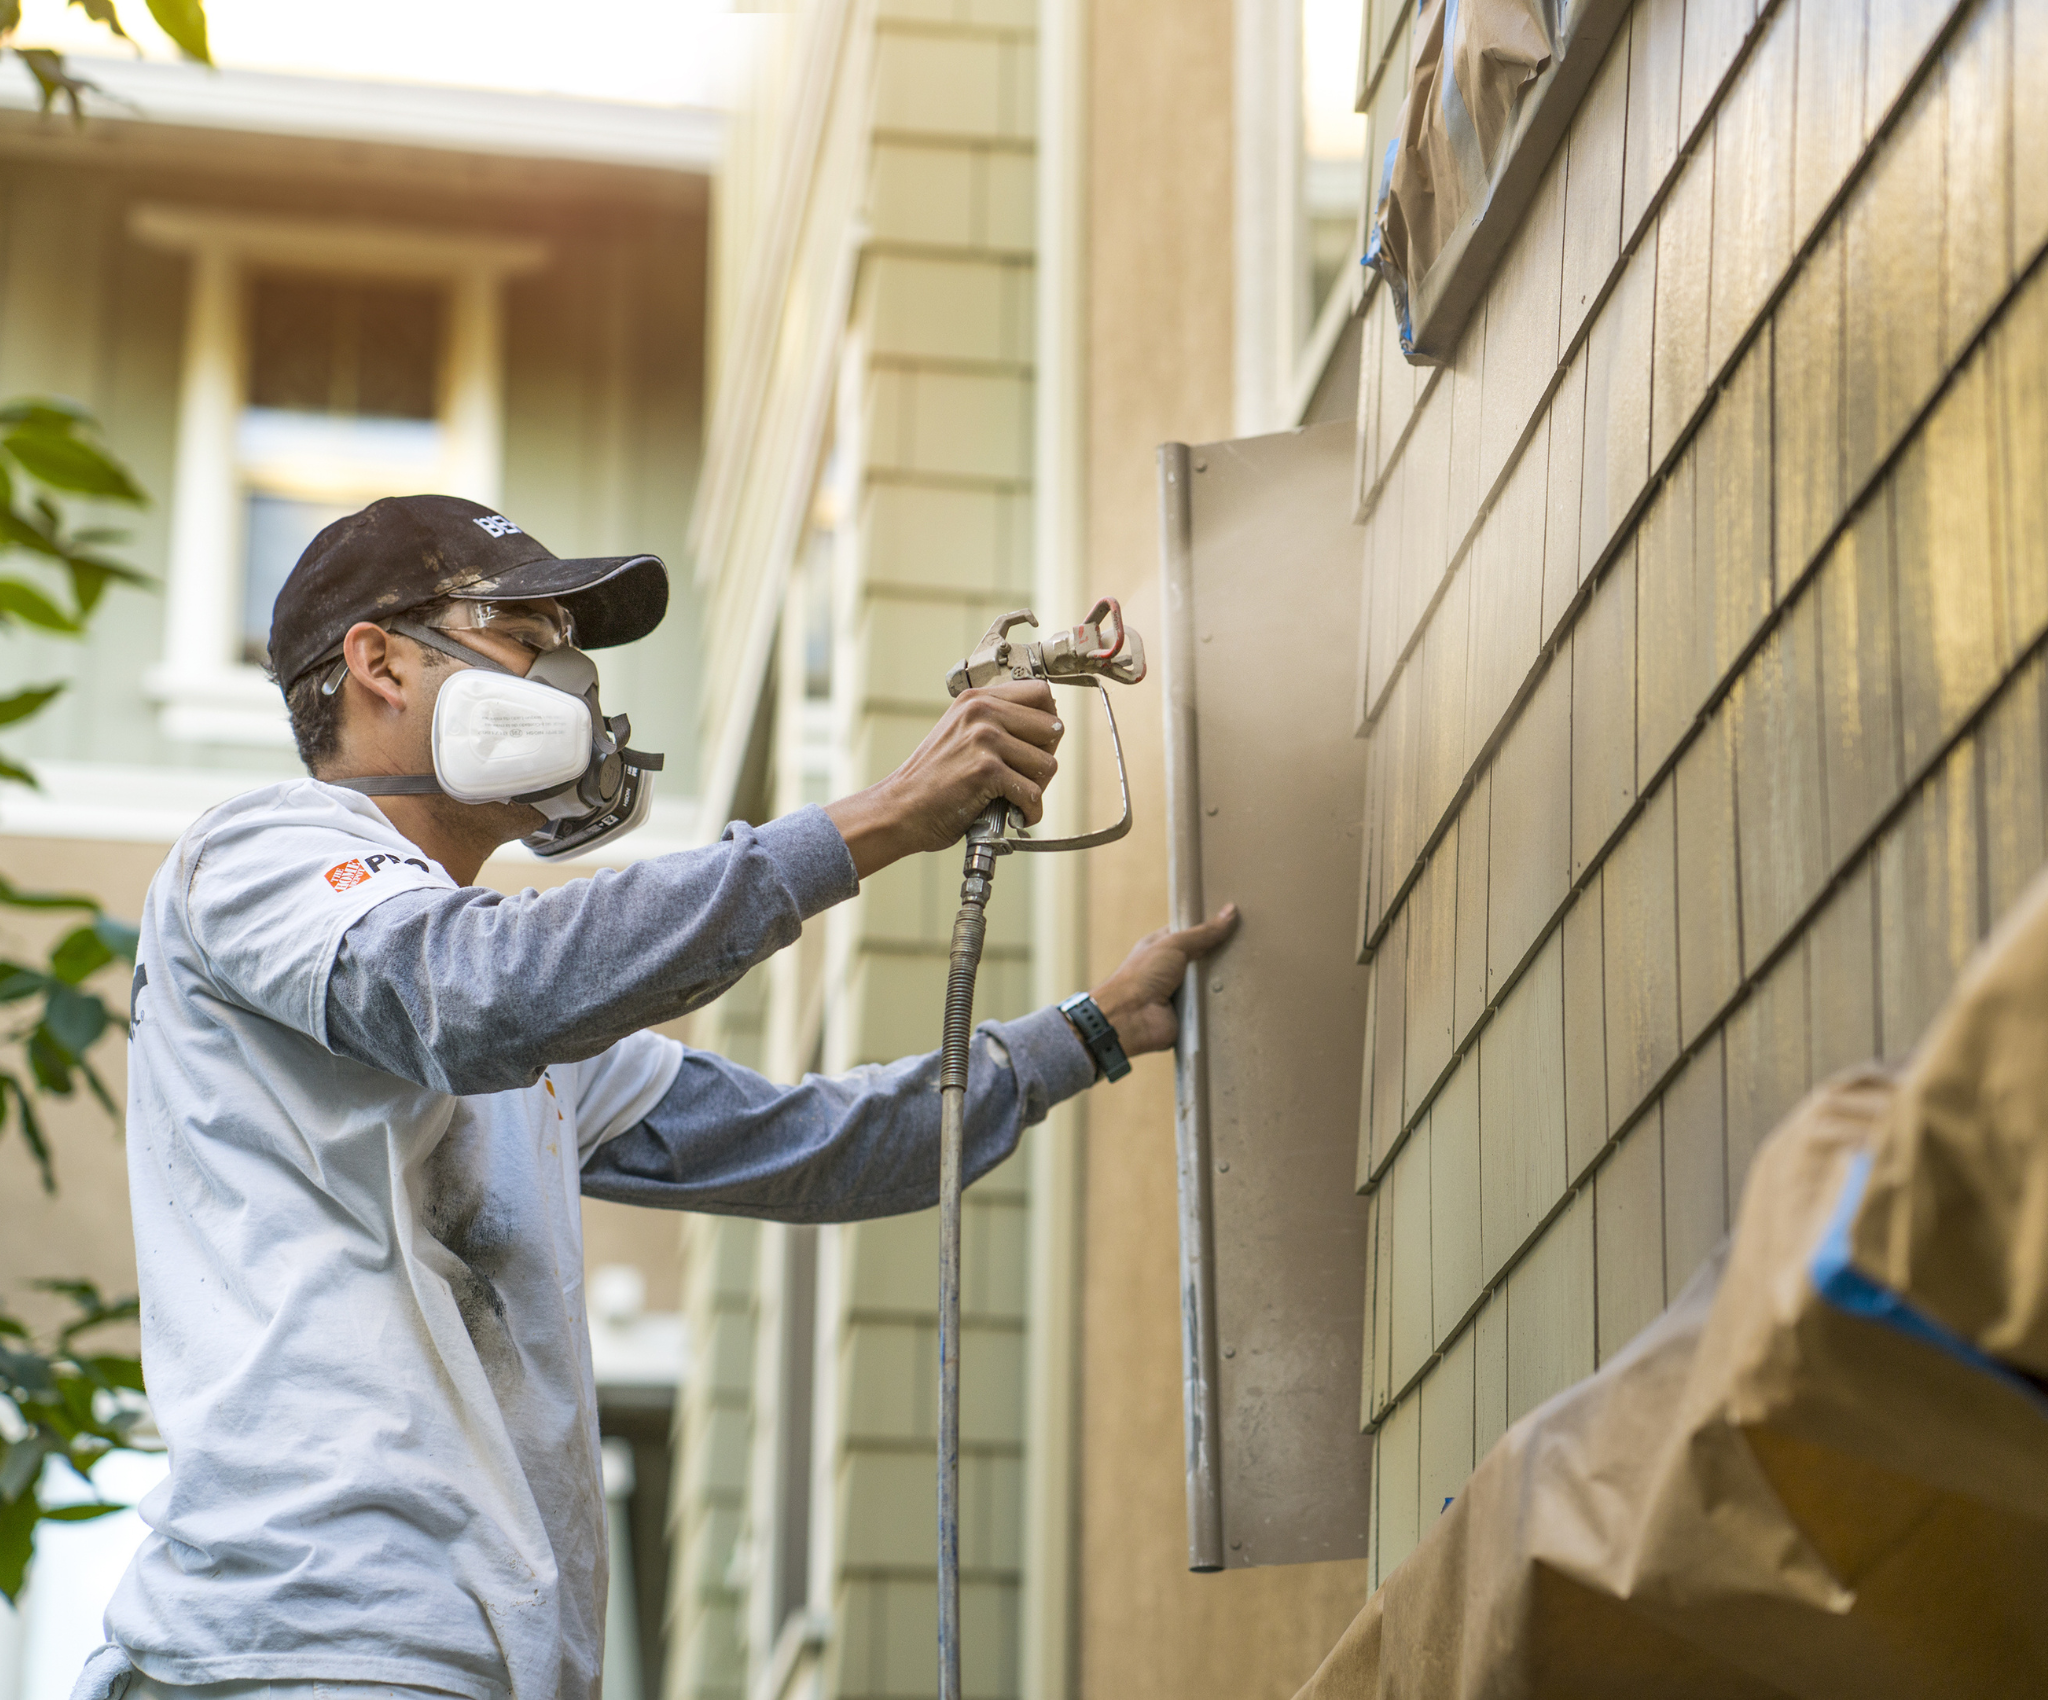
An airless sprayer will give you the smoothest finish—if you’re experienced using one. Otherwise, choose a brush with super-fine nylon bristles. A 3”-4” wide brush with straight ends will cover a flat panel cabinet door quickly. For doors with recessed panels, a 2”-3” angled sash brush will help you to get in the corners.
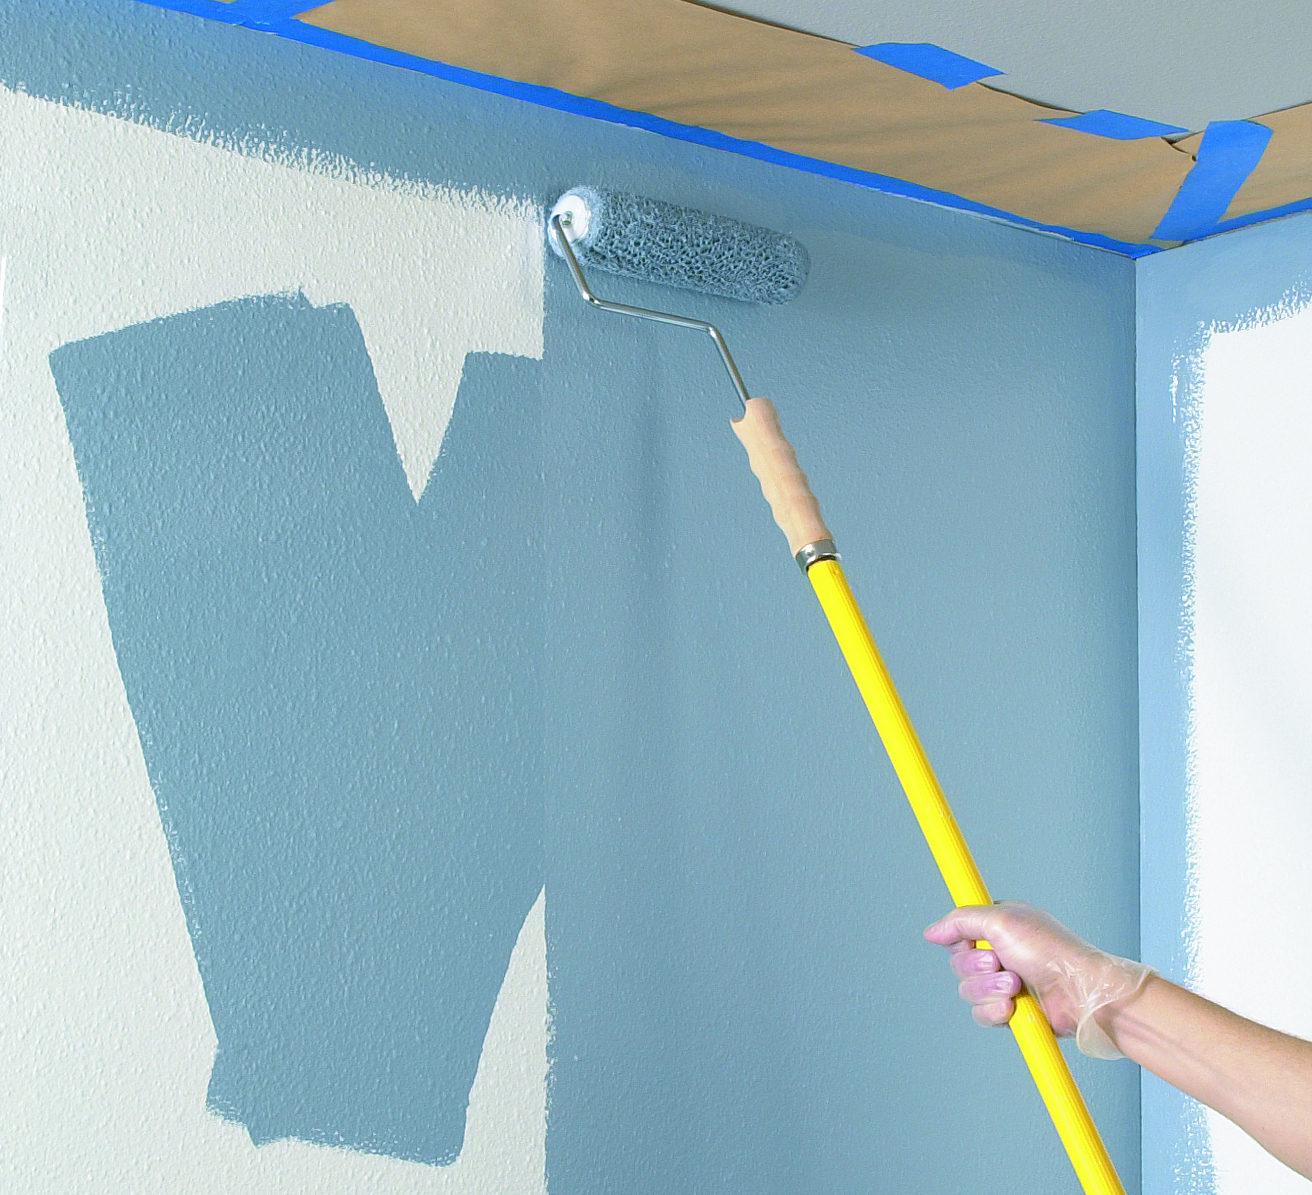
If you prefer a roller, choose a high-quality, shed-resistant woven cover with ¼” to ⅜” nap. A small 6”-7” roller cover is perfect for a wide area but use a mini roller for door edges and the narrow fronts of the cabinet boxes.
Tip #1: Using an airless sprayer? Behr paint experts recommend Graco Fine Finish Low Pressure tips. Low pressure tips reduce the pressure up to 50 percent, reduces overspray, and gives an easy pattern overlap for a factory-like finish.
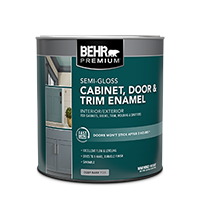
Cabinets see a lot of action, in both the kitchen and bathroom. For that reason, you want to choose paint that resists dirt and grime and is easy to clean with soap and water. BEHR PREMIUM® Cabinet, Door & Trim Enamel is that and more. It provides a smooth tack-free finish that prevents painted surfaces from sticking to each other. It dries in just a couple of hours, giving you a quick return to service. And, it meets the most stringent VOC regulations.
Remove the cabinet doors, drawers, and hardware
Start a cabinet refinishing job by removing all cabinet doors, drawers, and hardware. Begin at one side of the kitchen and work sequentially to the opposite side, numbering every piece. This will make putting everything back together much easier.
Collect all the hardware in sandwich bags or small containers labeled with the same number as the door or drawer from which it came.
Tip #2: If there’s adequate countertop space, protect it with thick builders paper and use it as a work surface. It will save you time!
Clean everything
Use a good all-purpose cleaner or degreaser to clean all the surfaces you plan to paint and a nylon pot scrubber to remove any food residue. Rinse well and allow to dry before proceeding.
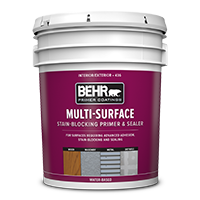
Tip #3: After washing, test a small area with BEHR® Multi-Surface Stain-Blocking Primer & Sealer or KILZ 2® All-Purpose Primer. If it adheres well, sanding may not be necessary.
Sand and prep all surfaces
Before painting, it’s important to prep all the surfaces. Remove everything from the countertop. Cover the floor, countertop, and backsplash to protect them from any paint splatters. Also, cover any appliances close to the area you’re working on. Mask off the inside of each cabinet box to protect it from paint and dust. You’re only going to paint the face and interior edge.
Scuff sand the existing surface with a medium-grit sanding sponge or medium- to fine-grit sandpaper to promote adhesion. Fill any holes or imperfections with wood filler and sand smooth.
After sanding, use a shop vac with a brush attachment to remove all the sanding dust, then wipe with a damp microfiber cloth or tack cloth.
Allow everything to dry before proceeding to the next step.
Apply the finishes
When thoroughly dry, apply the primer using a roller or sprayer. Once dry, lightly sand with very fine-grit sandpaper to remove any bubbles, dust, or lint that’s appeared in the wet primer. Vacuum and wipe clean as before.
Tip #4: For a super smooth finish, consider using KILZ Restoration® Primer as your undercoat. It responds well to sanding with fine- to very fine-grit sandpaper.
Because caulk adheres better to a primed surface than bare wood, now is the perfect time to caulk any cracks between cabinets, where the cabinets meet the wall, or along the crown molding. We recommend BEHR® Multi-Purpose Siliconized Acrylic Caulk, a premium, siliconized acrylic caulk designed for a wide variety of interior and exterior applications. This all-purpose caulk is also ideal for filling and sealing gaps and cracks around window and door frames, wall trim, baseboards, corner joints, and more.
Tip #5: If you are in a hurry, use BEHR® Rapid Dry Siliconized Acrylic Caulk, a premium, fast-drying siliconized acrylic caulk designed for a wide variety of interior and exterior applications and can be painted within 10 minutes, so your project gets done faster.
When the primer and caulk are dry, apply the paint, working in a vertical direction or with the grain of the wood. Catch and smooth out any drips before they dry. To prevent lap marks, keep a wet edge by completing a large area in one session. Make your brush or roller job easier with BEHR PREMIUM® Cabinet, Door & Trim Enamel. It flows on smoothly and washes up with just soap and water.
Once the paint is dry, apply a second coat to all the surfaces.
Put everything back together
Although when using BEHR PREMIUM® Cabinet, Door & Trim Enamel the surface is tack free and doors won’t stick after two hours, you still want to take care in handling the cabinet pieces. For an optimal finish, allow the painted surfaces to cure at least 24 hours before reassembling.
Tip #6: Use hand tools to reassemble the cabinets. Drills may strip the small screws and slide off, marring your beautiful handiwork.
The BEHR PRO® Professional Products & Services Program provides personalized service with quality products and resources. For questions about cabinet refinishing, contact your local BEHR PRO Rep today.


What I’m asking is i have drawers peeling most all are in goof shape , im wondering if it’s because I never put handles on any of the cabinets or drawers, but I would like new countertops. I’m a kind of small condo but I just don’t wanna spend a lot of money. What can you tell me I should do.
Hi Laura,
The peeling of your drawers might be partially attributed to the absence of handles. Without handles, drawers are often opened and closed by directly touching their surfaces, which can lead to premature wear and tear. Over time, the oils from our hands can react with certain paints, softening the film and leading to peeling or degradation. To address the issue, consider installing handles or knobs, which reduce direct contact with painted surfaces and help prevent future damage. When repainting the affected drawers, choose high-quality paints specifically formulated to resist oil-softening, ensuring durability and resistance to frequent handling.
Kindly,
The BEHR PRO Team