
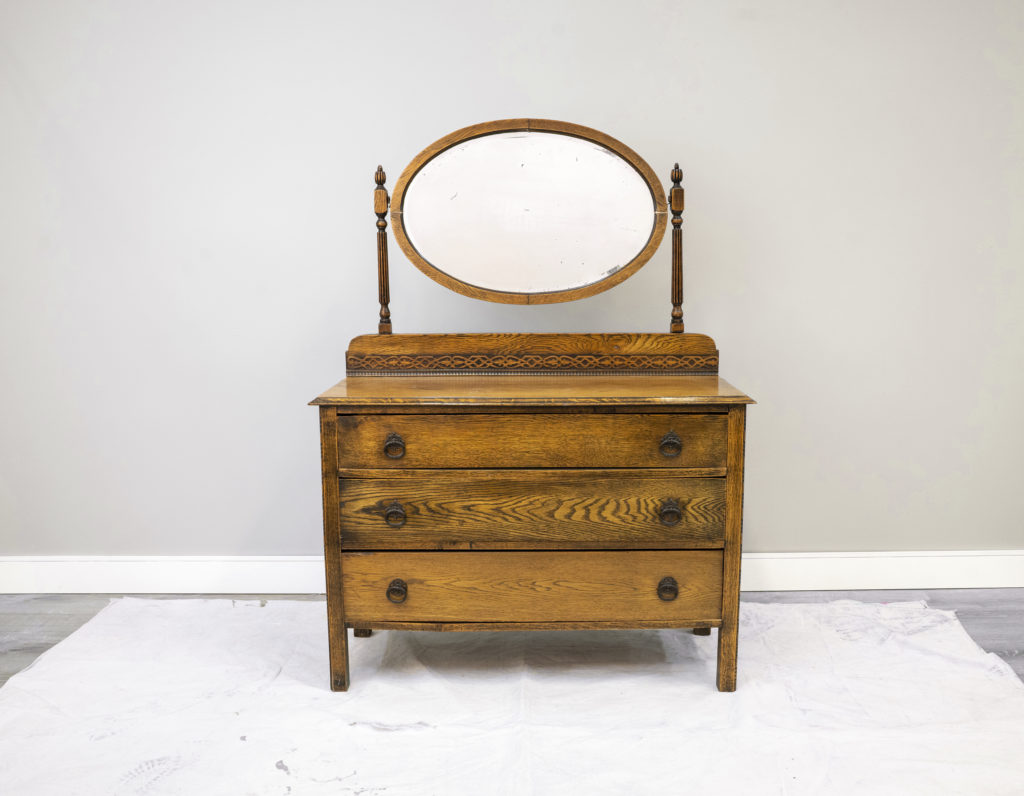
Up-cycling and restoring furniture have become so popular among home crafters these days as creativity helps both stimulate and soothe the mind and, it is such a cost efficient and eco-friendly way to update a furniture piece or space. So, I’ve had this vintage dresser that needed some work done and I thought it would be perfect for a guest bath renovation on a budget.
Normally, if I were to use regular paint to upcycle a dresser like this, I would first need to sand the entire furniture piece to make the surface smooth, clean off all that dust away, add a coat of primer, let that dry and finally add on a couple coats of paint. It would look nice, but it would take a lot of work. The great thing about decorative paint options like the Behr® Chalk Decorative Paint is that you can skip a few steps and achieve the same great results.
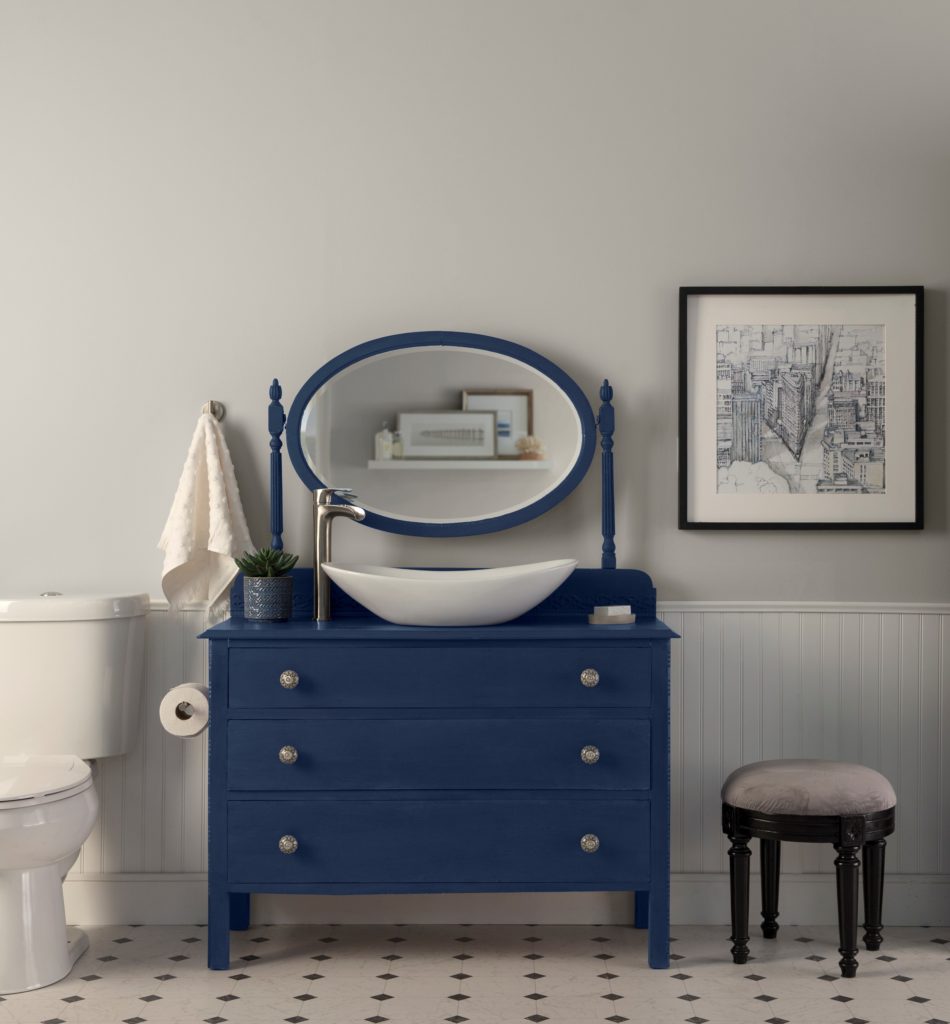
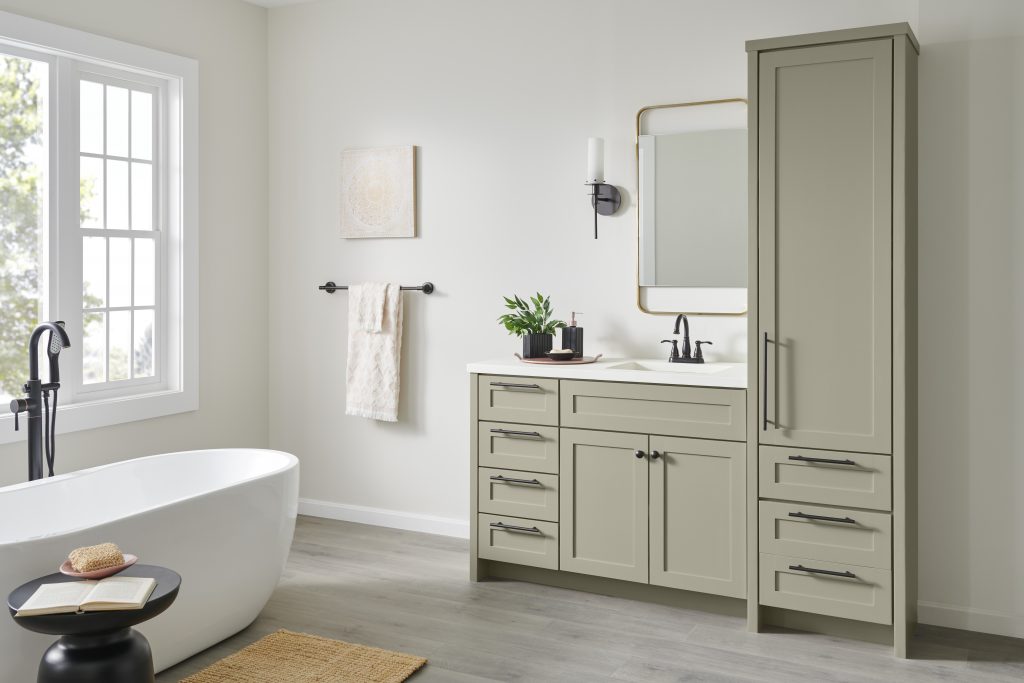
Check out this old furniture piece transformation, going from a tired old dresser to a purposeful sink vanity with a fresh new color.
Chalk Paint How to steps
Difficulty Level: Beginner
Time to complete: 3 hrs. (not including dry time)
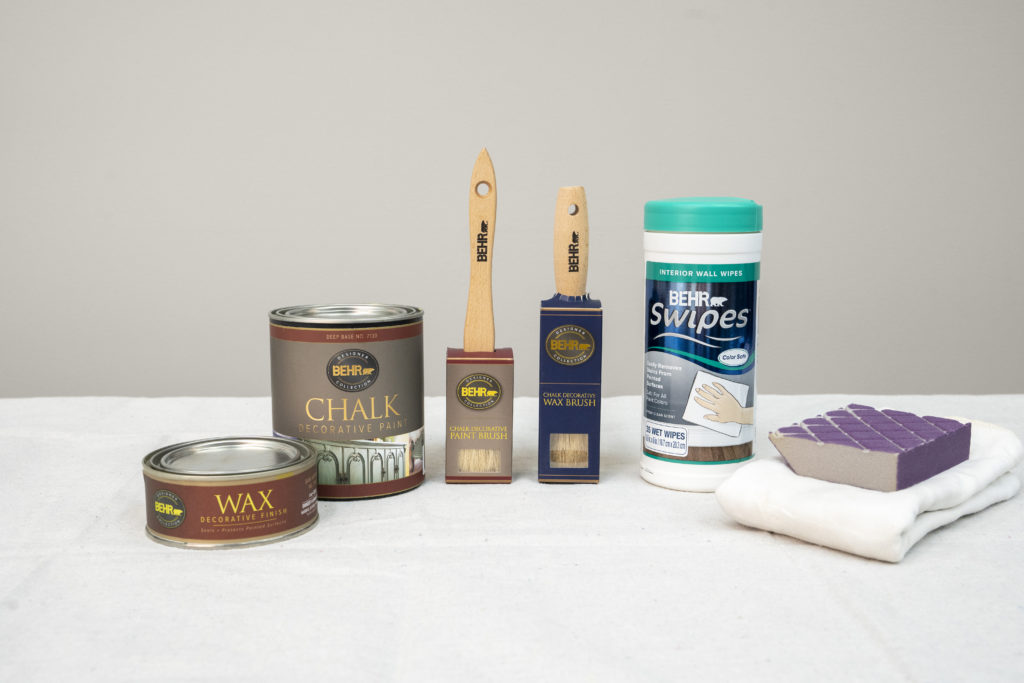
Materials
Behr® Chalk Decorative Paint in Timeless Blue BCP38
Behr® Chalk Decorative Paint Brush
Behr® Clear Interior Chalk Decorative Wax
Behr® Chalk Decorative Wax Brush
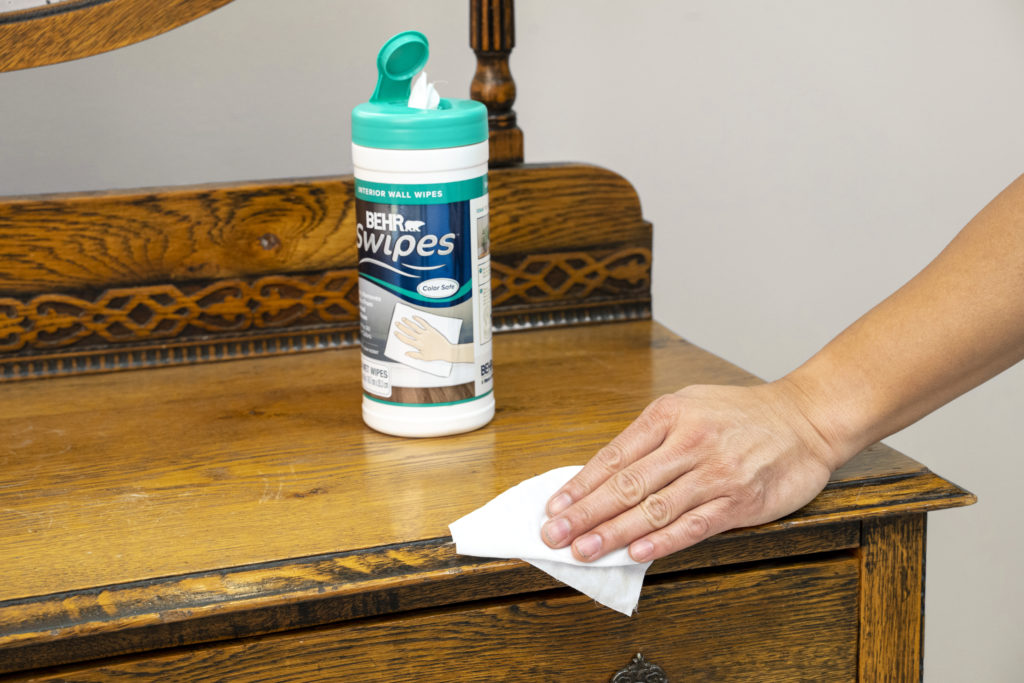
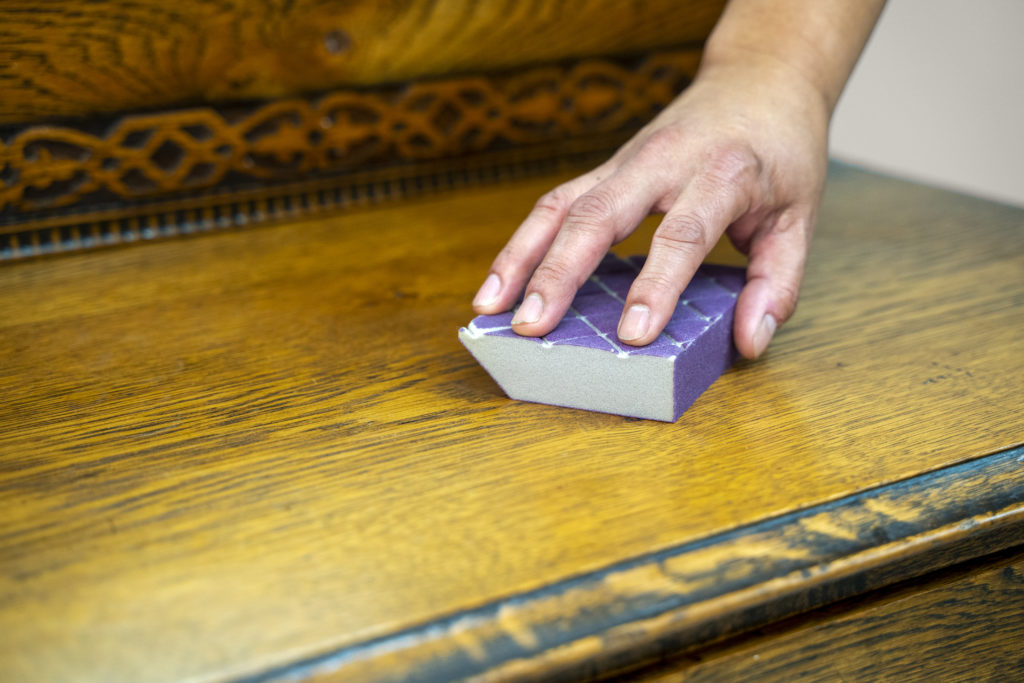
Step 1: Clean the furniture Piece
For better adhesion, scuff sand glossy surfaces.
With Behr® Swipes or damp cloth wipe off dust residue and allow to dry.
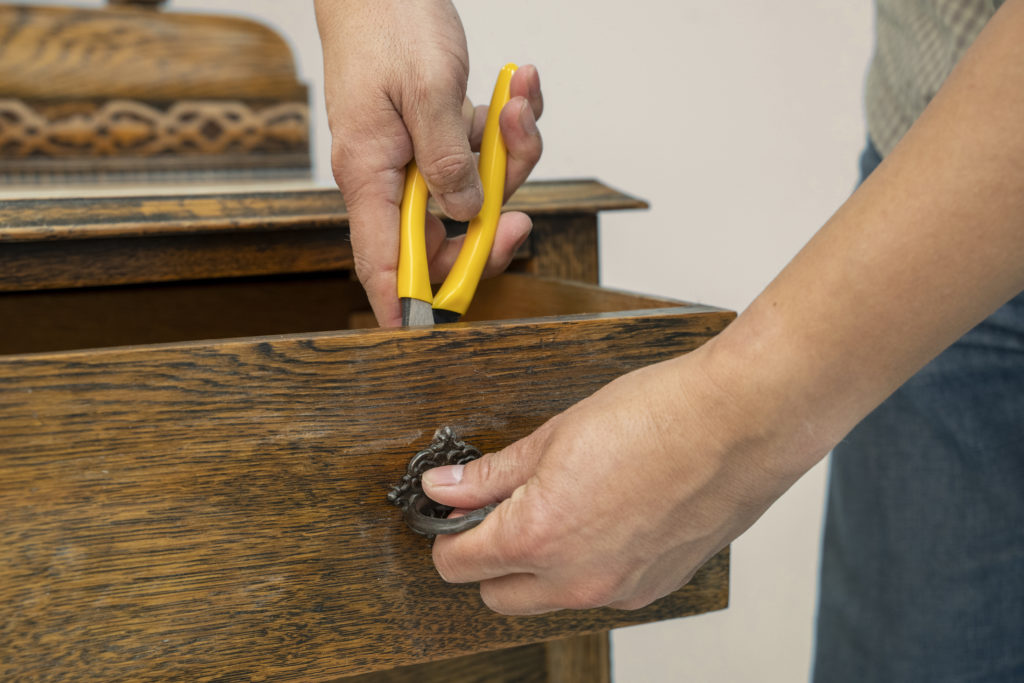
Step 2: Remove hardware
Remove all hardware to avoid getting paint on it.
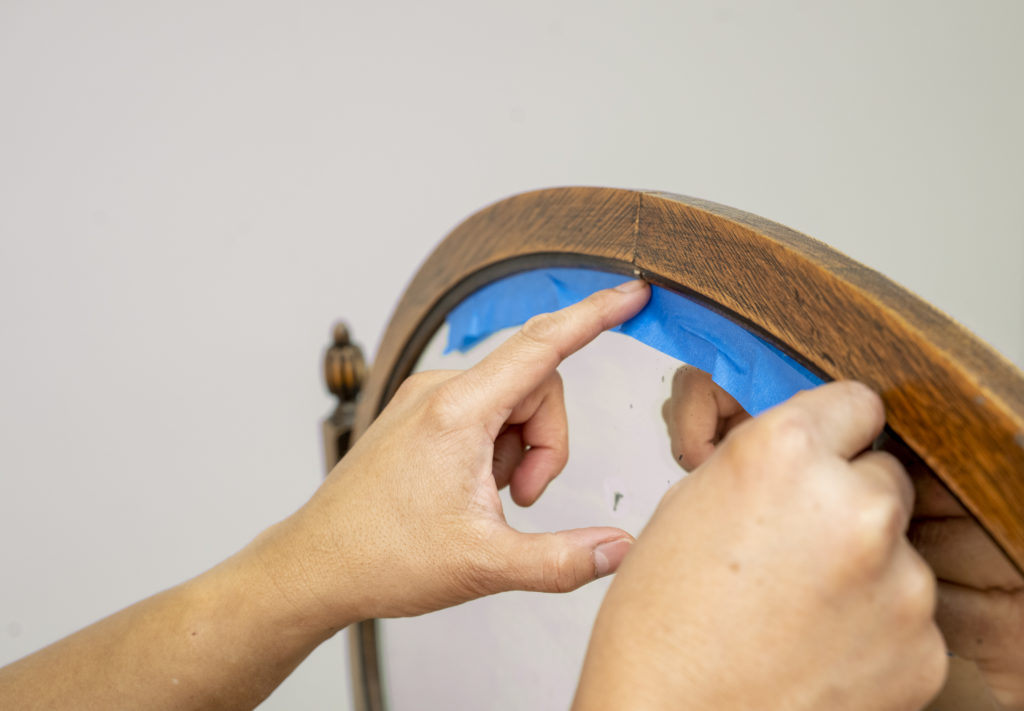
Step 3 Tape
Mask off the area that you don’t want painted.
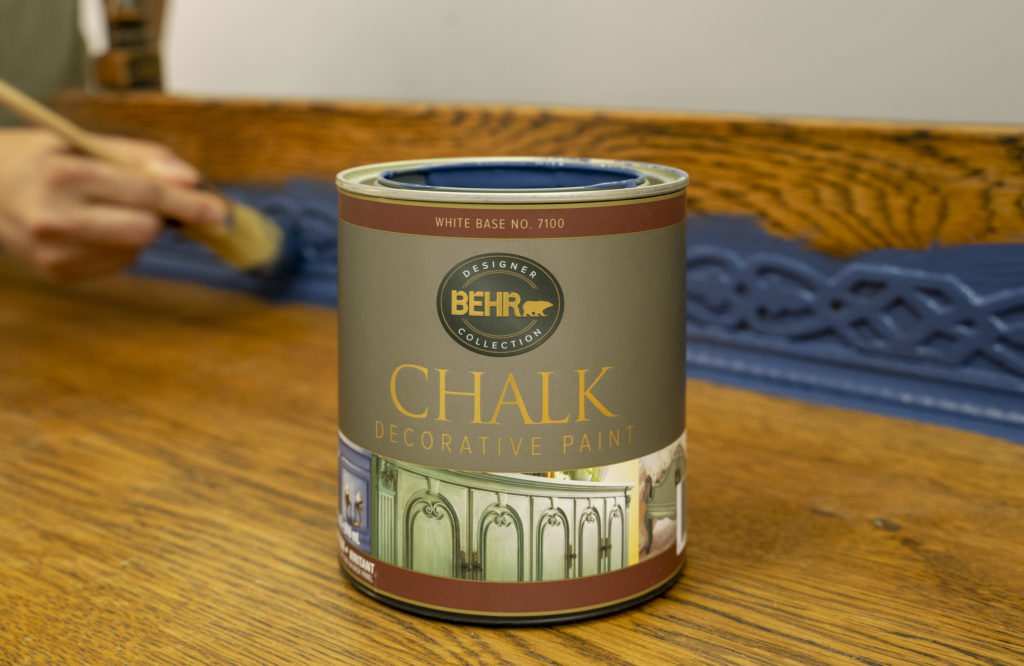
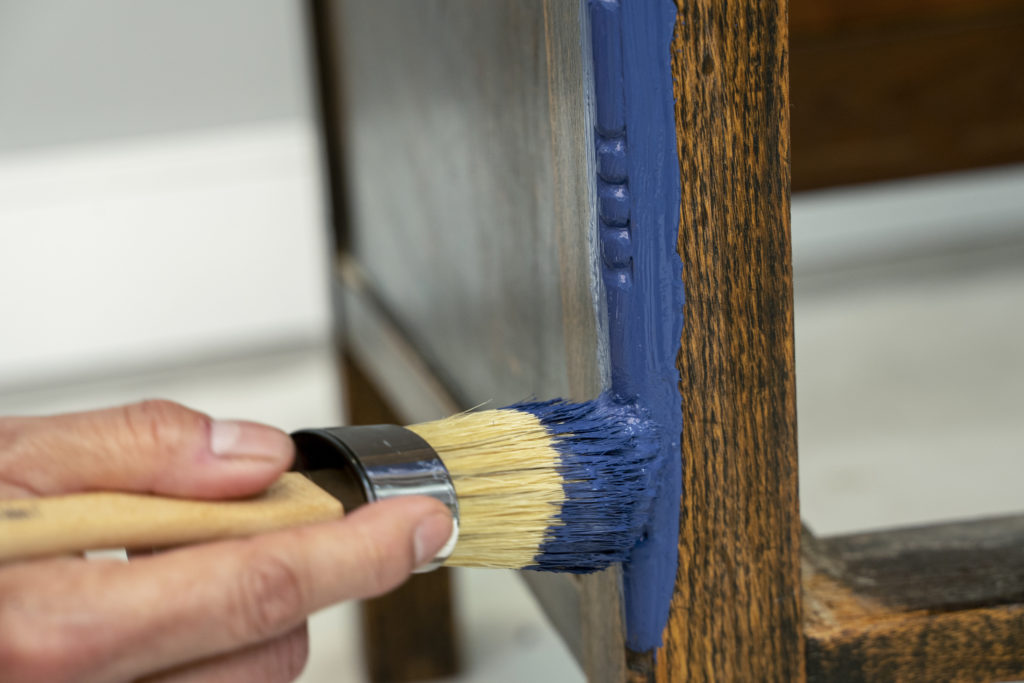
Step 3: Paint
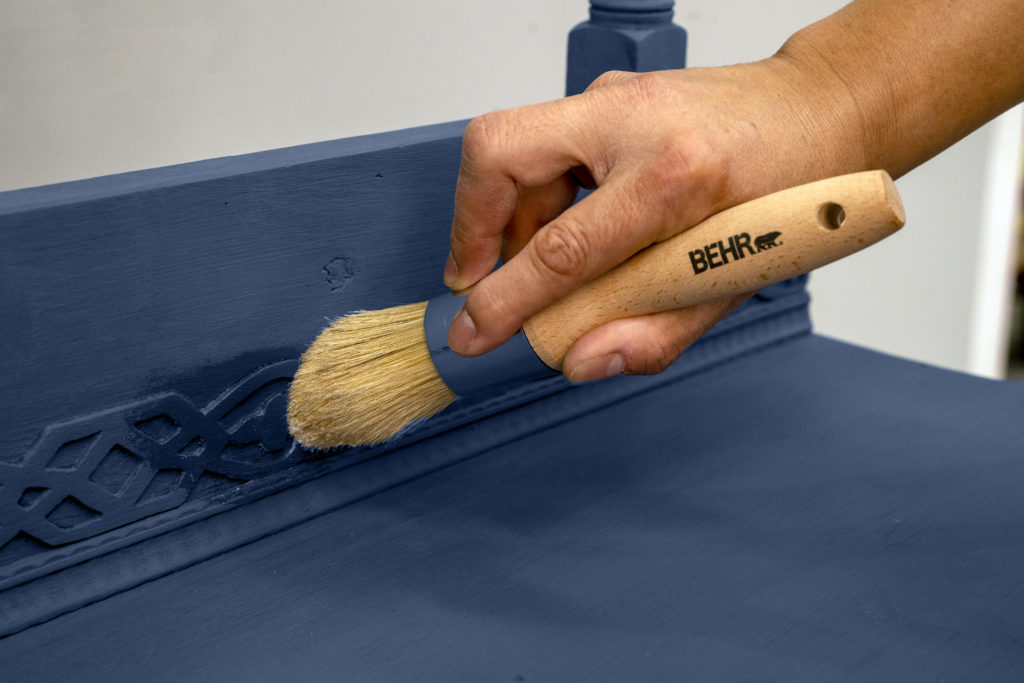
Using Behr® Chalk Decorative Paint Brush or a quality Nylon/Polyester brush, begin painting with the color of your choice.
Step 2: Wax
After painting the entire surface with BEHR Chalk Decorative Paint, allow a minimum of 2 hours to dry. Then using a natural bristle brush or lint-free rag, apply the Behr® Clear Interior Chalk Decorative Wax by spreading evenly over the surface. A clear coat of wax will help enhance the beauty of the furniture piece and add an extra layer of protection.
Tip– Focus on highlighting the best features of the piece by working the wax into small crevices. To maintain the quality of your finish, reapply wax as needed. If you want to create a lime-wash look, used the BEHR decorative white wax to create a more vintage or antique look, use the BEHR decorative dark wax.
Step 3: Add final touches
Reinstall drawers and hardware and enjoy your new unique piece!

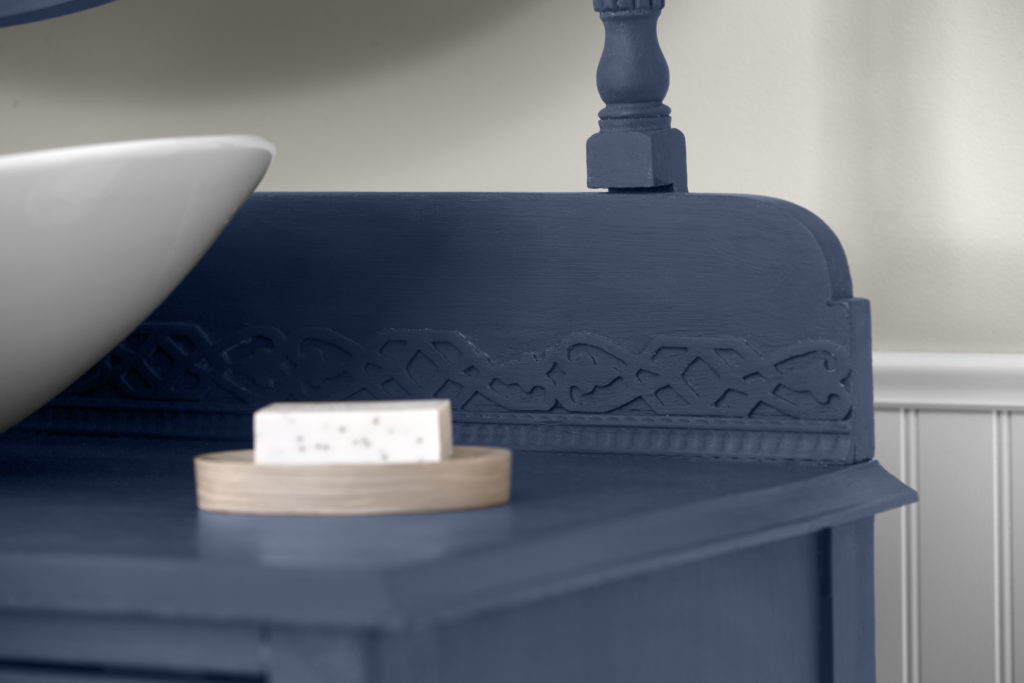
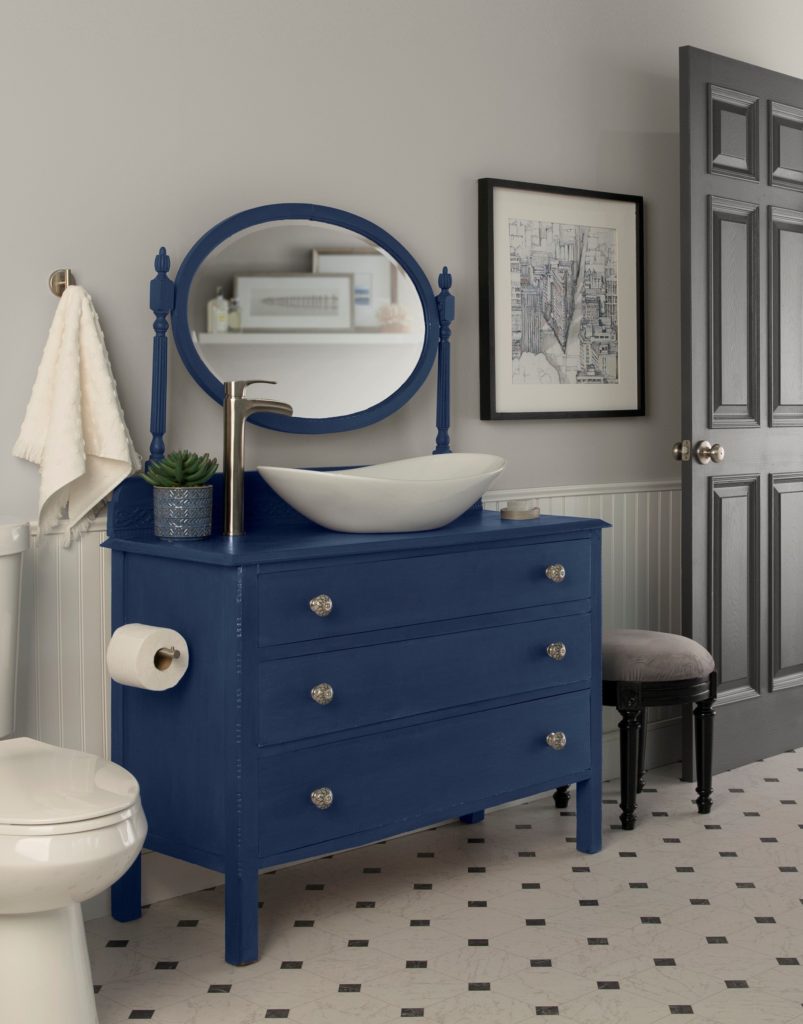
I wanted to preserve all the interesting details and turn it into a more purposeful piece, so I decided to have a faucet, ceramic sink and toilet paper dispenser installed. Hard to believe it is the same furniture piece, huh? To learn more about Behr® Chalk Decorative Paints and waxes to achieve unique looks like this, visit behr.com .
Colorfully Yours,
Diana

Beautiful. Did you do a clear wax or a white wax over this?
And you said the color was “Timeless Blue”?
Hi Sherry – thanks for visiting the Colorfully BEHR Blog.
We used Behr® Clear Interior Chalk Decorative Wax over the Timeless Blue BEHR Chalk Decorative Paint.
Diana