
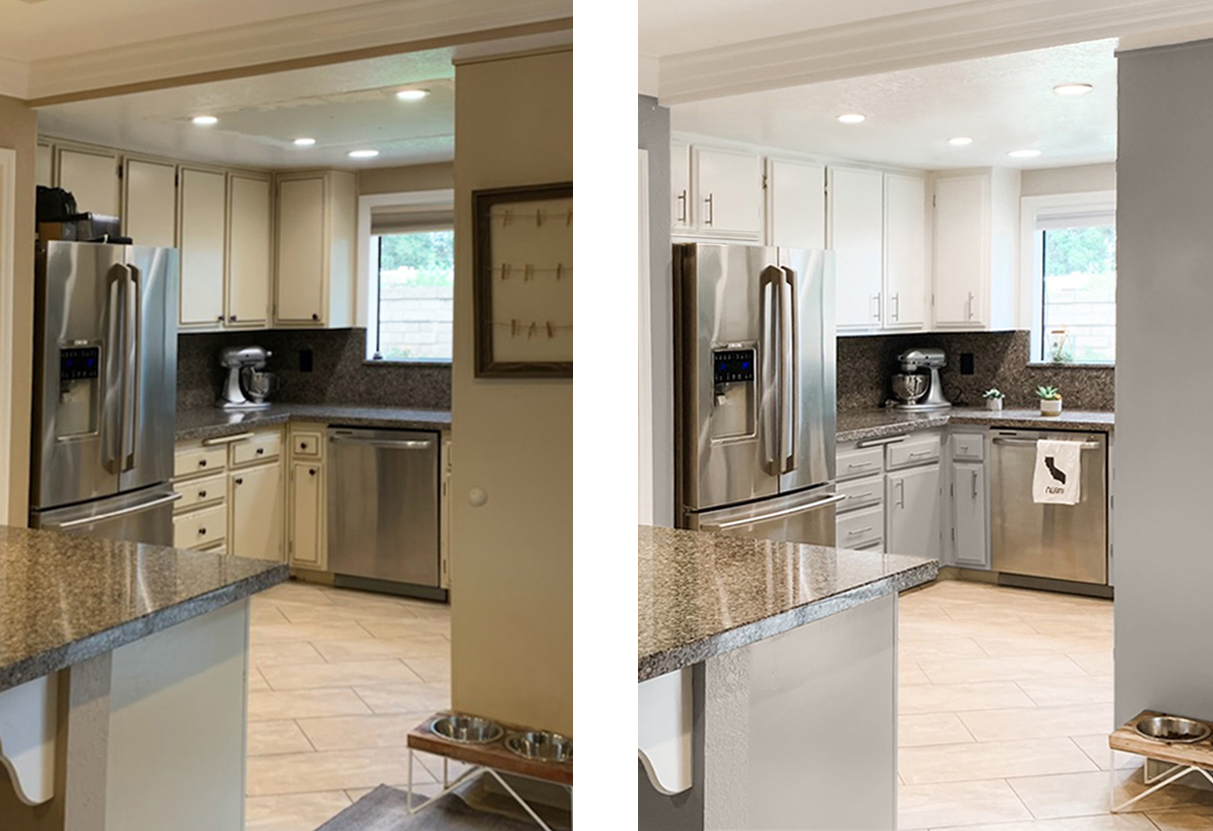
This is a great project for someone looking for a kitchen update without the cost of replacing your cabinets. You will want to set aside a few weekends before starting. Most importantly, don’t skip any steps. Invite a family member to help and enjoy party and prep days, wine and prime time… to name a few. The upfront work makes all the difference. The end result is time well spent!
Materials:
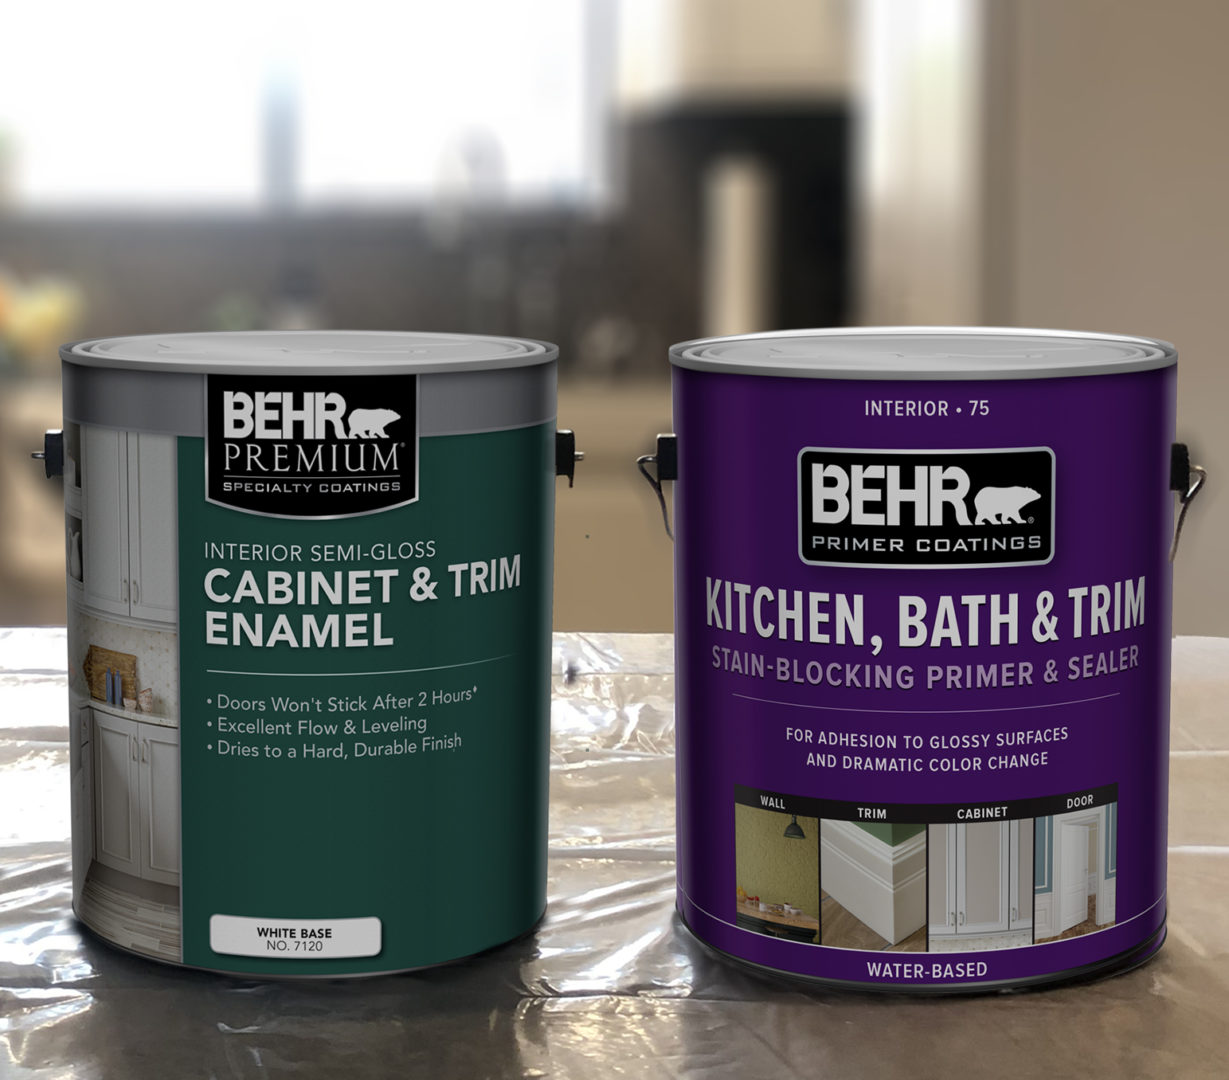
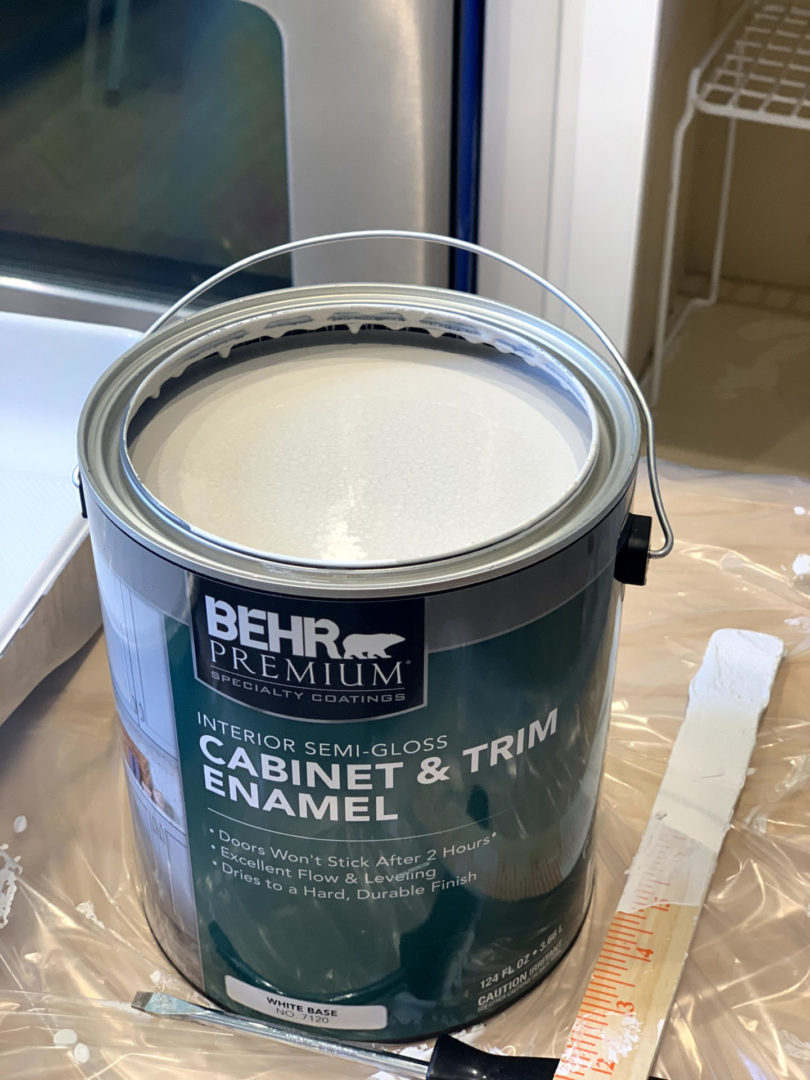
- Paint: BEHR PREMIUM® Interior Cabinet & Trim Enamel,
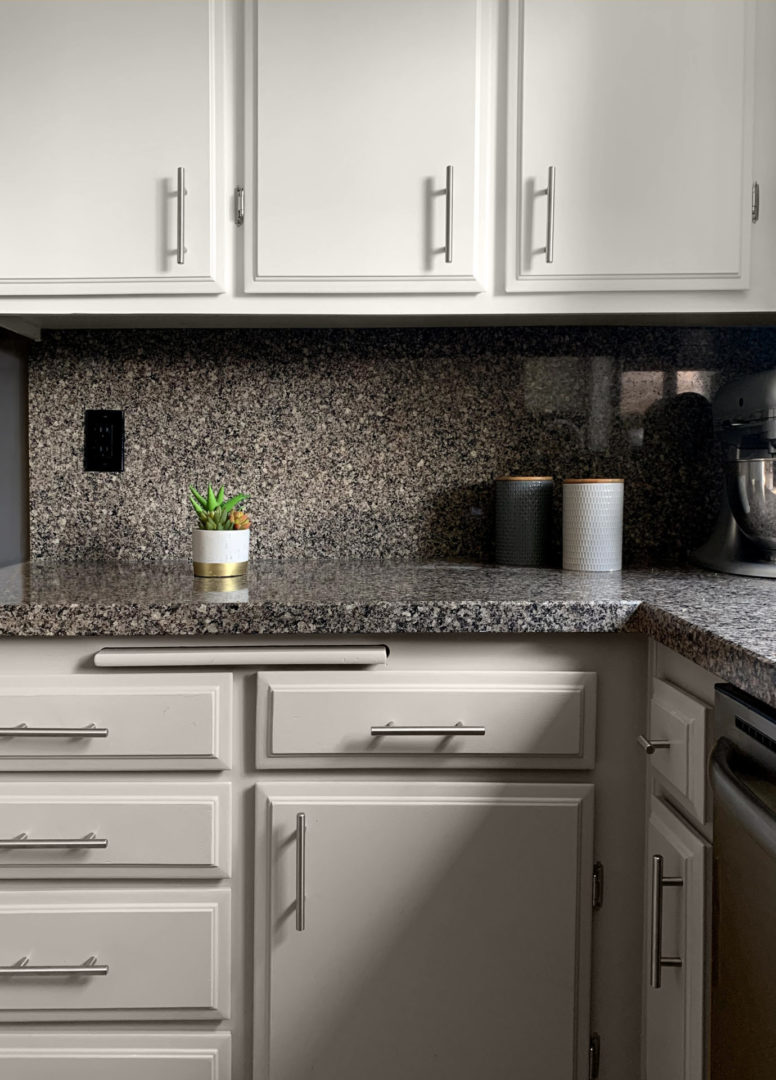
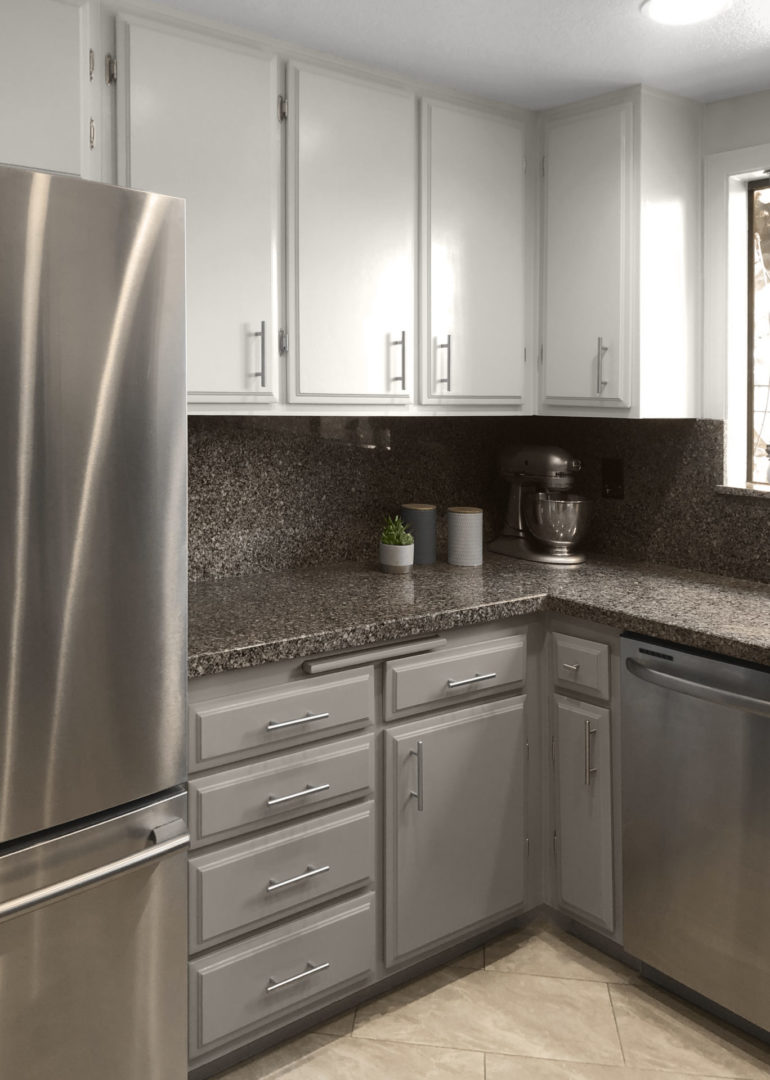
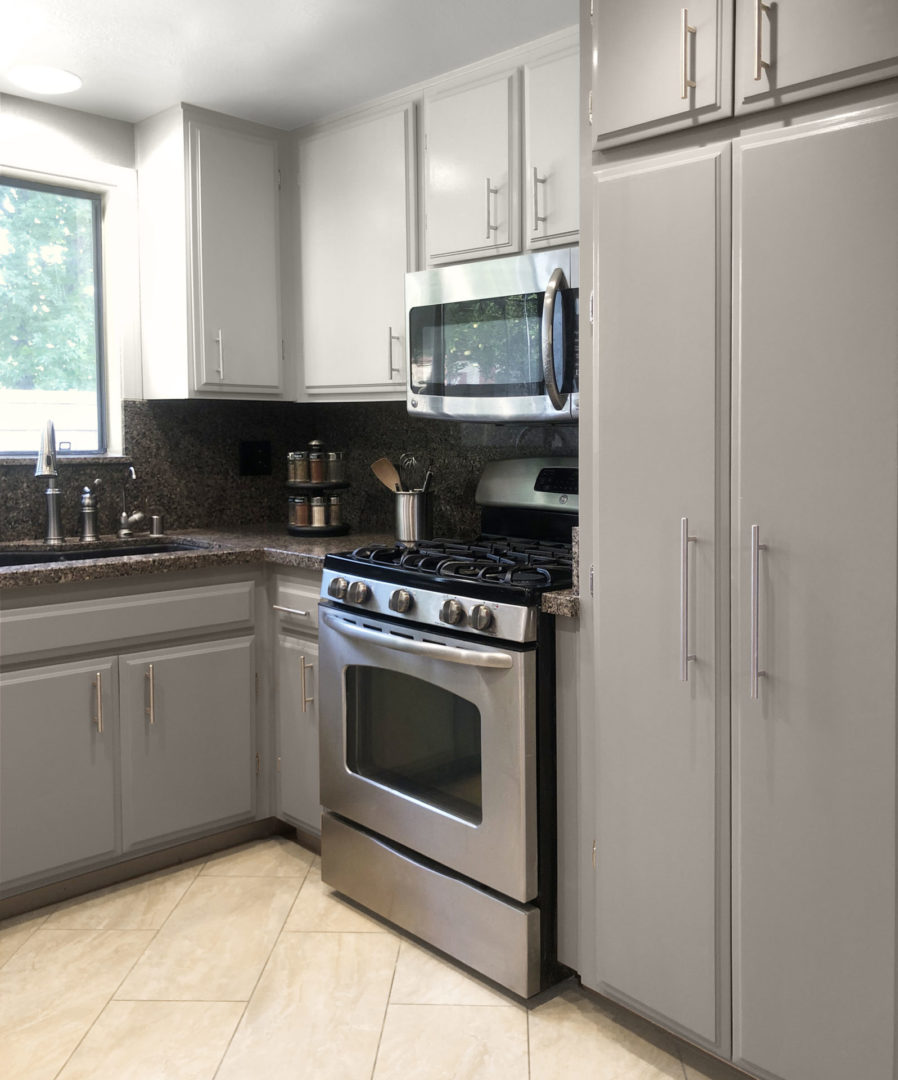
- Upper cabinets: SILKY WHITE PPU7-12,
- Lower cabinets: GRACEFUL GRAY PPU18-12
- Primer: BEHR® Kitchen, Bath & Trim Stain-Blocking Primer & Sealer
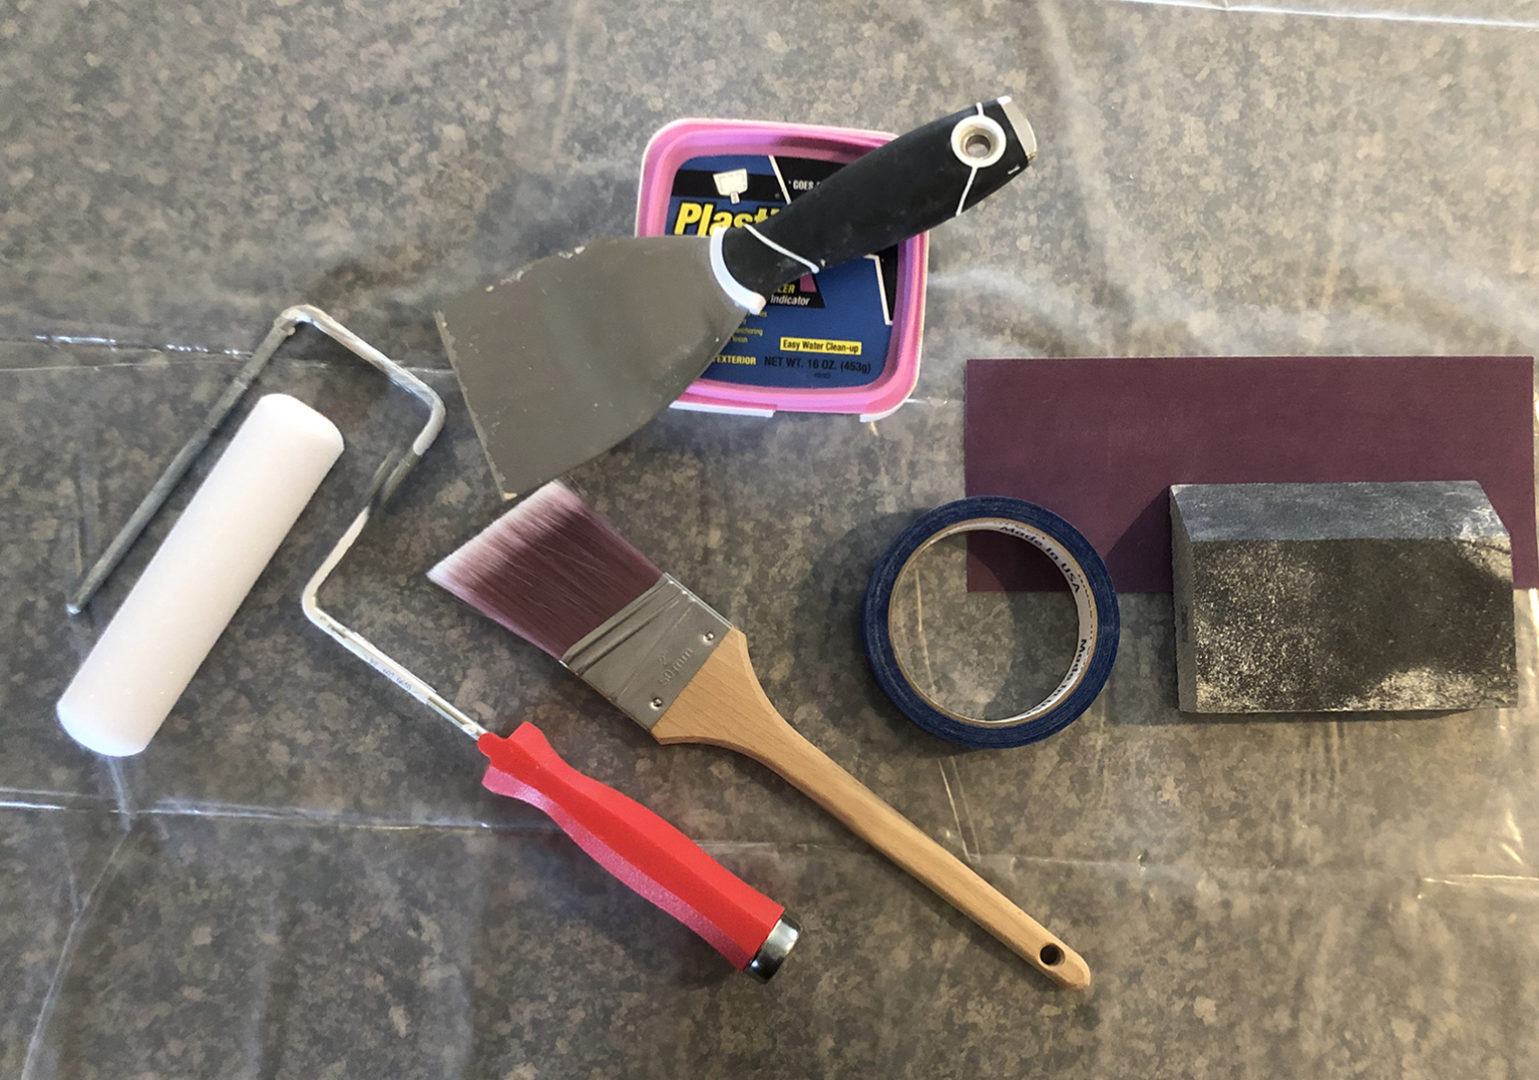
- Narrow & Angled 100% Nylon Paint Brush
- Suggest: 1”, 1.5” width
- Mini Roller for Smooth Surfaces
- Suggest: 4”, 3/8” nap
- Paint Tray and Liners
- Household tools; Screwdriver, Power Drill
- Degreaser/De-glosser (for washing cabinets)
- Sand Block, 400 and 120 grit
- Spackle and Putty Knife
- Painters Tape
- Tac Cloth, Cotton Rags
- Cleaning and Painting Gloves
Before starting you will want to find an area where you can lay the cabinet doors and drawer to work on. Clear a space in your garage, or a covered area outside if the weather is nice. Grab some old rags, paint cans or look through your pantry for a few canned vegetables that may be hidden in the back – you need something to keep the drawers and doors lifted when painting and while drying.
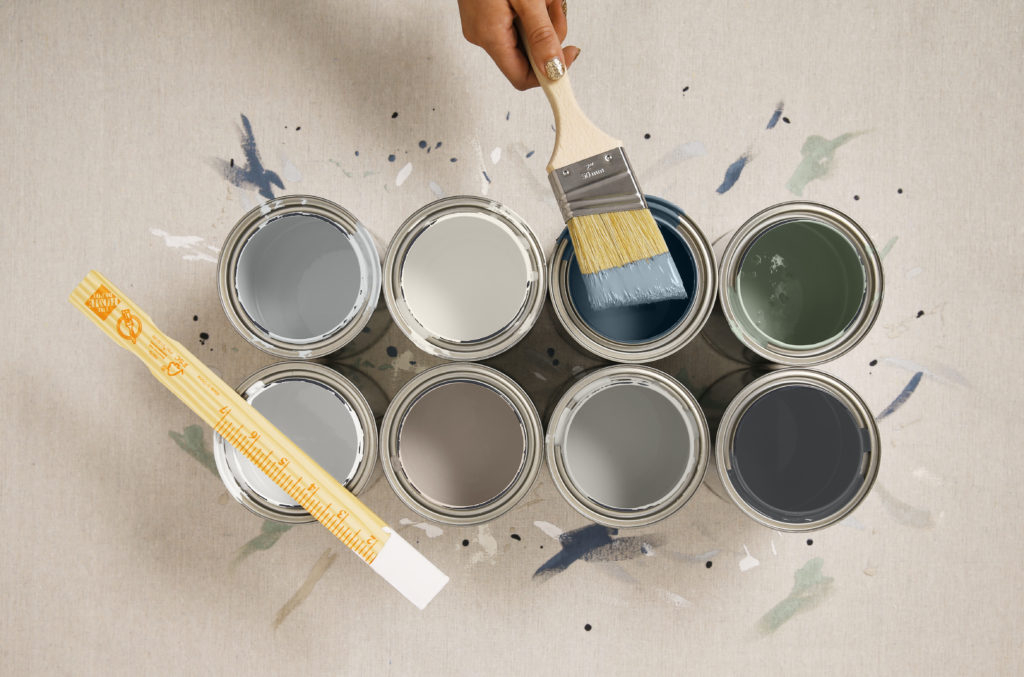
With a time-consuming project, you want to be absolutely sure of your final color before you start. Test out your favorite hues first. You can have them tinted in 8oz color samples or order a Peel and Stick Paint Color Sample in your choices. View them in different areas around your kitchen. You will want to see how the color changes throughout the different times of the day. Start with your top three to five colors and eliminate till you have your favorite.
Steps:
Remove, Doors, Drawers and Hardware
Remove all of the hardware, cabinet doors, and drawers. Use masking tape to label each door and drawer with a number and its corresponding location. You will want to remember which one goes where so that they fit properly when you are done.
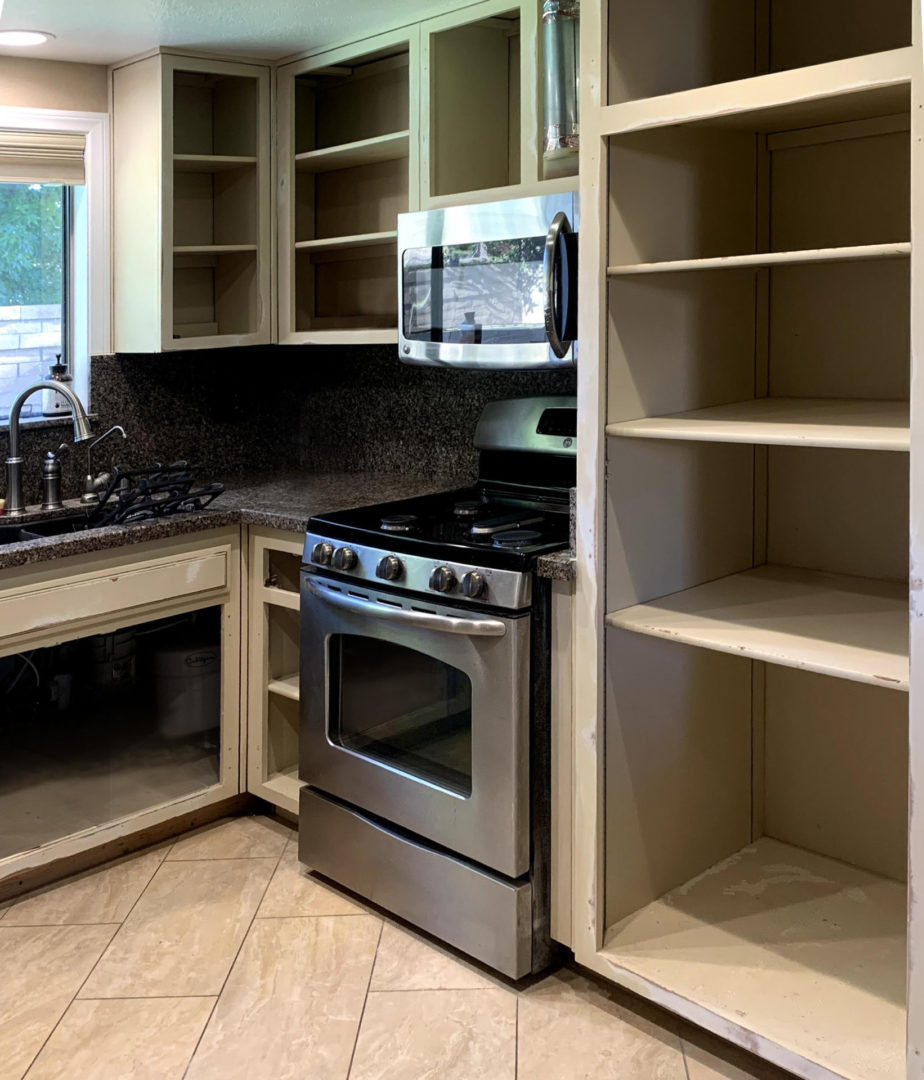
Prep Walls and Cabinets
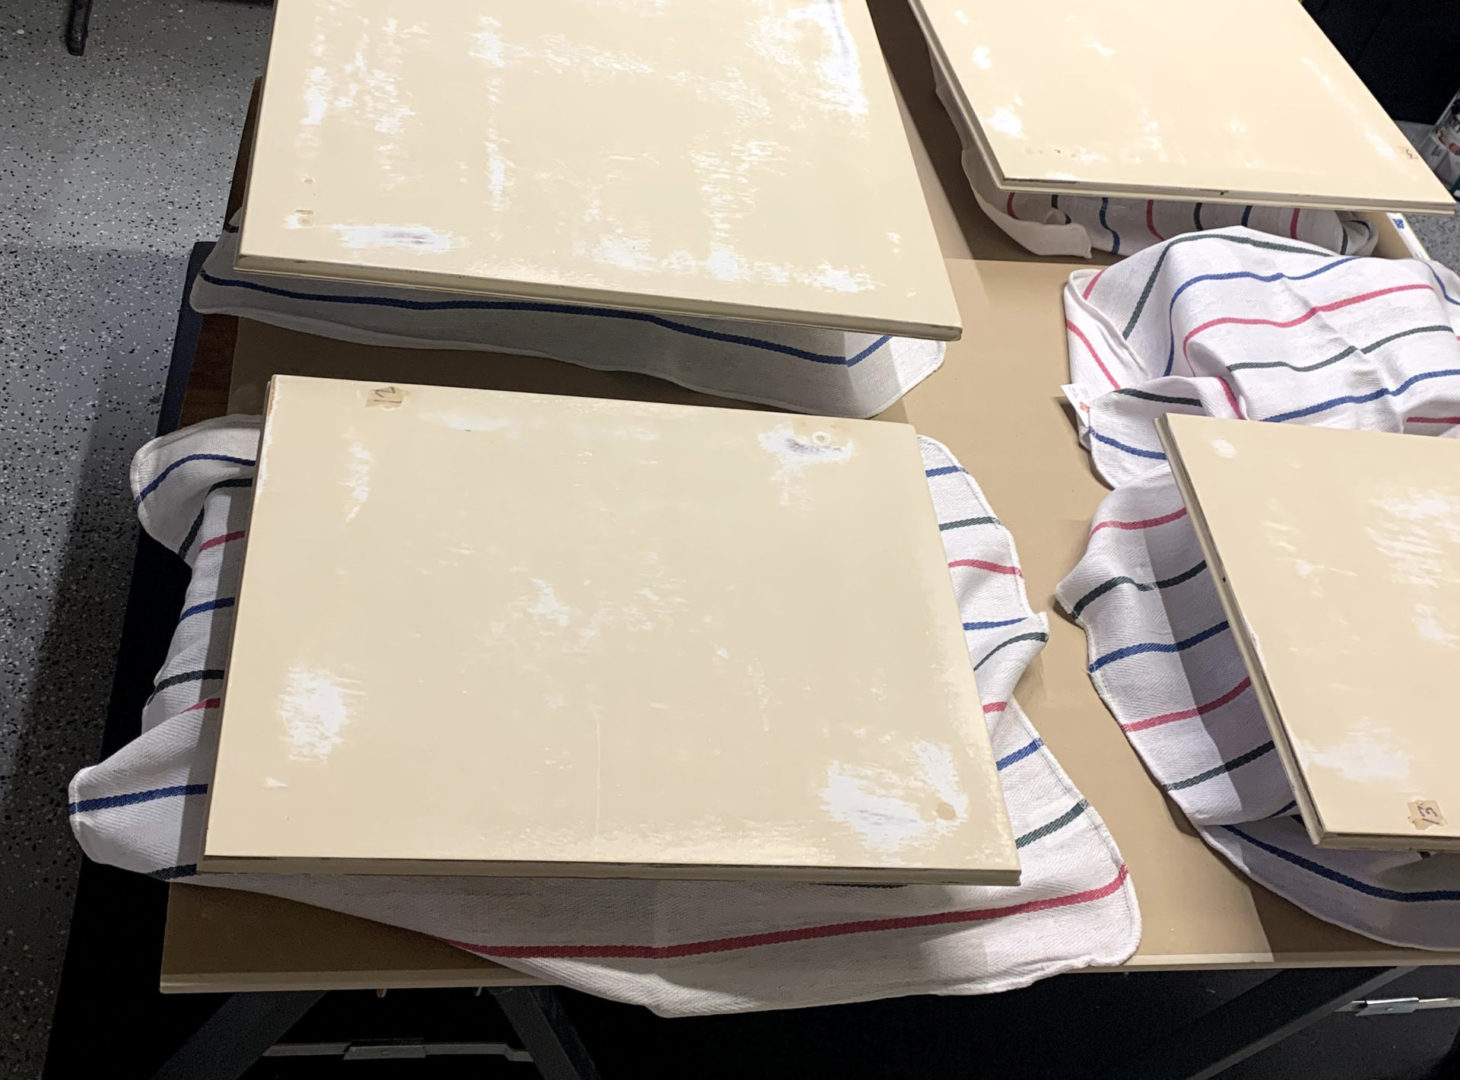
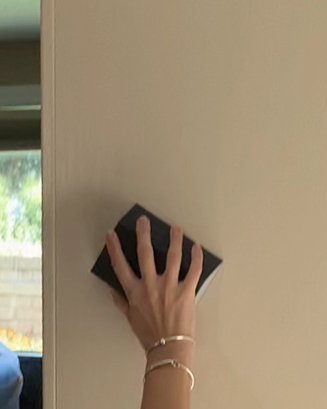
Clean all surfaces. Kitchens are known to pick up grease so make sure to use a degreasing detergent. The cleaner the surface the better for paint adhesion. Once surface is dry, fill any damaged areas and holes with spackle. With a wood 400 grit sanding block, sand areas to a lightly rough surface, removing any leftover gloss film. Wipe away sand dust with a clean tac cloth. Tape along ceiling, floor, and any areas you do not want to paint.
Apply Primer
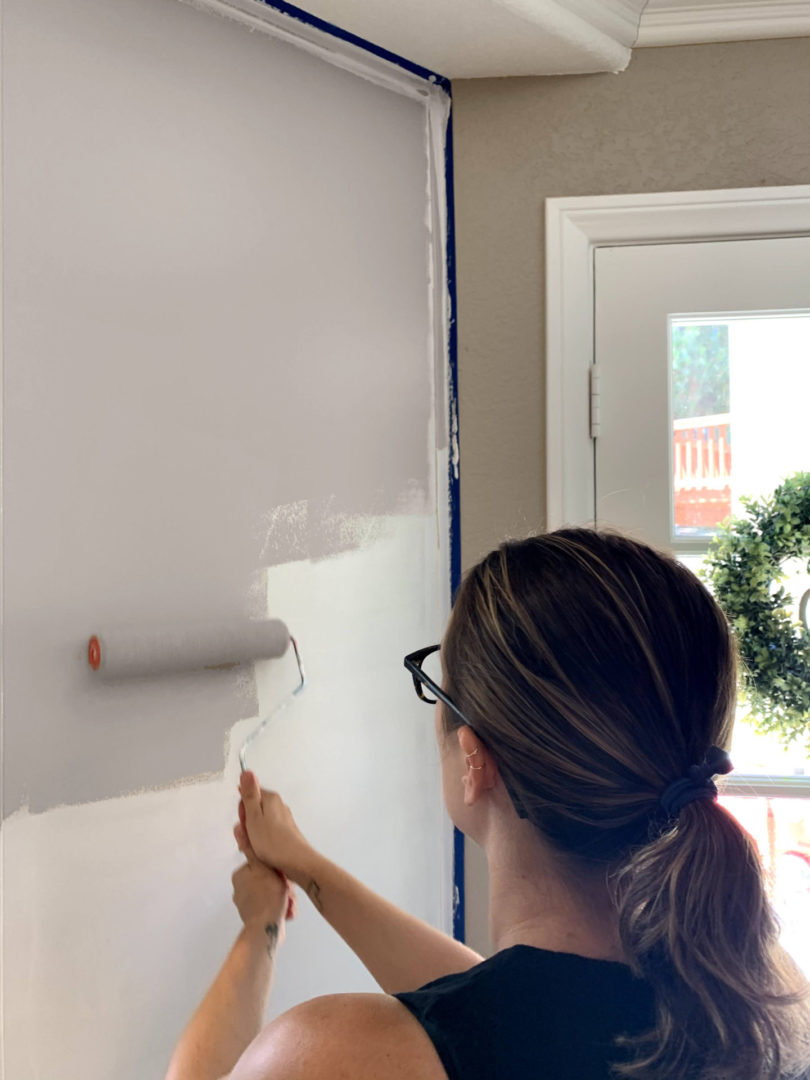
Using both the angled brush for detailed areas, and roller for flat areas, apply BEHR® Kitchen, Bath & Trim Stain-Blocking Primer & Sealer. Let dry completely then lightly sand all surfaces using 120 grit sand block.
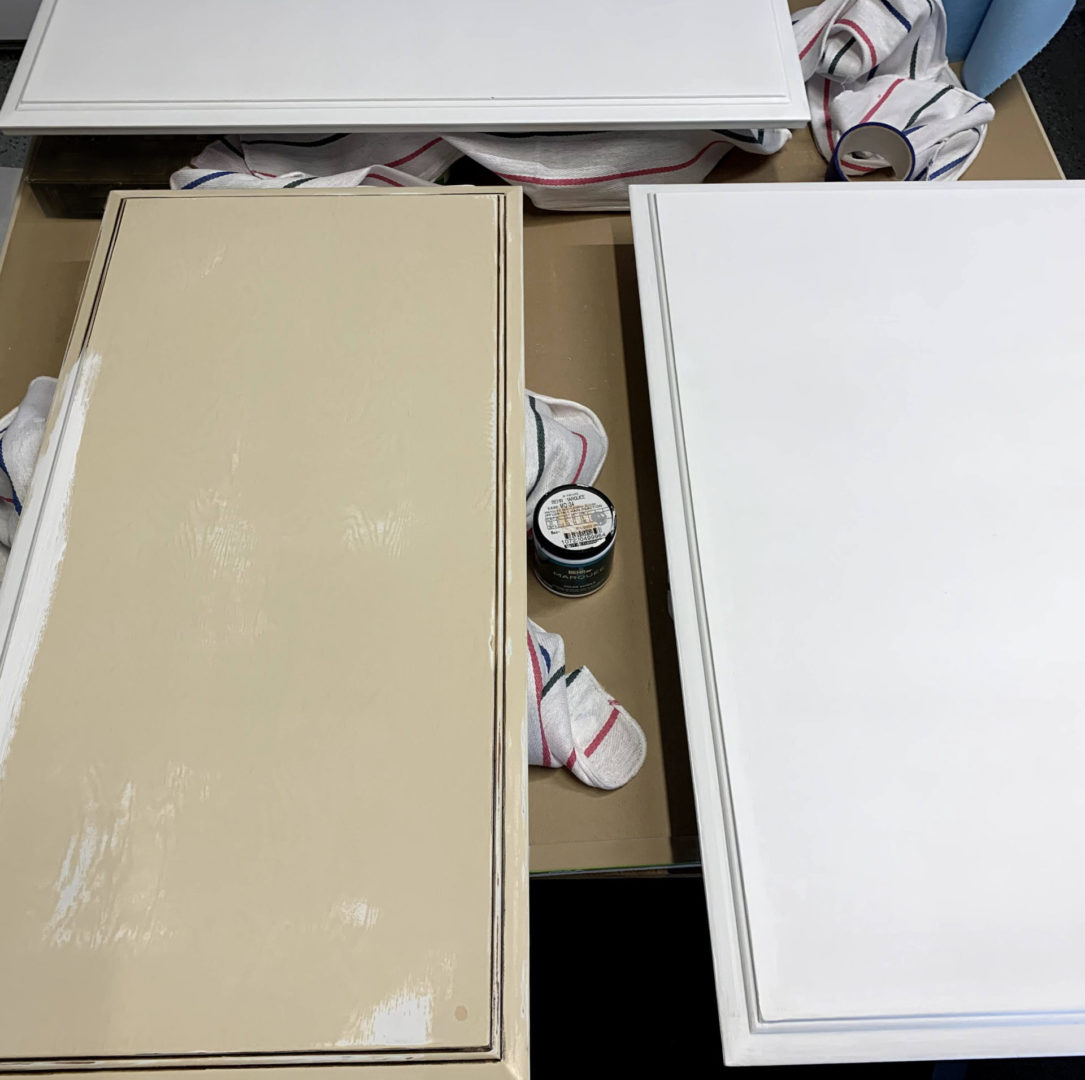
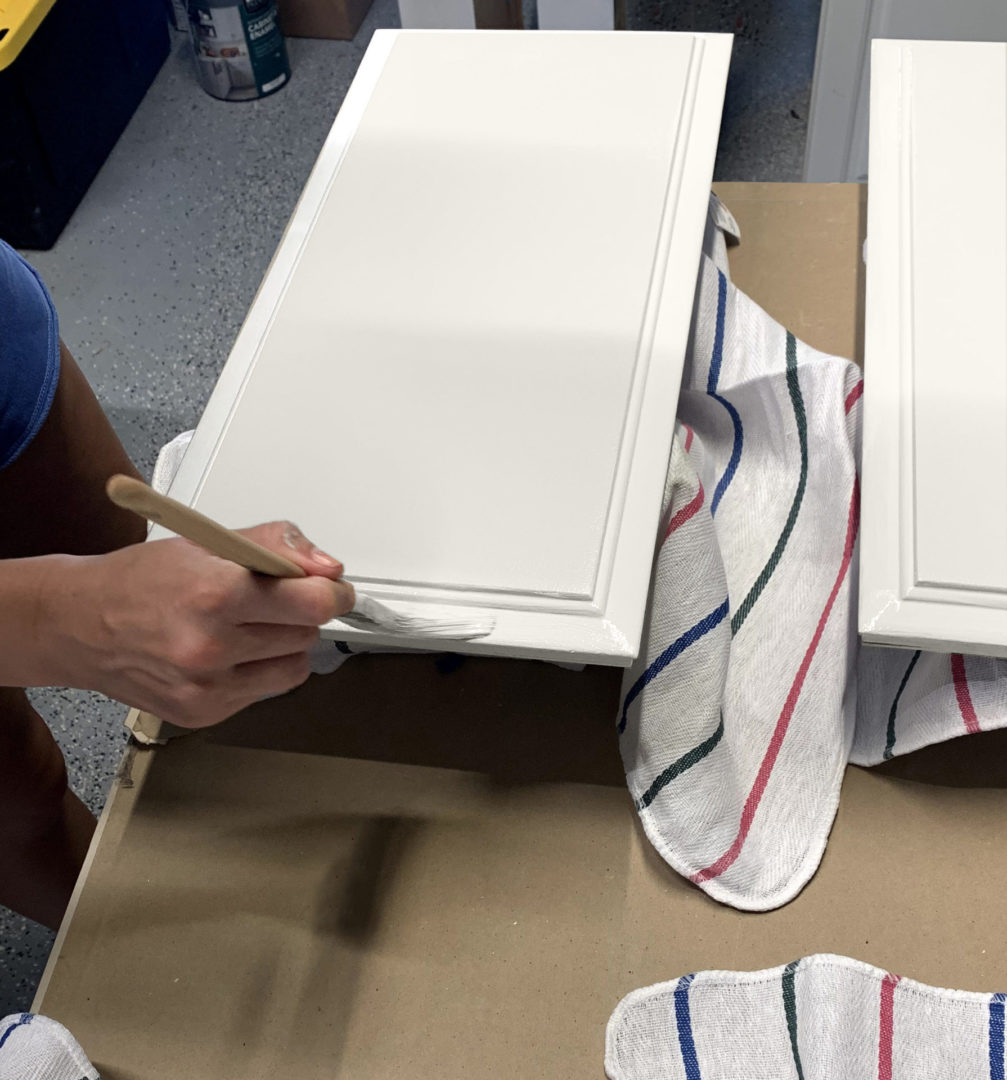
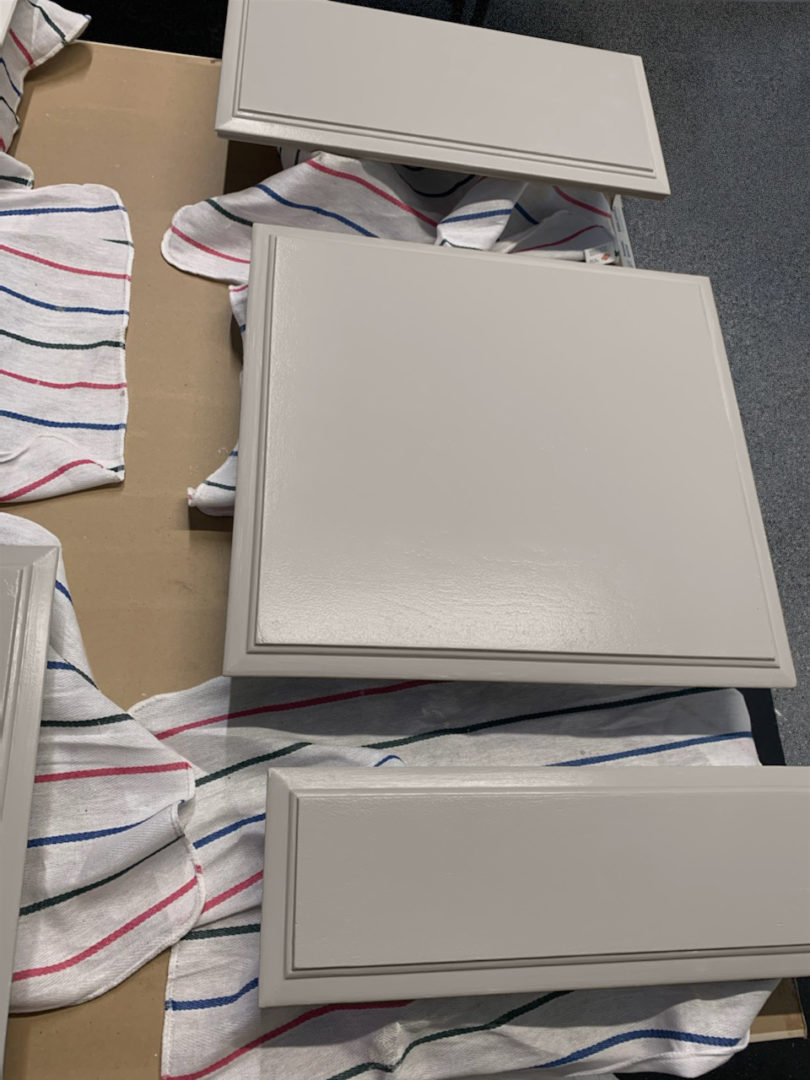
Apply Paint – 2 coats minimum Using both the angled brush for detailed areas, and roller for flat areas, apply BEHR PREMIUM® Interior Cabinet & Trim Enamel in your choice of color. Let dry completely. Lightly sand the surfaces using a 120 grit sand block to smooth any imperfections or drips. Apply second coat of paint. Let dry completely.
Complete the Project
Reassemble cabinet doors and drawers first, then add your hardware. This helps you to align the hardware in the correct spot. To keep the cabinets fresh look, use Behr Swipes for your daily cleaning. The final result is a bright, updated kitchen without the expensive cost!
Here are some helpful tips to keep in mind before starting your next cabinet project:
- This paint has a fast dry-time which helps speed the cabinet’s return to service.
- The type of brush and roller you use makes a difference. The brand is not important, but the type is.
- If you are comfortable using a sprayer this is the best choice for application. The paint will go on more evenly and look is smoother.
- Do not skip the sanding steps and most importantly, make sure the paint is completely dry before sanding and all sand-dust is removed before applying wet products.
- Make sure to really clean the cabinets first. Scrub them and remove all grease and dirt. The cleaner the cabinets the better.
- When applying your paint, make sure there is enough product on your roller to avoid tacking up while you are still rolling.
For more inspiration, tips and color tools, visit our Color Studio on Behr.com.
Colorfully Yours,
Larayne
Hi-
I recently did this on a bathroom vanity. I went with black. It looked amazing at first. Now I’m seeing faint gray scratches where fingernails touch. They don’t seem to wipe off. I’m bummed. Any ideas?
I never considered using a 120 grit sand block. I need to get a remodeler to do my hardwood floors. I’ll have to consider getting someone with a warranty.