Green-eyed monsters aren’t just a passing trial of childhood, they can persist into adulthood. This is especially true when aspiring to create spaces featured in high-end interior brochures and showrooms. Read on to learn how you can recreate this sophisticated look at home in 6 easy steps. You’ll be saying goodbye to the green-eyed monster and hello to a fresh new space in no time!
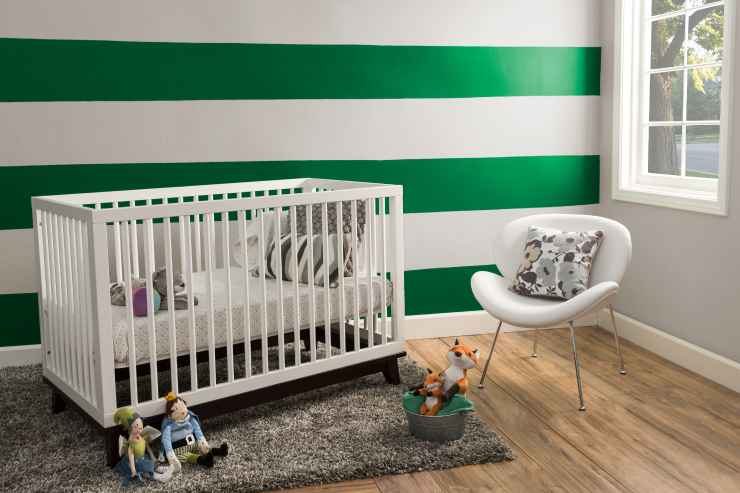
The right pattern and color combination can transcend occupant age and room use. We’ve featured our pattern in a nursery, but the versatility of this look can be updated for a new addition, when a playroom is needed, or when the little ones have grown up and the space repurposed as a guest room. This color and pattern would also be well supported into other rooms, such as a home office, family room, or even entertainment center.
Materials:
Paint: A base color and accent color/s for stripes
For this project, we used Grasslands P410-7 as our accent color, and Silver Drop 790C-2 for our base color. The sheen we selected was eggshell enamel, a low VOC, easy to clean, family-friendly sheen.
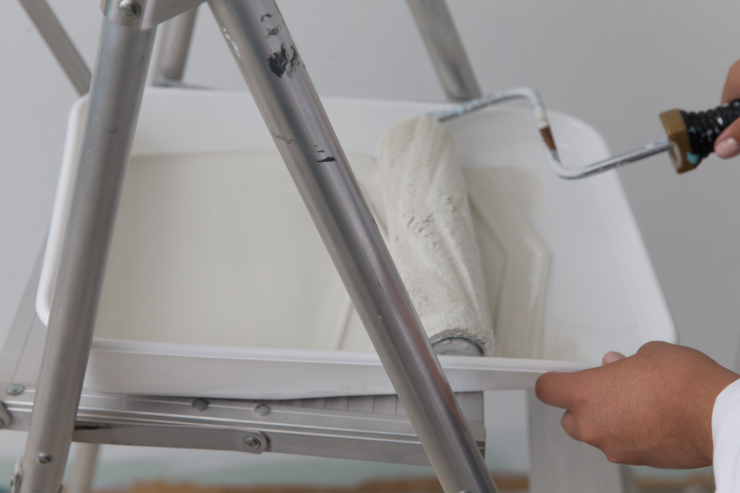
Paint Tray
Roller and Roller Covers
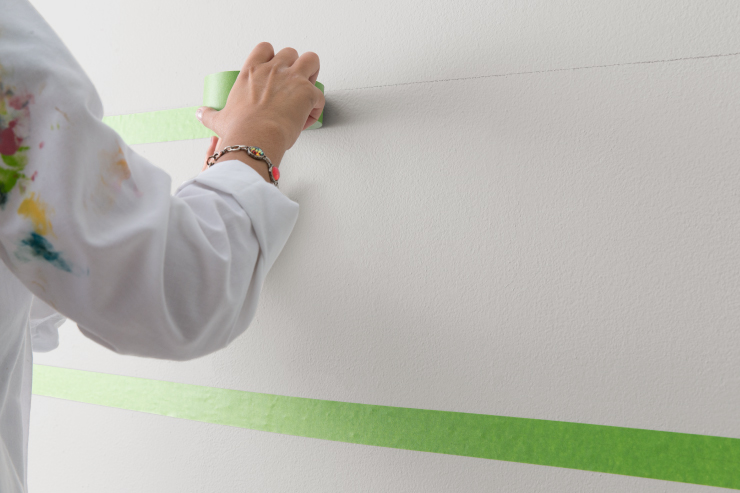
Painter’s Tape
Level/Ruler
Pencil
Step 1: Prep your wall.
Clean the wall of dirt and oil with soap and water. Allow to dry completely before painting. If your wall is a dark color, and you are painting a lighter color, consider first painting a primer coat. Primers can save you in both time and budget.
Step 2: Paint wall base color.
Allow the paint to dry for approximately 2 hours and apply a second coat if necessary/desired.
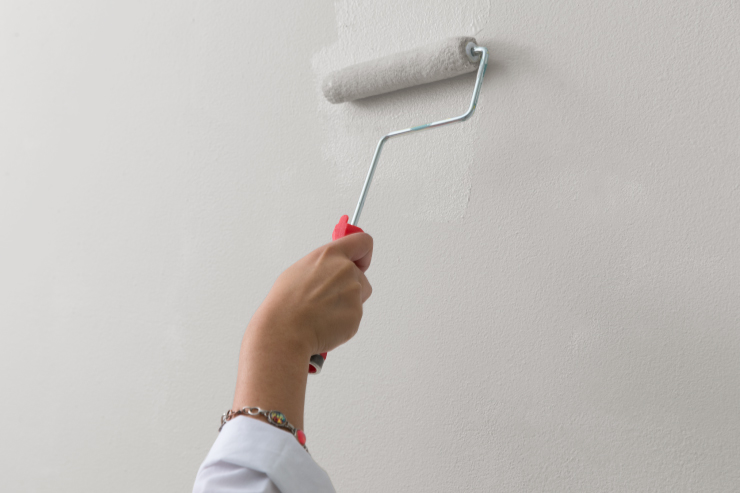
We chose, Silver Drop 790C-2, a light, warm, gray, as our base color for its easy livability and versatility with other colors. Silver Drop works well with bold accent colors such as Grasslands and soft neutrals alike.
Step 3: Measure for stripes
Once your wall is dry, proceed to measure both the width and height in which you would like your stripes to be. Mark guidelines with a pencil.
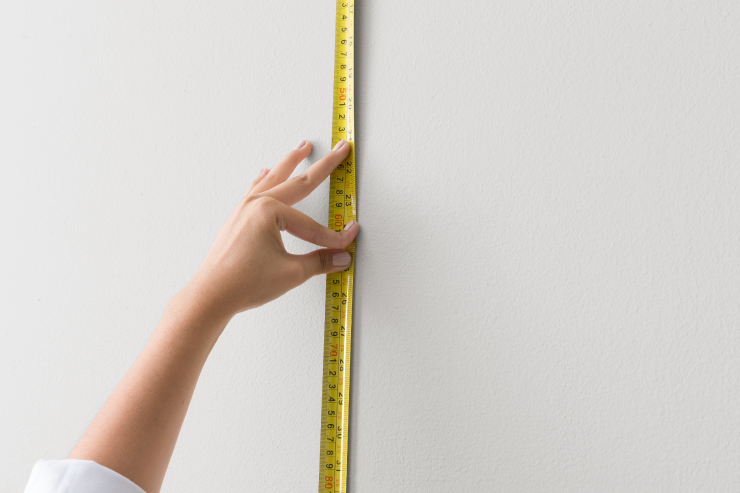
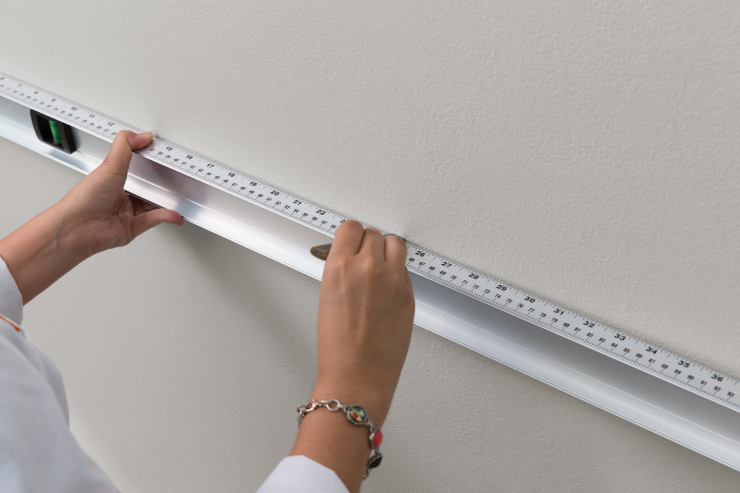
Be sure to fit the stripes evenly on your wall. Measurements should fit between your baseboard and crown molding. For wide horizontal stripes such as the ones shown, measure 12 inch wide stripes with 12 inches in between. You can layer in different width and color stripes at this point if you choose.
Step 4: Prep stripes for painting
After markings have been made, proceed to tape above and below guidelines with painters tape.
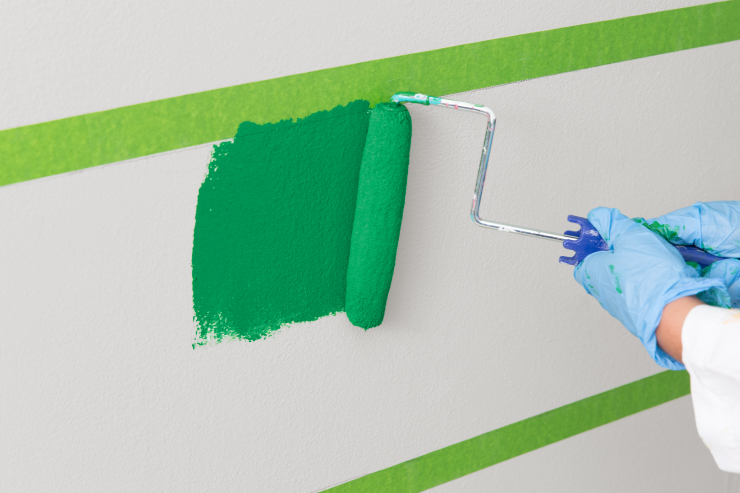
Step 5: Paint your accent color
Paint along the stripe length to reduce streaks. For bright, pure colors, such as Grasslands, several of coats may be necessary to achieve the desired shade.
Step 6: Move in
Allow the paint to dry, remove the tape, furnish, and enjoy!
Colorfully Yours,
Joceline