Changing a wood plank into a fun growth chart is a quick and easy project to do at home with your kids. Use any color combination of wood stain and spray paint for a uniquely tailored piece.
Behr’s Featured Products & Colors:
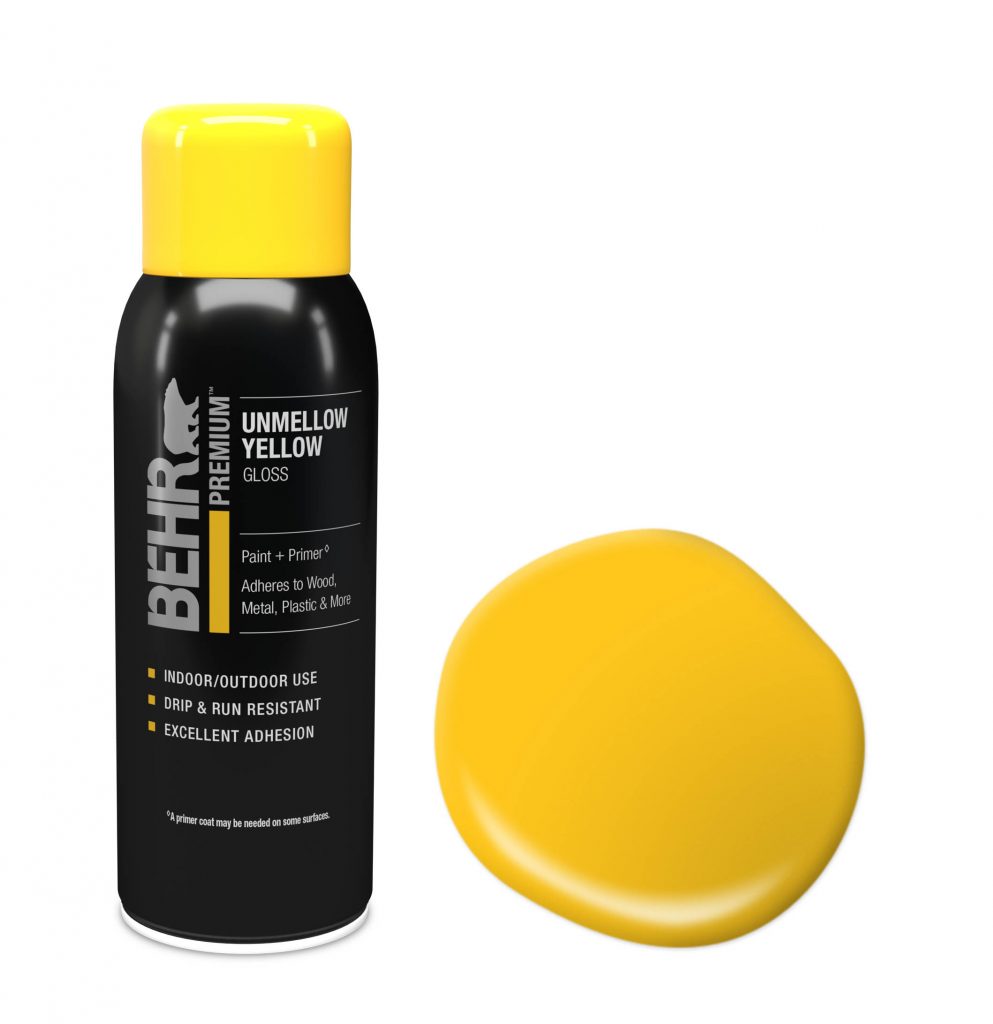
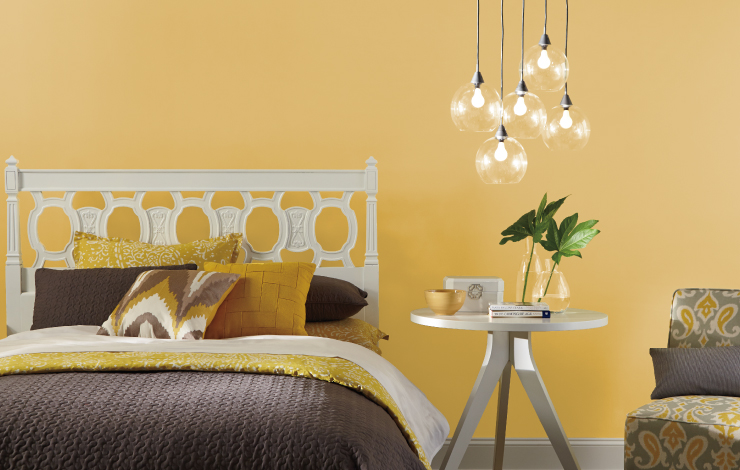
Paint: BEHR PREMIUM™ SPRAY PAINT, Color: Unmellow Yellow
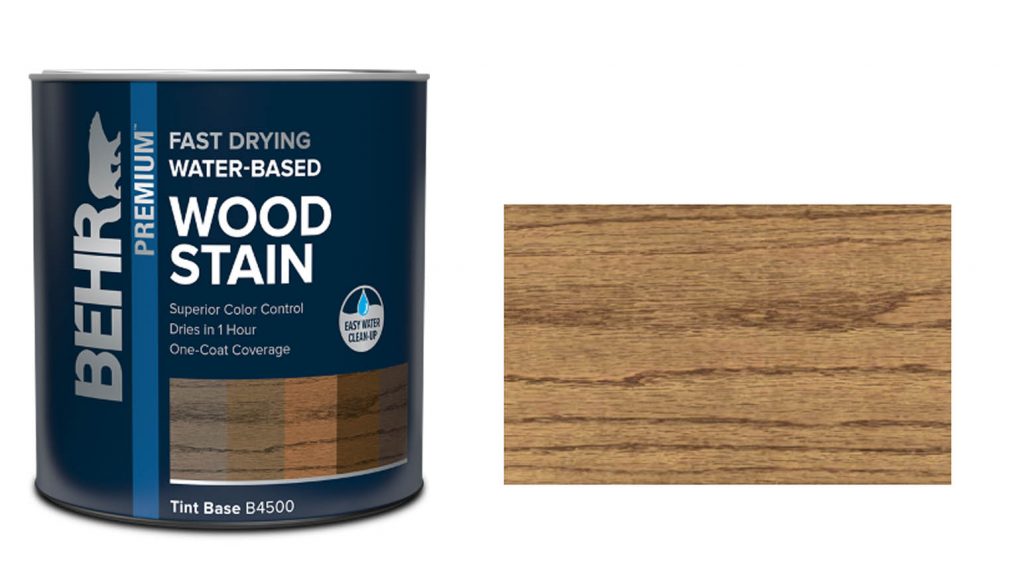
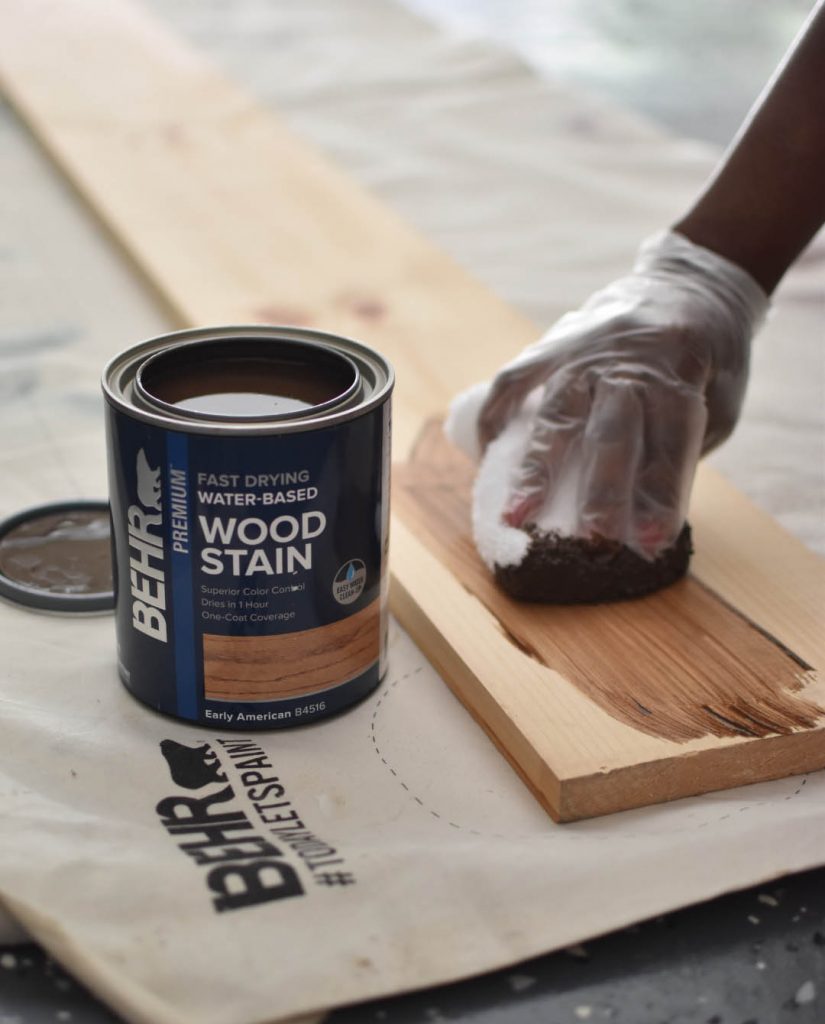
Stain: BEHR PREMIUM™ FAST-DRYING WATER-BASED WOOD STAIN , Color Early American B4516
Materials:
- Wood Plank; we used 1 in. x 8 in. x 6 ft pine board
- Painters Tape; ¼” thickness
- Cotton Rags
- Sandpaper, use a fine grit so that you don’t scratch the wood
- Sticky Paper
- Hobby Knife
- Pencil, Small Ruler
- Drop Cloth
- Gloves
Step 1
Stain Wood Plank
Set up outside or in a well-ventilated area. Outside is always best, but if you are in your garage, be sure to work closely by an open door.
Use sandpaper to scuff-sand the entire surface lightly, sanding in the direction of the wood grain. Wipe away sand dust with a dry cloth. With a stir stick, thoroughly stir the stain.
Using a clean rag, bristle or foam brush apply a liberal coat of BEHR PREMIUM Water-Based Wood Stain. Let the stain penetrate into the wood for 2-3 minutes. Using a clean cloth wipe in the direction of the grain to remove any excess stain that has not been absorbed into the wood. To darken the color, after 1 hour apply a second coat. Allow to dry completely before painting.
Tip: Make sure to stir thoroughly before using. Always wipe off excess stain in the direction of the wood grain.
Step 2
Add Notches and Numbers
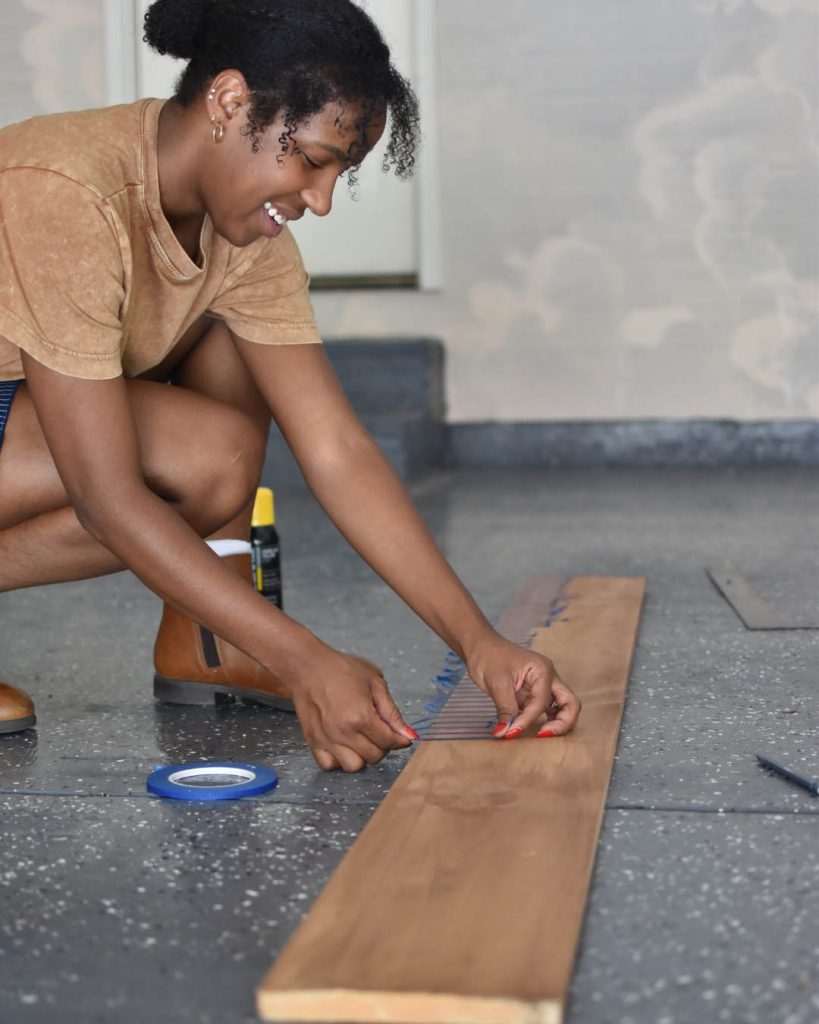
Start at the bottom of your stained board and place painter’s tape to create notches. Go from the left edge and bring tape across stopping about ¼ width of the board. Space the notches every inch apart.
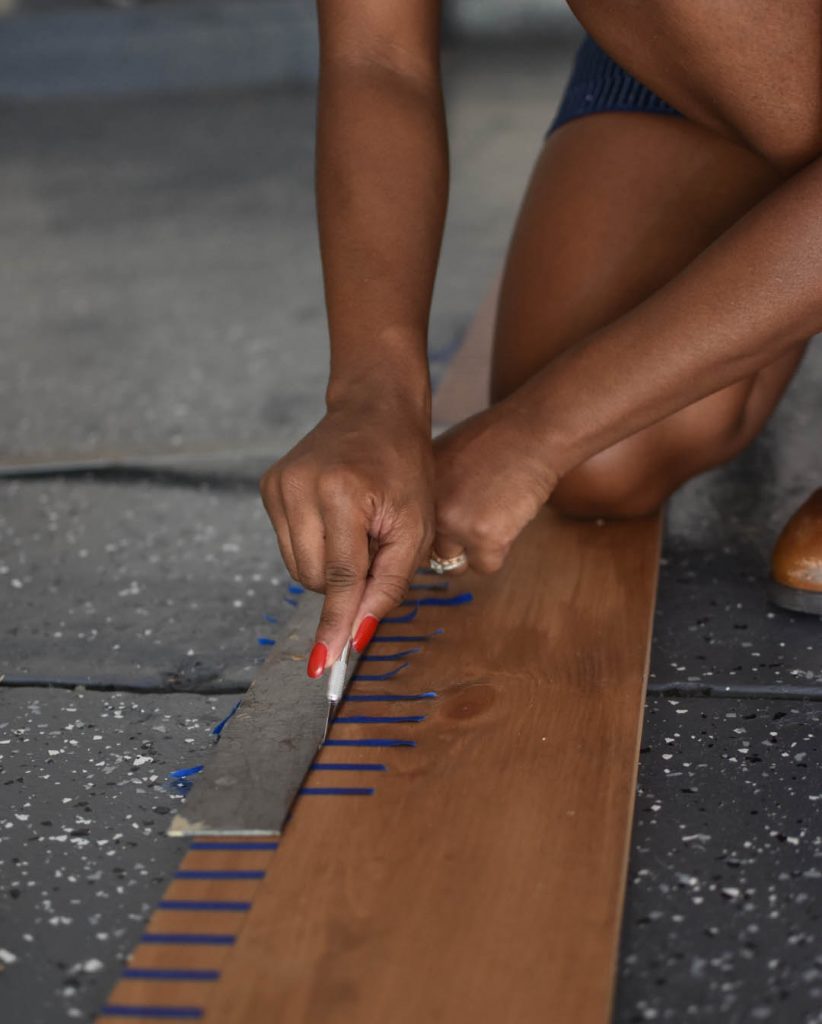
To get an even line, use a small ruler to trim the edges. To create the longer notches, go over the shorter ones bringing the tape about 1/3 across. Trim edges to get an even line.
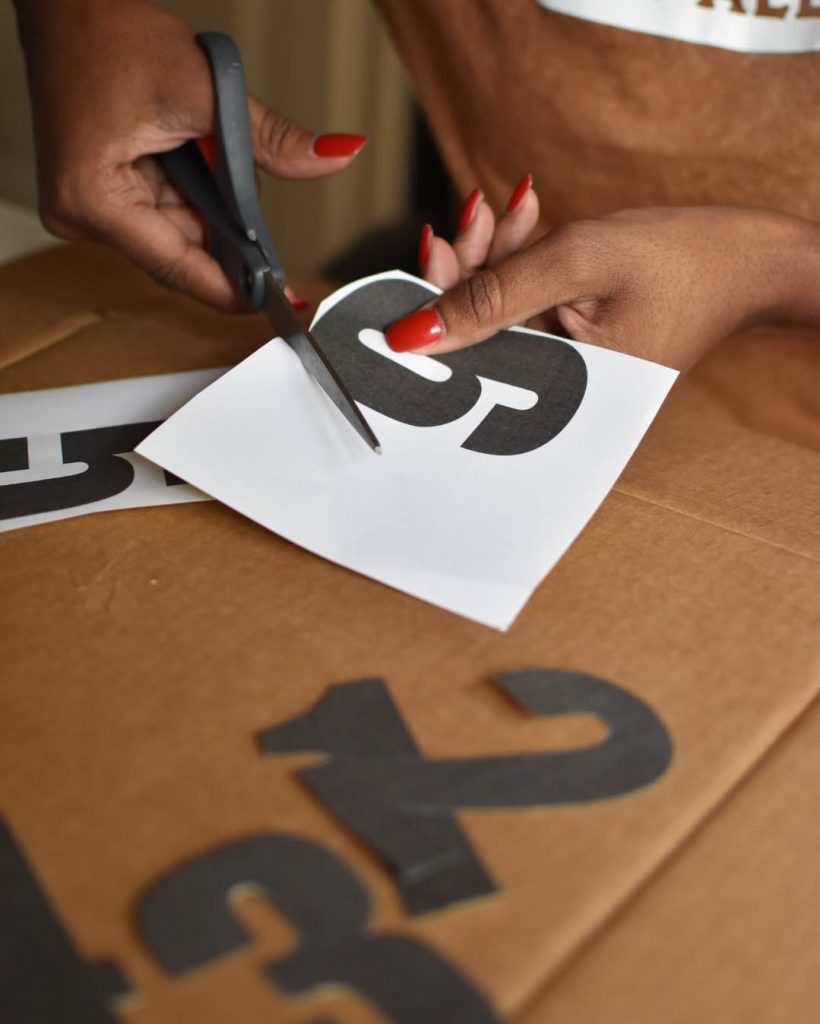
Print 3.5” tall bold numbers, one through six, onto sticky paper. Cut out using a hobby knife or scissors. Remove the backing from the sticky paper and gently place it on the board next to the longer notches.
Tip: Make sure to seal the tape and sticky paper along the edges to avoid paint bleed.
Step 3
Spray Paint
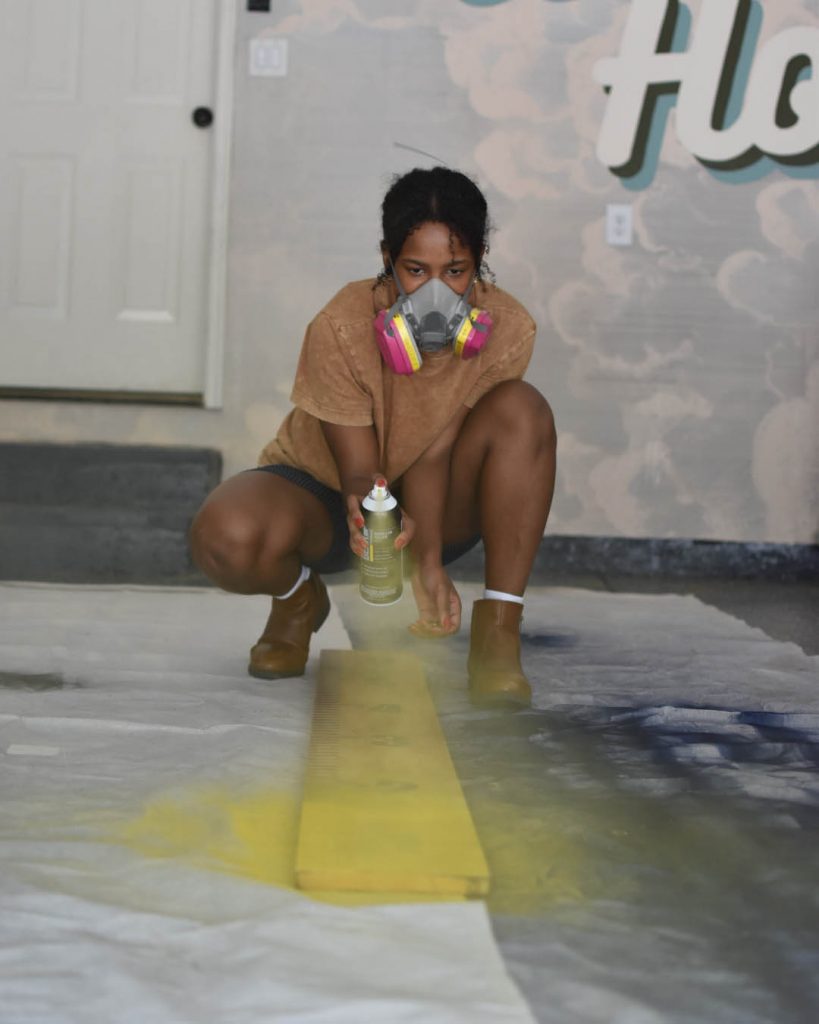
Cover the floor and any areas around you that you do not want spray paint on. Again, make sure you are in a well-ventilated space.
Shake BEHR PREMIUM Spray Paint vigorously for 1 minute. Hold the can about 12” from the area being painted. While spraying, move the can from side to side across the area. Let dry for at least 15 minutes before applying a second coat. Two to three thin coats produce the best results.
Tip: Shake often during use.

Immediately after your last coat of spray paint, gently remove the tape and numbers.
Tip: For touch-ups, spray some paint and add some stain onto a paper plate, use small artist paint brushes to clean up the lines.

For additional inspiration and fresh ideas for your home check out Behr’s Designer Stories.
Colorfully Yours,
Larayne
Design and Photo Credits: pinchplateparty