Add interest, beauty and texture to your space with this step by step wall paneling project.
To complete this project you will need the following:
• Wood Molding
• Paint
• Primer
• Brads
• Silicone Caulking
• Paint Brush
• Paint Roller
• Brad Gun
• Miter or Hand Saw
• Caulking Gun
• Measuring Tape
STEP 1: Measure Wall / Design Grid
Measure the dimensions of the wall you would like to install the paneling grid on. Sketch a grid that fits your wall, take note of the number of vertical and horizontal wood pieces you will need.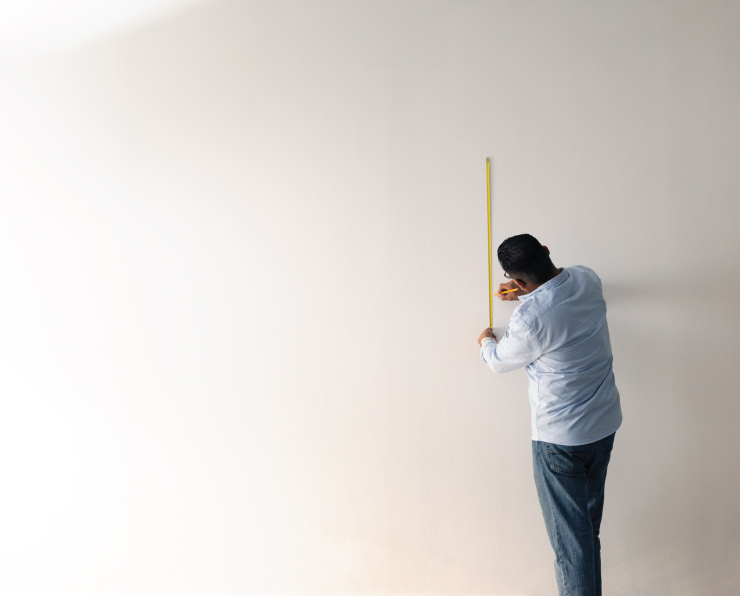
STEP 2: Cut Panel Pieces to Size
Following the dimensions of your grid, cut your paneling pieces to size with a miter or hand saw.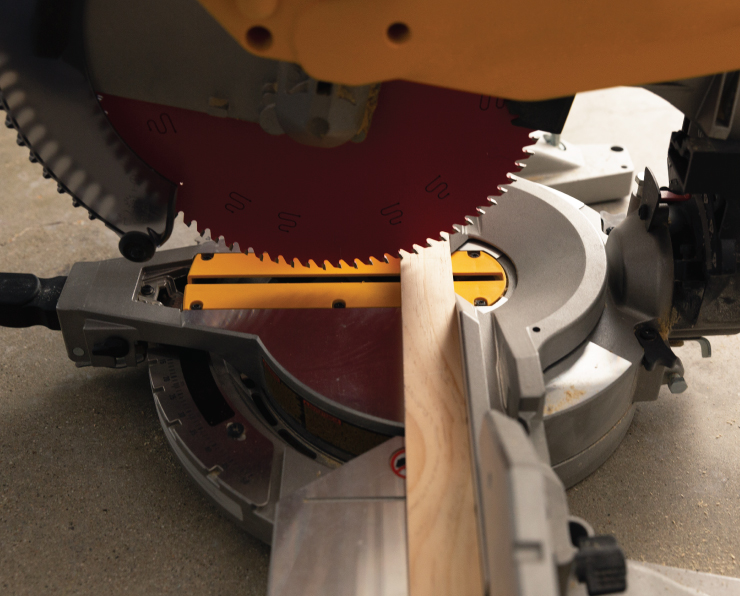
STEP 3: Prime
Prime your paneling pieces if they are not pre-primed. Allow 2 hours to dry before installing.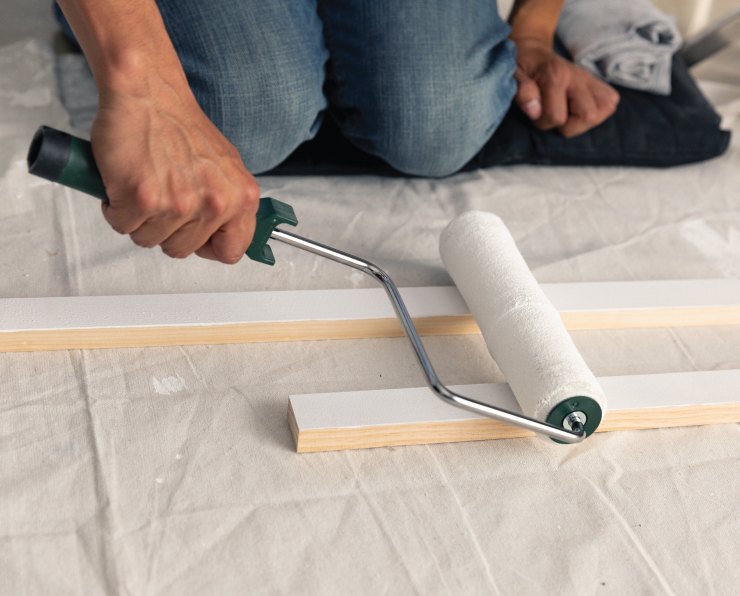
STEP 4: Install Paneling / Leveling
Begin by placing a vertical piece in one corner. Use a level to ensure the pieces are straight.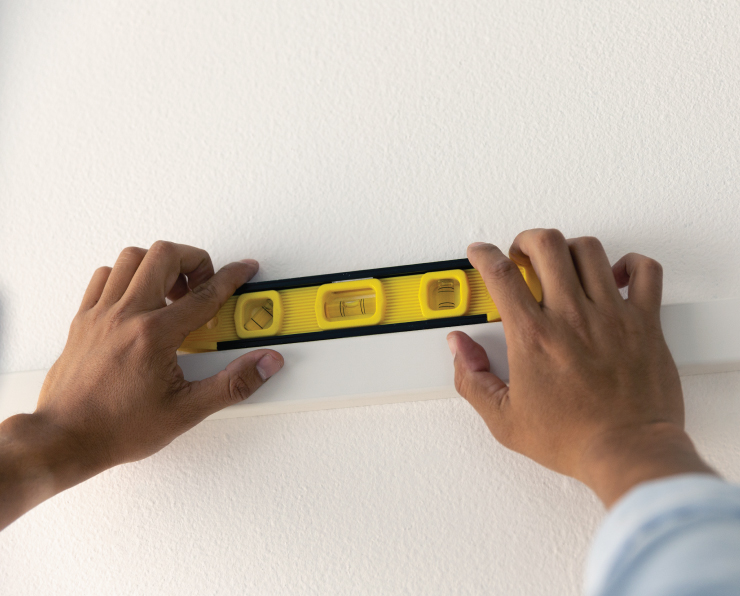
STEP 5: Install Paneling / Secure Pieces
When the pieces are straight you can secure them to the wall with a brad gun. Work your way across the wall from one corner to the next installing the vertical pieces first, then the horizontal.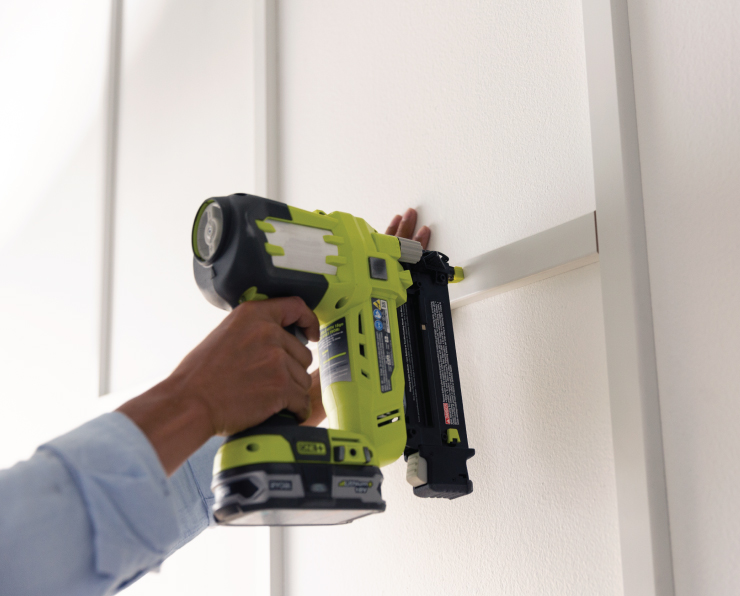
STEP 5: Install Paneling / Secure Pieces
When the pieces are straight you can secure them to the wall with a brad gun. Work your way across the wall from one corner to the next installing the vertical pieces first, then the horizontal.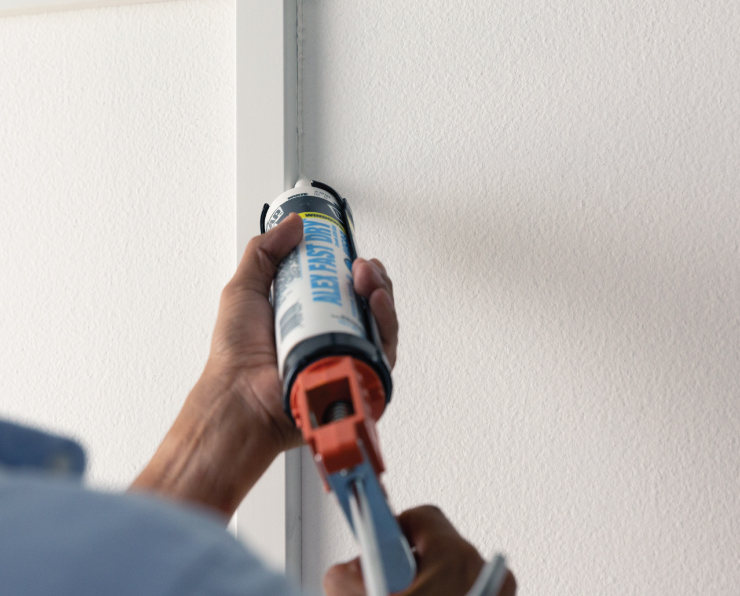
STEP 7: Cut In with a Brush
Use your brush to paint the outer borders and inside corners of the grid.
STEP 8: Roll-In Color
With your roller, paint the panel pieces and fill in the wall areas within. Allow 2 hours to dry. Repeat steps 7 and 8 if necessary/desired.
STEP 9: Enjoy
When the wall is dry reset and enjoy your beautiful new space.
Featured colors: Wall and trim: Blueprint S470-5.
For more 2019 Color Trends inspiration see our our article on behr.com.
To watch our how-to video for this project, click here.
Colorfully yours,
Quinn
DIY Projects
How to: Paneled Wall
TIME
BUDGET
COMPLEXITY