Paint and primer in one formulas have long been a hot topic of conversation among pro painters. While fewer steps can benefit busy contractors, you should never compromise quality.
Ultimately, superior finishes require proper product selection and prep. “Using a primer is widely regarded as best practice in the professional painting world,” says Ed Edrosa, Senior Product Owner – Pro at Behr Paint Company.
While skipping important steps is not the right path to a professional finish, it’s worth knowing when to prime and when a paint and primer in one product can save time and produce a beautiful, flawless finish.
Paint with a Primer, vs Paint and Primer in one
“Paint is a coating made to be decorative and to protect. It enhances the beauty and seals the surface,” says Stephanie Glick, Research Fellow at Behr Paint Company. “Primer, on the other hand, is a little bit more complex. Primers are much softer and gummier. They’re made for adhesion, and it’s much easier for them to do the one thing they’ve been formulated for.”
Because many primers are formulated for specific scenarios, a thorough understanding of where products perform best is crucial. “Primers can create adhesion to surfaces that are harder to stick to, seal porous substrates, lock in stains and odors, prevent cracking, block tannins, prevent grain raise, and lock in efflorescence, to name a few,” stated Glick.
Paint and primer products are designed to do a bit of both and are also designed for specific scenarios. “You are still going to get a really good primer, but not a primer built for specific challenges,” says Glick. The key to choosing the right product for your job comes down to the substrate and your goal.
A few of the questions you should ask yourself before choosing a paint, a primer, or a paint and primer product include:
What is your substrate?
Has it been previously coated? With what?
Are there imperfections? (Stains, holes, etc.)
Do you need scuff resistance?
Do you want one-coat hide?
Do you want 10-year color fade protection?
Is easy touch-up and spray sheen uniformity important to you?
What’s your budget?
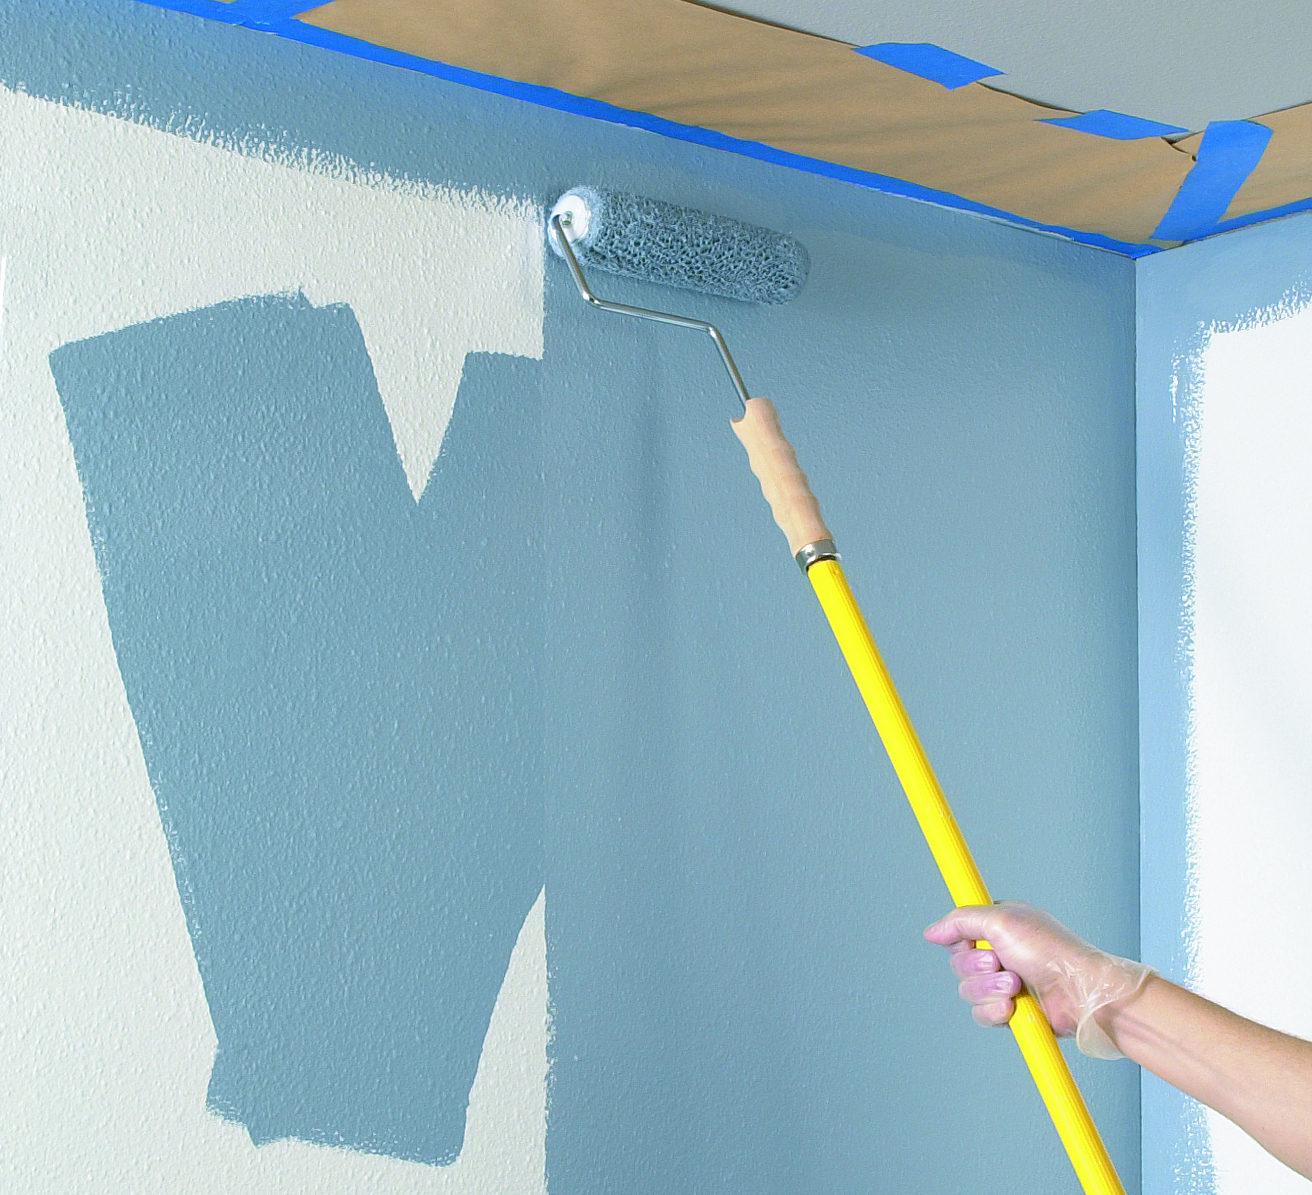
To Prime
Generally speaking, you need to prime before painting when working with raw or imperfect surfaces that need a bit of extra attention to get them smooth, sound, and ready for a topcoat.
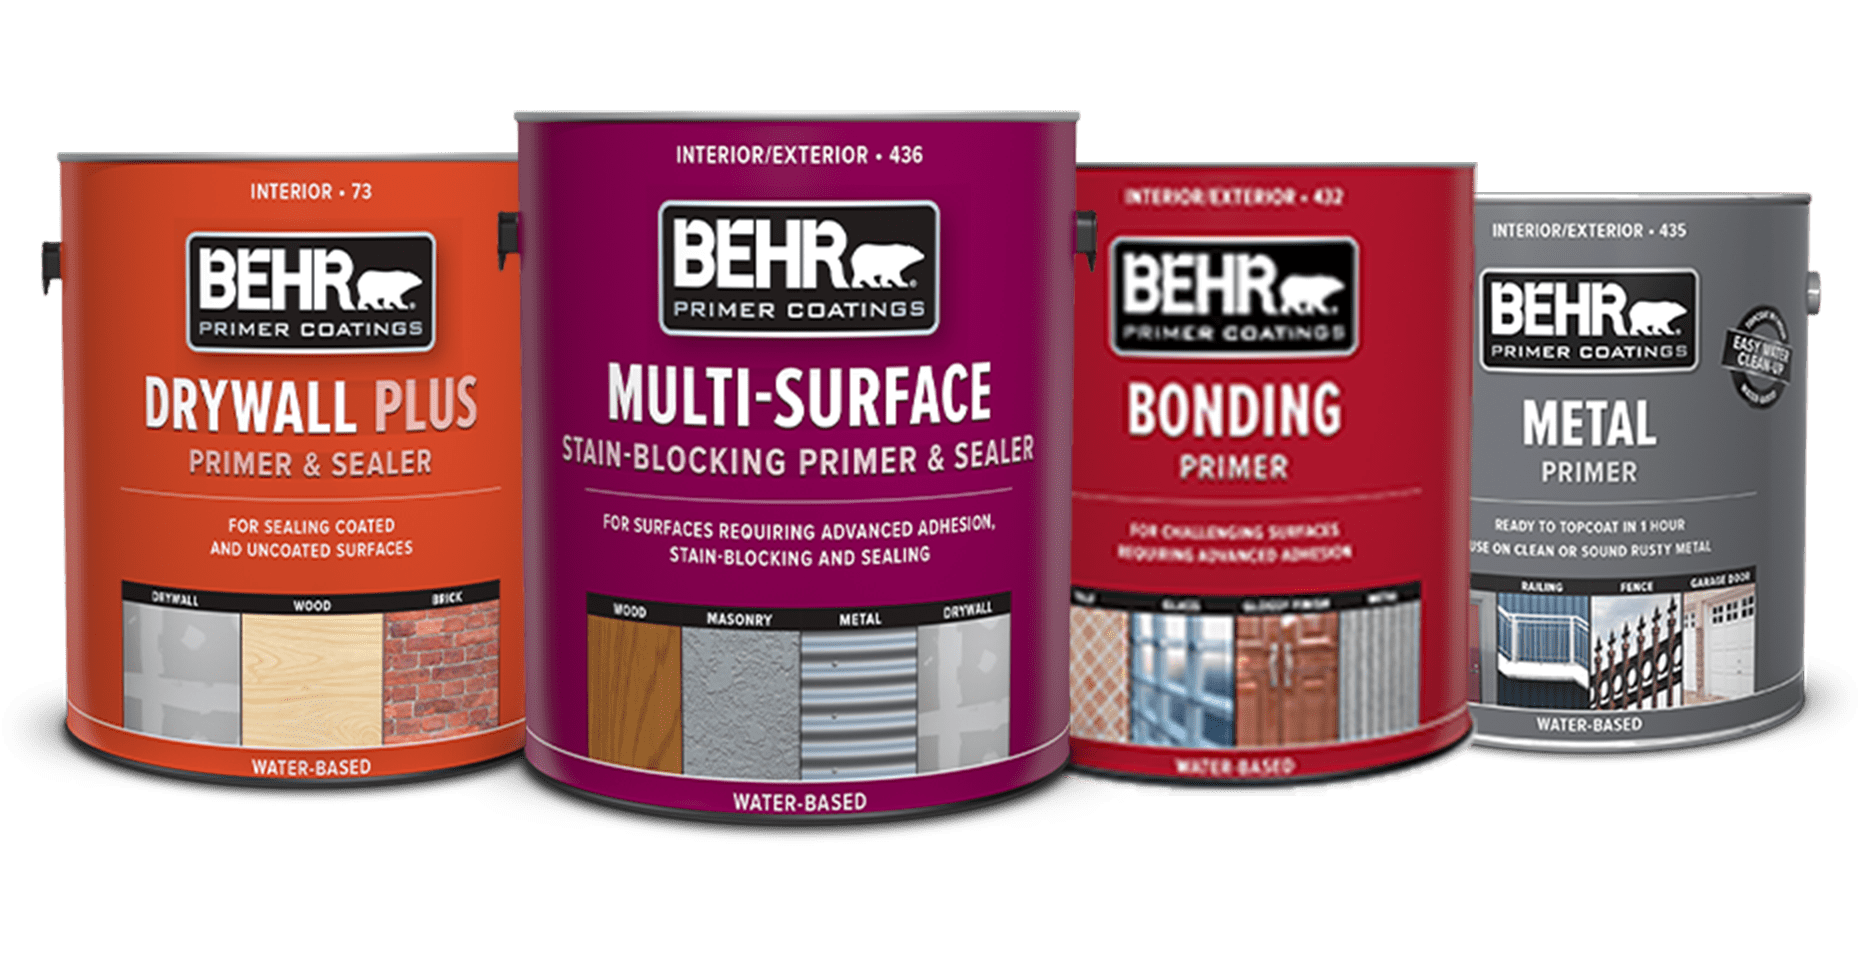
For example, new or unsealed surfaces require primer. “With drywall, you’ll see sheen differences at the joint line if you don’t prime,” says Glick. Additionally, porous surfaces, like stucco, will soak up too much paint, making priming the most efficient and economical choice. “A blocking primer is best for wood, especially redwood, cedar, teak, and mahogany, to avoid tannin bleed,” says Glick.
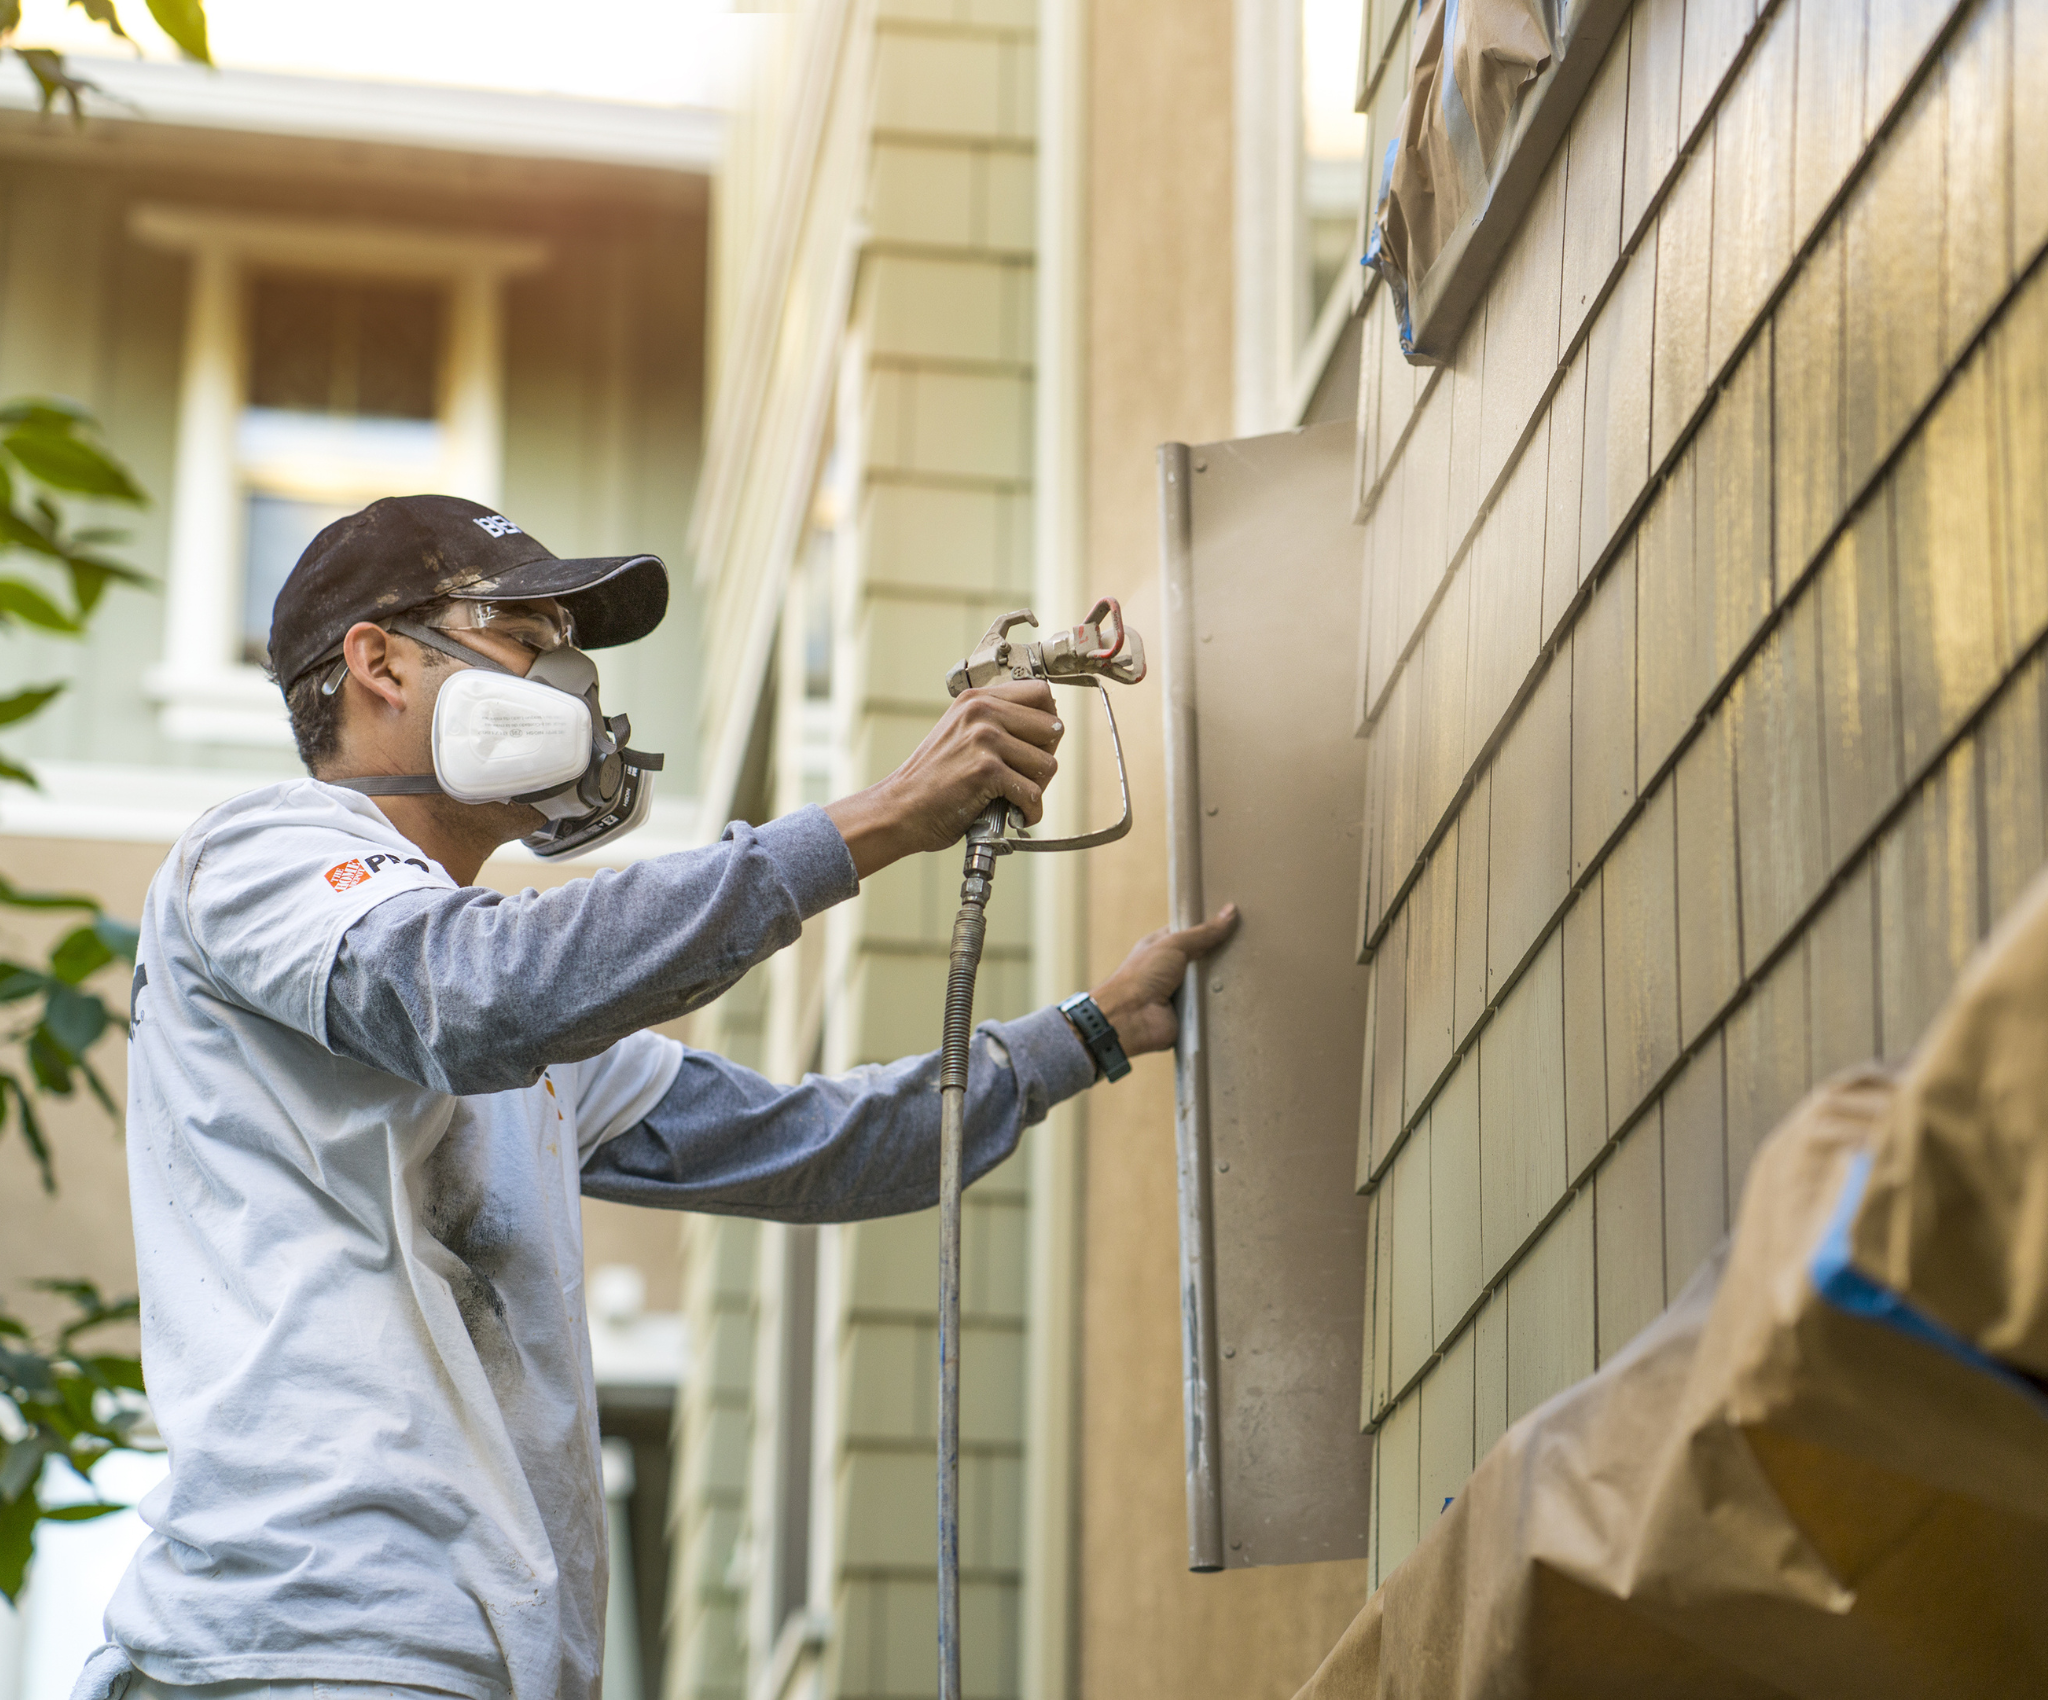
There are primers specifically formulated for metal and concrete. “For instance, BEHR® Metal Primer is formulated to help protect new metal surfaces from corrosion and can even be applied over sound, rusty metal,” said Edrosa. BEHR® Multi-Surface Stain-Blocking & Sealer ensures better adhesion and long-term durability on concrete or masonry surfaces with high alkalinity.
While some situations require a full prime, others only require spot priming. Glick points to tilt-ups, a construction method commonly used in many commercial buildings as a great example. Tilt-up construction is a building technique where large concrete panels are made flat on the ground then tilted upright after they dry.
“If you use BEHR PRO® e600 Exterior Paints, you can do all the broad surfaces without a primer because it’s great at sealing the surface. However, on tilt-ups, you have sealant between the joints, and because the sealant is so flexible, you have to add a primer coat to help the coating flex with the natural movement of that joint.”
Or Not to Prime
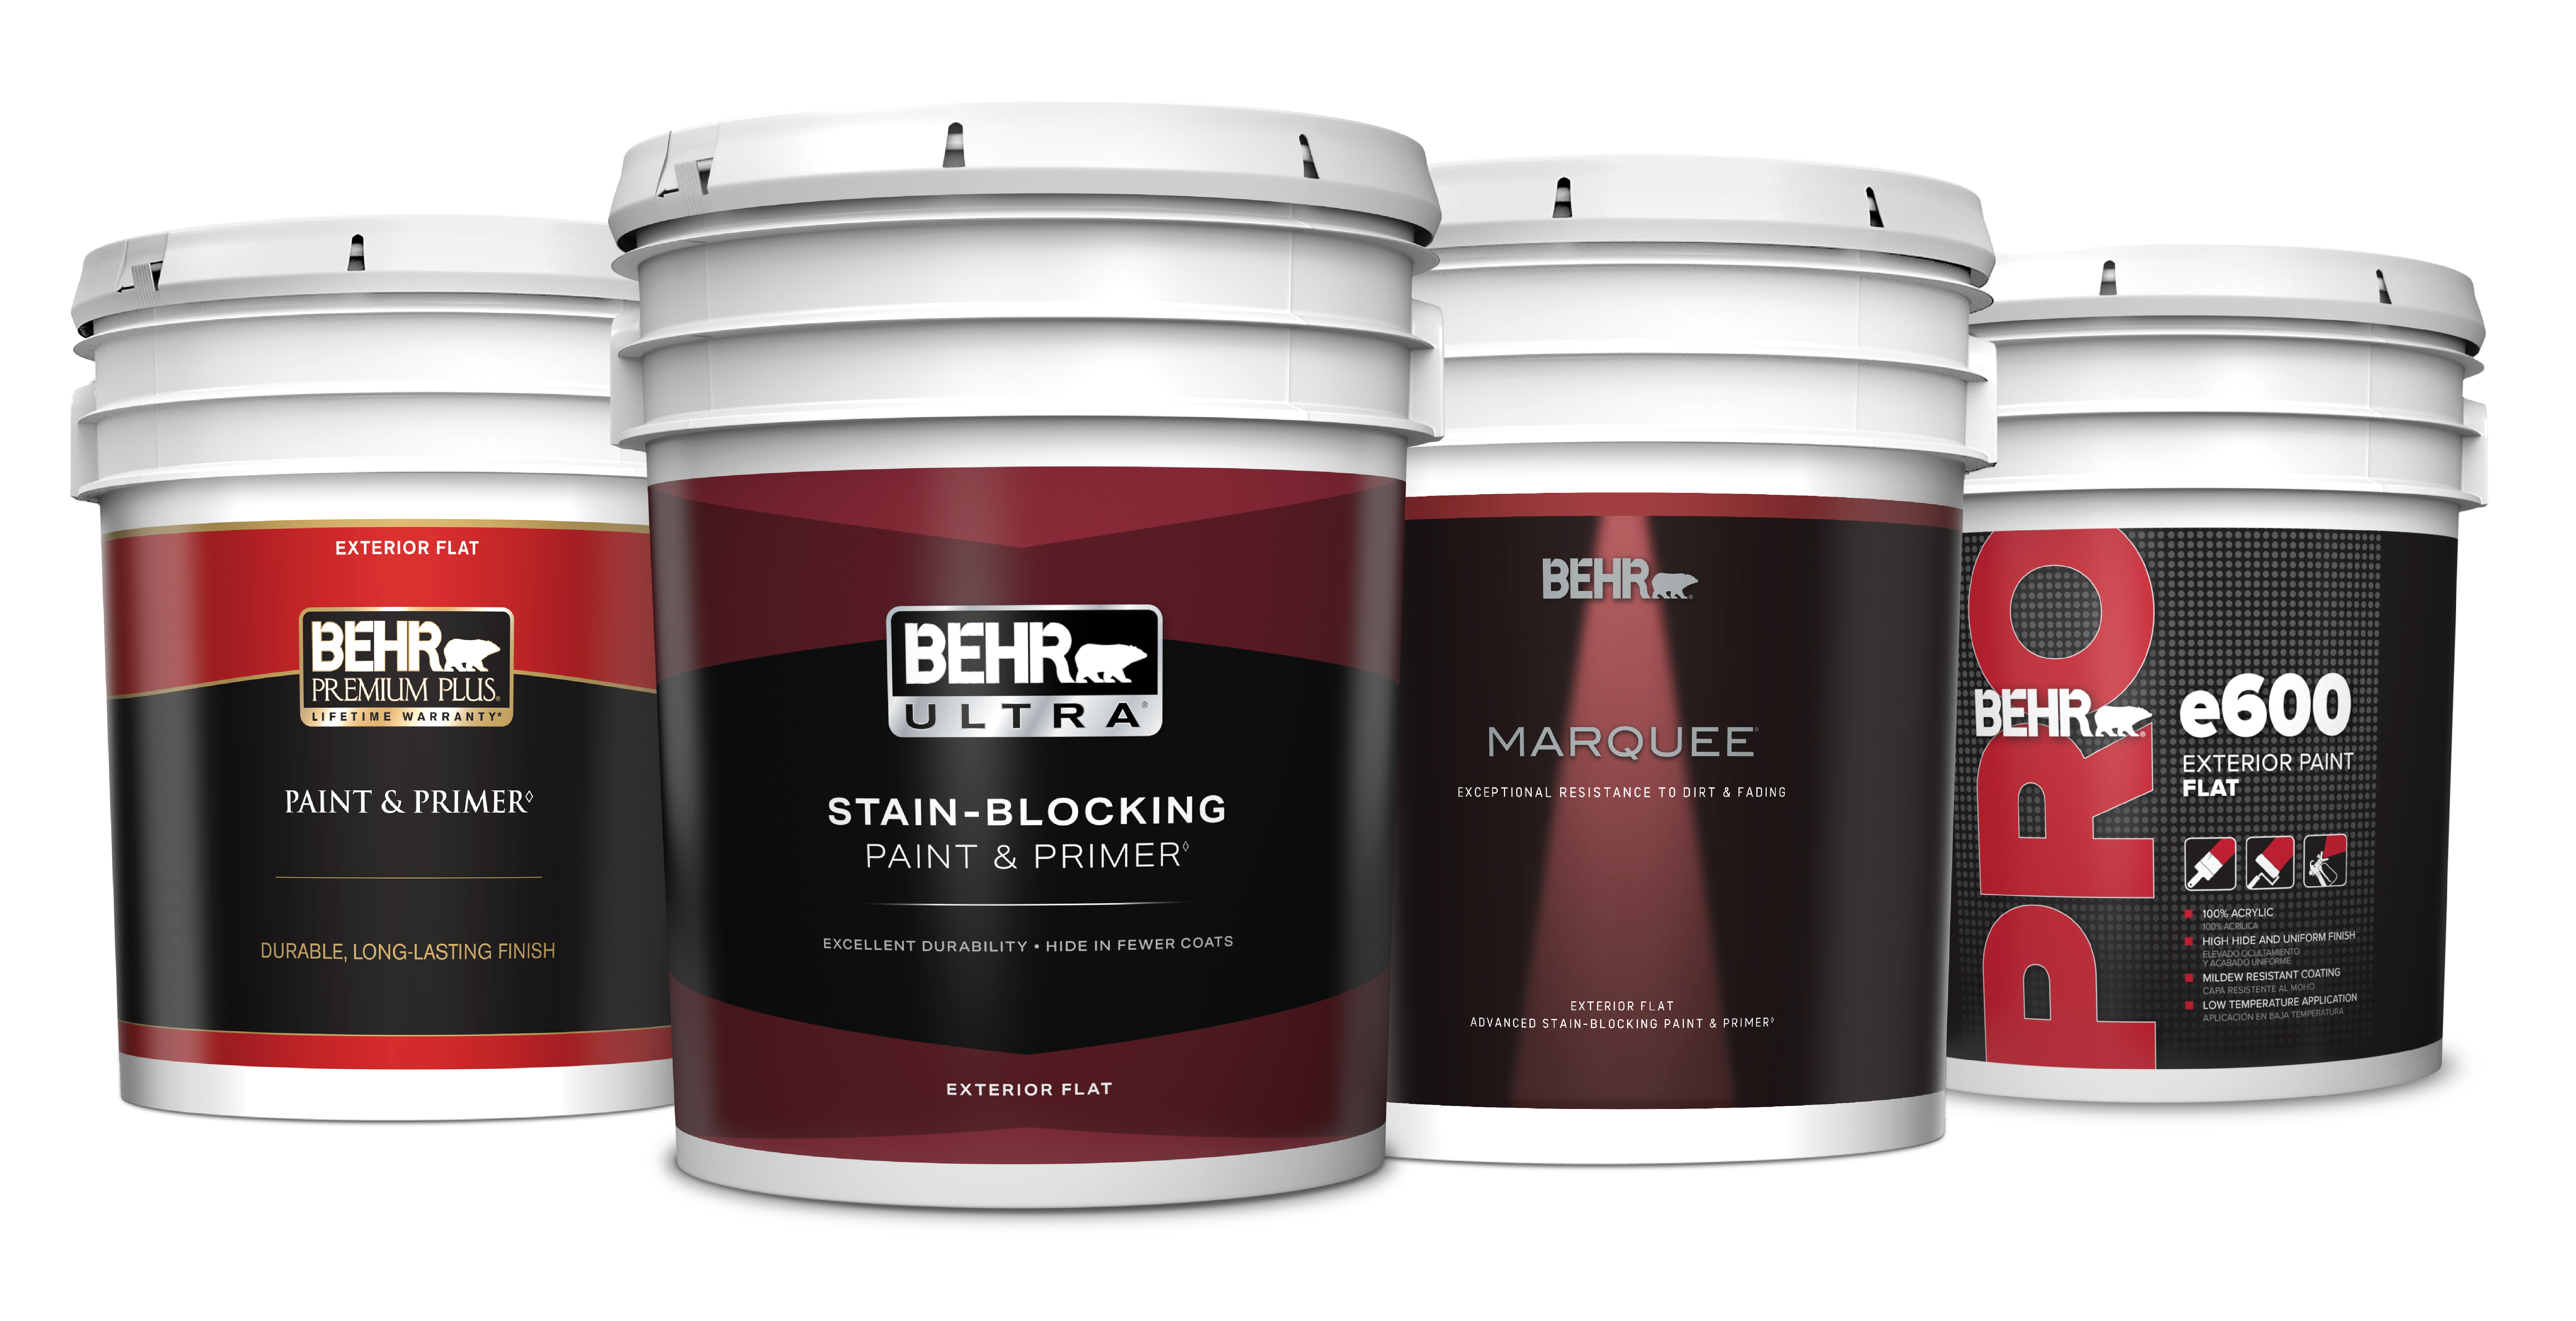
Not all paint jobs are fraught with challenges. This is where a paint and primer in one product can save time and money. “Paint and primer products are generally most effective when refreshing previously painted surfaces that are in good condition, particularly for interior spaces. They offer convenience and solid coverage in these scenarios,” says Edrosa.
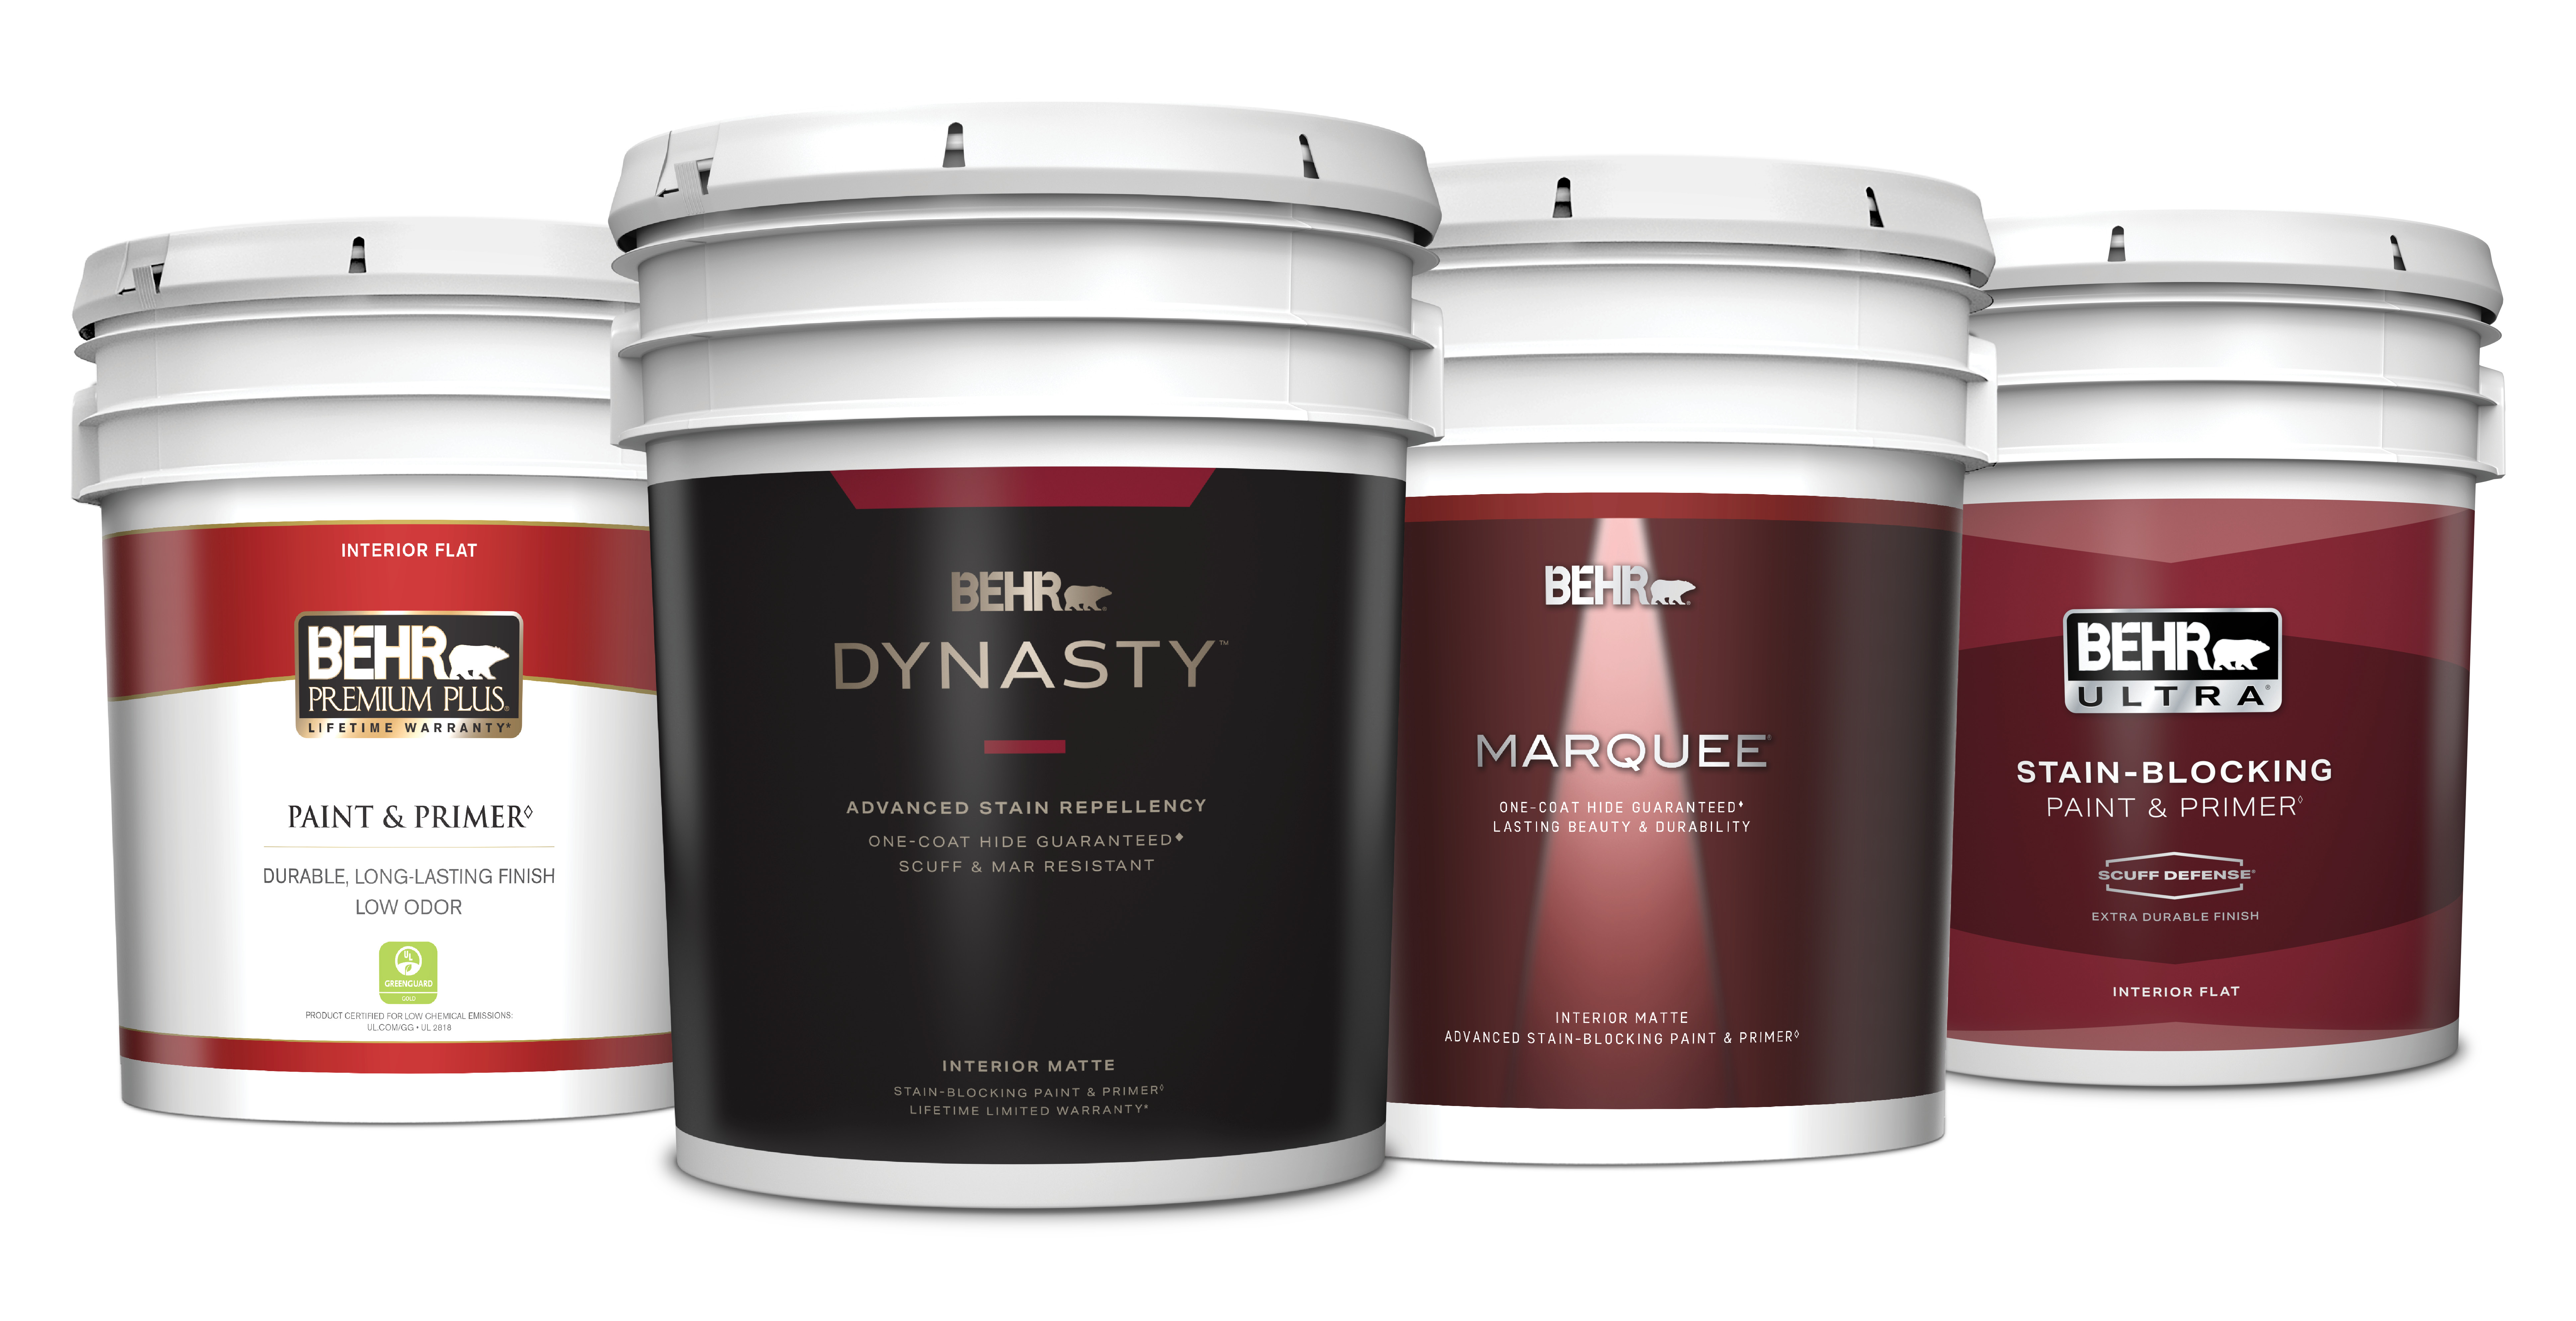
“Even if you have a stain on the wall, like lipstick, some of our higher lines, like BEHR Dynasty®, are designed to block those very well. However, if you want to buy a more economical product, you might want to spot prime those stains,” says Glick.
Every paint job is unique, but with the proper knowledge, you can choose the right product to solve problems and save time.
If you have product selection questions, contact your local BEHR Pro Rep.

To Prime or Not to Prime